This topic contains the following sections.
Use the Communications Explorer to configure I/O signals to and from your QuickBuild application, as described in the topic Using the Communications Explorer. The Communications Explorer can be configured to send and receive the following types of I/O data:
Discrete I/O signals control your application from remote sources as well as generate the output signals necessary to transmit results and other data to discrete devices
See the topic Controlling Your QuickBuild Application With Discrete I/O for a description of the type of discrete I/O signals QuickBuild supports.
TCP/IP packets exchange application data and results with other Windows and Linux applications.
See the topic Using TCP/IP to Exchange Application Data for more information on the TCP/IP capabilities of QuickBuild.
This topic describes how to use the Communications Explorer to configure outgoing TCP/IP devices. For details on configuring discrete I/O signals, see the topic Adding Discrete I/O to Your QuickBuild Application.
Note: Using QuickBuild, you can only configure outgoing data using a TCP/IP connection. If you want your vision application to use the TCP/IP connection to accept data, you must use the StreamInput in your custom VisionPro .NET application.
Communication between QuickBuild and another application occurs over a TCP/IP device. You can create as many TCP/IP devices as you need for your vision application. Be aware, however, that each TCP/IP device has an impact on the performance of your vision application. In addition, the TCP/IP devices you create will be saved as part of your QuickBuild application. As you deploy your application you will need to consder what TCP/IP devices will be available.
Perform the following steps to add a TCP/IP device to your QuickBuild application:
Open the Communications Explorer.
See the section on Starting the Communications Explorer for details.
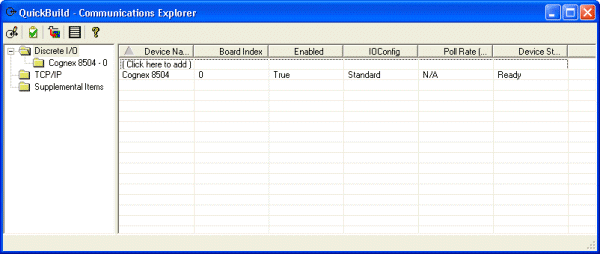
By default, the Communications Explorer opens to the Discrete I/O folder, as shown:
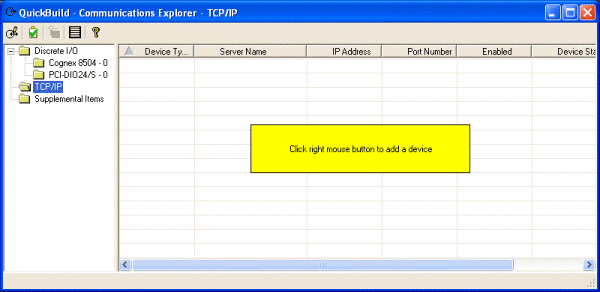
Select the TCP/IP folder:

Right-click inside the Communications Explorer, select Add and choose either Server or Client.
Choose Server to create a TCP/IP device where the QuickBuild application acts a server. As a server, this TCP/IP device cannot initiate an attempt to establish a communication channel, which must come from the application on the other end of the network connection.
Choose Client to create a TCP/IP device where the QuickBuild application acts as a client. If you create a client TCP/IP device you must specify the name of the network device. The Communications Explorer will populate the list with the names of potential server devices automatically. You can select any server device from the list, including the machine currently running QuickBuild in an application that uses the same device as both client and server.
Note: The time required for the Communications Explorer to populate the list with potential servers can vary depending on the number of qualified machines available in the domain as well as the state of each potential server. Be aware that the response time required to collect the names of all available servers can take several seconds or longer. The Communications Explorer will display the label Loading... to indicate that it is populating the list.
Create as many TCP/IP devices as necessary for your QuickBuild application.
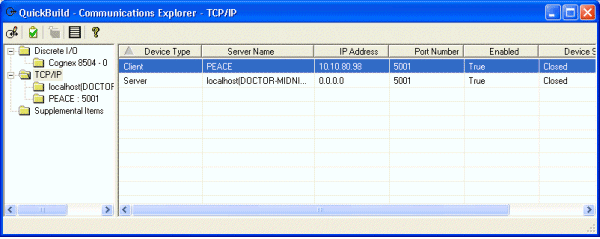
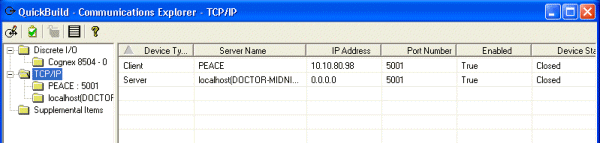
For example, the following figure shows the Communications Explorer configured with two new TCP/IP devices, one client and one server:
Perform the following steps to configure a TCP/IP device after you add it to the Communications Explorer:
Select the TCP/IP folder within the Communications Explorer.
The TCP/IP folder lists all the TCP/IP devices defined for this QuickBuild application. For each device, the Communications Explorer displays the following:
- Server Name: The name of the network device currently assigned as the server, which can be the current machine when it acts as the server.
- IP Address: The known IP Address of the server, or 0.0.0.0 when the current machine acts as the server.
- Port Number: Two TCP/IP devices exchange data over an assigned port number.
- Enabled: All TCP/IP devices are enabled by default, but you can disable each one as necessary.
- Device Status: A connected TCP/IP client device has an active communication path with a TCP/IP server. Otherwise, the status of the device is closed.
Select the Port Number and enter a port number for the communication path between client and server.
Communications Explorer uses a default port number of 5001 for all TCP/IP devices.
Select the TCP/IP device you want to configure.
Communications Explorer displays a dialog box for configuration options:
Configure the following communication options for this TCP/IP device:
- Encoder
- Output Terminator
- Output Delimeter
- Timeout
Use the remainder of the dialog box to configure the data you want to send in each TCP/IP packet.
See the next section Example Application for an example using a sample application included with your VisionPro software.
The following example shows you how to configure a TCP/IP connection to send one of the job results generated by a sample QuickBuild application included with your VisionPro software.
- Launch QuickBuild.
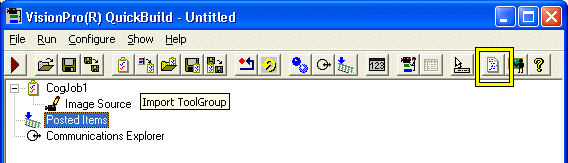
Click the Show Sample Code button:
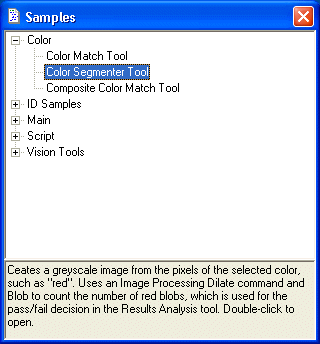
Double-click the file Color Segmenter Tool to add this sample to the application.
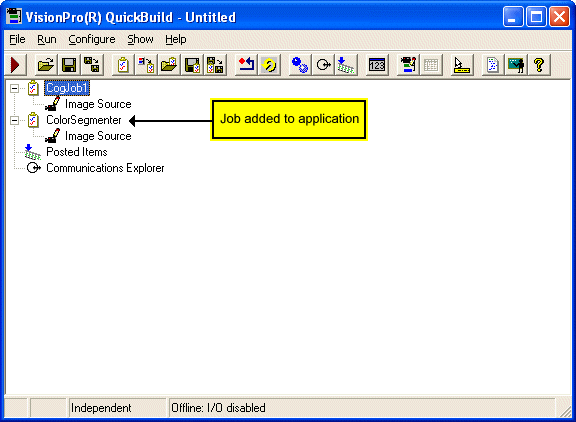
QuickBuild adds the existing Job to this QuickBuild application:
Double-click on ColorSegmenter to open the QuickBuild Job Editor and examine the vision task it performs:
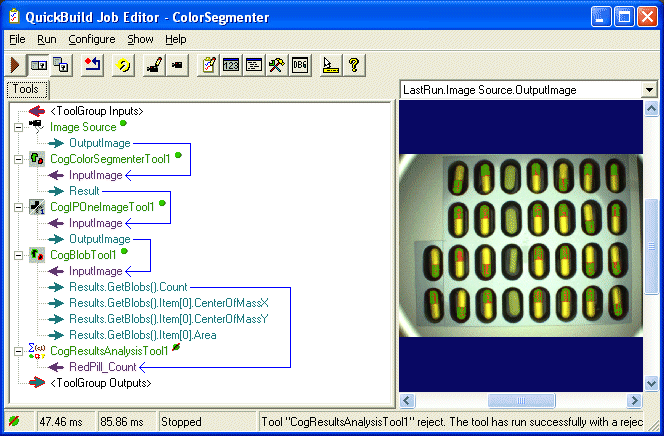
Specifically, the Job acquires images from an image-database file and uses the Color Segmenter tool to count the number of red and yellow pills in each blister pack. The Results Analysis tool at the end of the Job generates a Reject result if the pack does not contain exactly 30 red and yellow pills.
- Close the ColorSegmenter Job.
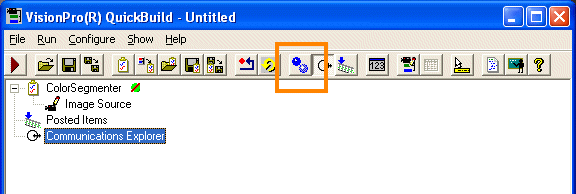
Open the Communications Explorer.
You can either double-click on Communications Explorer or click the Communications Explorer button on the tool bar.
The Communications Explorer opens as shown:
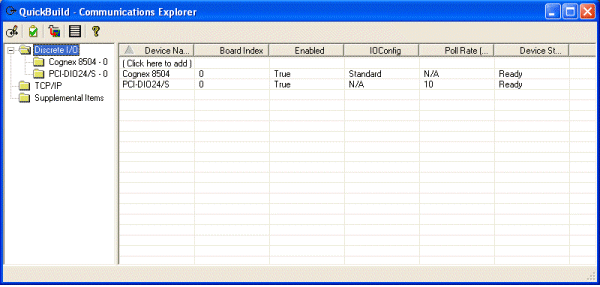
Note: The appearance of the Communications Explorer will vary depending on the I/O hardware installed on the PC.
Select the TCP/IP option:
You can configure the QuickBuild side of a TCP/IP connection as either a client or a server, depending on the needs of your vision application. In this example, the QuickBuild application will be configured as a client.
Right-click inside the Communications Explorer and choose Add->Client-> and then select the name of another node connected to the same network to act as a server. If necessary, you can use the same PC as both client and server.
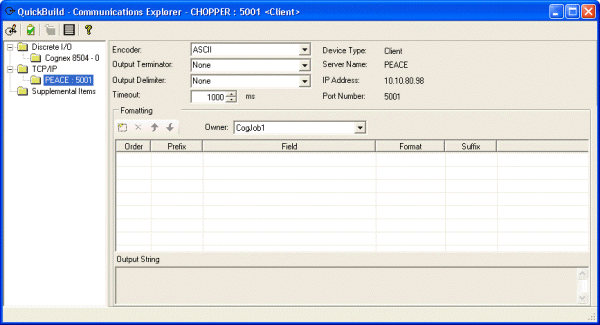
This example uses a server named PEACE. The Communications Explorer detects the IP address of the remote machine automatically, and assigns a default port number of 5001:

The Device Status remains Closed until you establish a connection with the server later.
Select the listing for the new TCP/IP connection under the TCP/IP option:
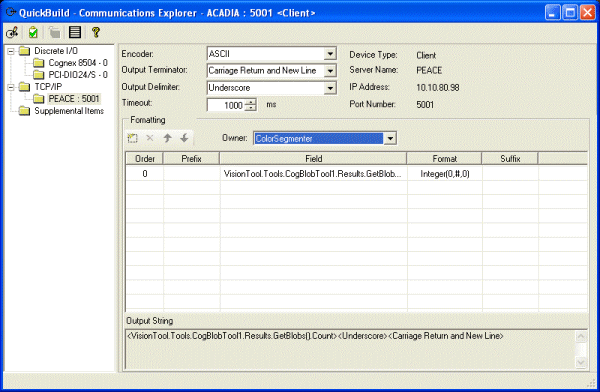
Using this interface you configure the format and content of outgoing TCP/IP packets.
Configure the format for TCP/IP packets. This example uses the following options:
- Encoder: ASCII
- Output Terminator: Carriage Return and New Line
- Output Delimiter: Underscore
The grid along the bottom of the TCP/IP Connection dialog box allows you to choose the output data you want to include in each TCP/IP packet.
- Click an empty space beneath the Field column to add a new entry and determine what data will be sent in a TCP/IP packet.
Use the Select Field dialog box to choose the number of found pills in each acquired image. The number of found pills corresponds to the number of blobs by the Blob tool.
Navigate down through the following path to locate the desired result:
- VisionTool <ICogTool>
- Tools <CogToolCollection>
- Item["CogBlobTool1"] <ICogTool>
- Results <CogBlobResults>
- GetBlobs() <CogBlobResultCollection>
- Count <Int32>
- Select the Count result and click Add at the bottom of the dialog box.
Click Close to close the Select Field dialog box.
The Communications Explorer now reflects the contents of the TCP/IP packet that will be sent with each run of the Job ColorSegmenter:
Return to the TCP/IP option of the Communication Explorer before you attempt to establish a TCP/IP connection to the server.
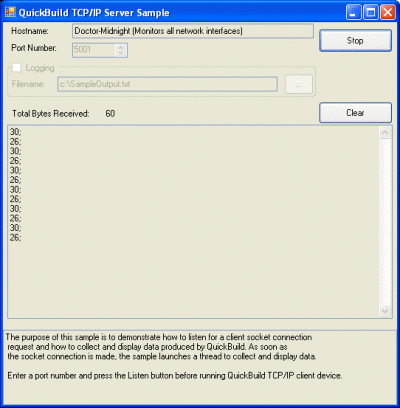
This example uses a remote application on the server PEACE to accept the outgoing TCP/IP data packets containing the number of pills found by the application.
Start the remote application in order to establish a TCP/IP connection.
You can use the sample TCP/IP server application QBServerSample, installed by default in the in the Program Files\Cognex\VisionPro\Samples\Programming\TCPIP directory.
Switch to the QuickBuild window and put the application in Online mode.
You can click the Online button in QuickBuild to switch to Online mode:
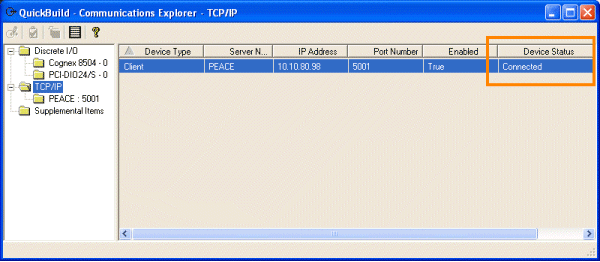
If the remote application is running successfully, putting the QuickBuild application in Online mode establishes a TCP/IP link. The Communications Explorer displays a Device Status of Connected when a valid TCP/IP connection has been made:
Click the Run Continuous button of the QuickBuild application to run the Job repeatedly.
The Communications Explorer sends the count of red and yellow pills after each execution of the Job. The following figure shows the sample TCP/IP server application QBServerSample, included with your VisionPro software, receiving packets of incoming data: