This topic contains the following sections.
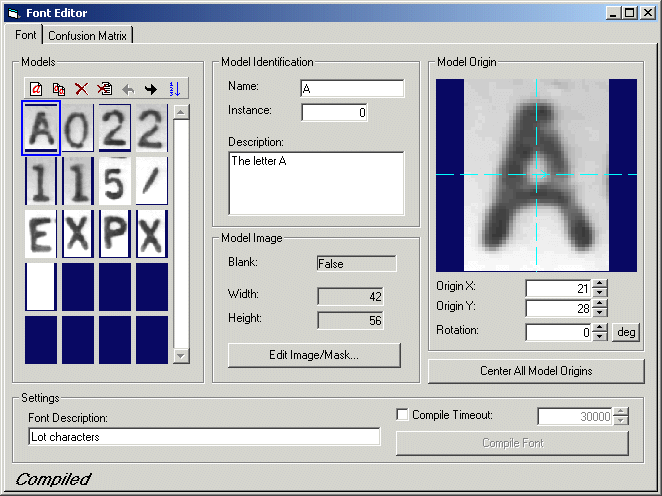
The OCV tool provides the Font Editor to design the font models you want to use to define your verification string. See the topic How To Use the Font Editor for details on creating font models. The following figure shows the Font Editor with a font of 13 font models:
Before you can train an OCV tool with the character string pattern you want to verify you must have a compiled font. Use the Compile Font button at the bottom of the Font Editor to compile the current font. If you add new font models or change the properties of any existing font model, the font becomes uncompiled.
The editor offers the following features:
- A thumbnail array shows you all the font models that belong to the current font.
- A mask editor allows you to add a mask to a font model.
- A confusion matrix illustrates the similarity, on a scale of 0.0 through 1.0, between any pair of characters.
Each OCV tool you use in an application supports its own Font Editor.
Use the Font tab to view and manage the font models in the current font. Use the Font Description field at the bottom of the tab to enter an optional description for this font. Use the Compile Font button to compile this font. The Font tab includes a Timeout field to specify the maximum amount of time, in milliseconds, allowed to compile the font. If the compilation is not finished within the timeout period, the tool will stop and generate an error.

The Models area of the Font tab displays a thumbnail gallery of all the font models currently defined for this font. Use the following buttons above the gallery to manage the font models:
| Button | Description | Function |
 | Add new model | Add either a new normal font model or a new blank font model to the current font. |
 | Copy the current model | Copy the currently selected font model and paste it as a new instance. |
 | Delete current model | Delete the currently selected font model. |
 | Delete all models | Delete all font models from this font. |
 | Move model left | Move the currently selected font model left within the collection. |
 | Move model right | Move the currently selected font model right within the collection. |
 | Sort all models alphabetically | Sort all models alphabetically by model name. |
The Model Identification area of the Font tab provides the following identification fields for each font model:
| Name | Description |
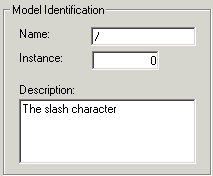
| Name | View the name for this font model you provided when you created it in the Normal or Blank model editor. |
| Instance | The OCV tool automatically numbers each instance of the model when you create multiple models for the same character, although you can change the default value if you choose to. |
| Description | You can enter a description for this font model here or when you create the font model in the Normal or Blank model editor. For example, if your font contains two "A" characters, the description for one instance could be "normal A" and the other could be "italic A". |
The Model Image area of the Font tab provides the following identification fields for each font model:
| Field | Description |
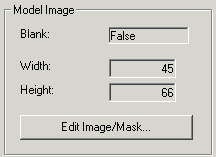
| Type | This field indicates whether the font model is type Normal or Blank. |
| Width | You determine the width of the font model when you create it. |
| Height | You determine the height of the font model when you create it. |
| Edit Image Mask | Edit the font model by modifying the pixels that form the character or by adding a mask to block some area of the font model by consideration. See the following topic on the Image and Mask editor for more information. |
Use the Model Image and Mask Editor to edit the character defined by the font model, or to add a mask to the font model and prevent one or more areas from consideration in acquired images. The following figure shows the editor with font model for the character "2":
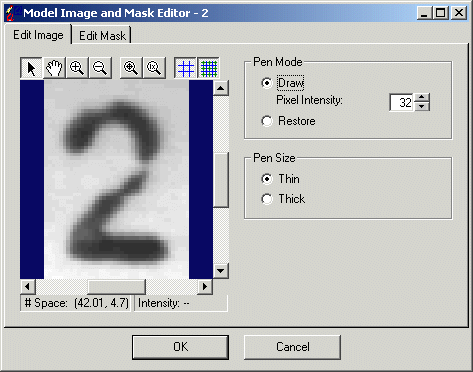
Use the Edit Image tab to edit the character defined by the font model. The tab provides the following options:
| Option | Description |
Pen Mode | Choose the grey level you want to use to draw on the image. Move the cursor over an existing pixel in the image to see its current grey value in the status bar. Choose Restore to color a pixel with the original grey value. |
| Pen Size | Choose the size of the pen to use. |
Use the Edit Mask tab to edit a mask and add it to the font model. The following figure shows the Edit Mask tab:
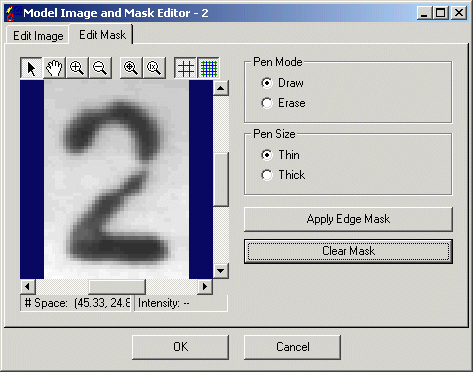
The tab provides the following options:
| Option | Description |
| Pen Mode | Choose whether to add mask pixels or erase mask pixels. |
| Pen Size | Choose the size of the pen to use. |
| Apply Edge Mask | Automatically add mask pixels to the edge of the character. |
| Clear Mask | Erase all mask pixels from the mask image. |
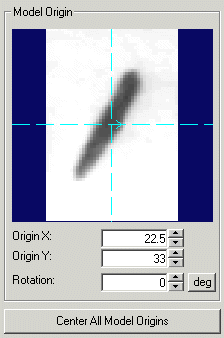
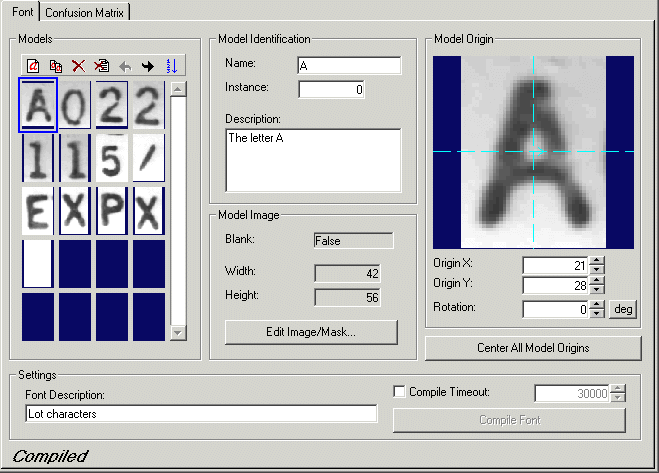
The Model Origin area of the Font tab shows the currently-selected font model and the current model origin, which the tool uses to specify the location of the character within the pattern and in the run-time image. The OCV tool also uses the font model origin as the point about which the model is rotated and scaled, if you specify a range of rotation or scale uncertainty. The Model Origin area contains the following information about the model origin:
| Field | Description |
| Origin X and Origin Y | You can change the (x, y) coordinate for the model origin, using either these fields or the graphic for the model origin superimposed over the image of the font model. |
| Rotation | You can specify a rotation for the model origin. |
Use the Center All Model Origins button to center the model origins for all font models.
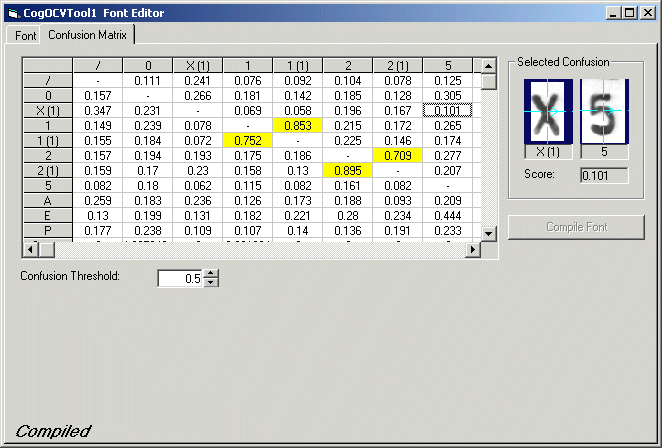
Use the Confusion Matrix tab to view the confusion matrix for the current font.
Select any cell in the matrix to have the tab display both font models and their confusion score in the Selected Confusion area of the tab. The font model on the left indicates the model the OCV tool might be attempting to verify at any given time, while the model on the right provides you with an idea of the confusion score between the model the tool wants to verify and this particular font model.
Use the Confusion Threshold box at the bottom of the tab to enter a confusion threshold value other than the default. The tab displays confusion scores in yellow for multiple instances of the same character, and red when the current threshold falls below the current confusion score between these two models.