Performing the Calibration
Generating a calibration transform to be shared among multiple 3D sensors involves the following steps:
- Perform multiple scans of your calibration target.
- The application checks to see that the scan is valid. See the topic Viewing Calibration Scans for details on how to view the scans the application takes. Be aware that an invalid scan is removed once a new scan has begun.
- Click Calibrate to finalize the calibration.
- Save the calibration file for use in your 3D sensor acquisition sources.
The application displays the following graphic at the start of the calibration process:
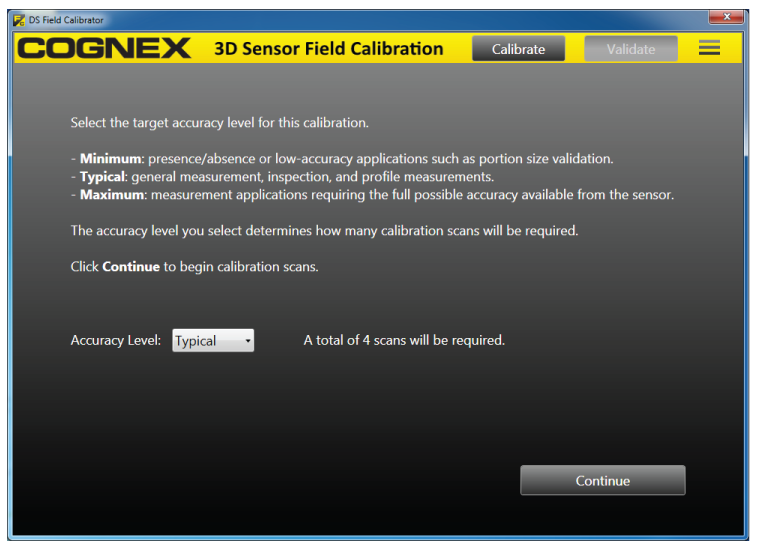
The number of vertical and horizontal scans you must acquire depends on the accuracy level you choose:
| Accuracy Mode | Vertical Scans | Horizontal Scans |
| Minimum | 1 | 1 |
| Typical | Number of Sensors | 3 |
| Maximum | Number of Sensors * 2 | Number of Sensors + 2 |
Cognex recommends the Typical accuracy level for most applications. Use the Maximum level if the Typical level does not generate the accuracy your vision application requires.
Cognex recommends the Minimum level for low-accuracy, single-sensor applications or demonstrating the calibration procedure.
Click Continue and follow the prompts to perform the calibration process.