Launch the WebHMI in HTTPS Mode
Once you have set up the secure HTTPS connection on the In-Sight device (see the Set Up the HTTPS Connection topic for more information), you can connect to the WebHMI through a secure connection either with the Open HMI button of In-Sight Vision Suite or through your web browser while the job is running. Verify that the HTTPS connection works properly with the following steps:
- Launch In-Sight Vision Suite, and left-click on your In-Sight device in the In-Sight® Device Pane.
- Click the EasyBuilder and Spreadsheet Connect button to connect to the selected device and launch the adapter. If no job was running previously on the device, a new one is automatically generated.
- Once you opened an existing job or generated a new one, click Verify in the adapter to verify your job, then click Run (or press F5) to set your job Online. The webpages of the WebHMI should then appear in the working space of the development adapter.
-
Close the development adapter tab at the top of the In-Sight Vision Suite window, and select the In-Sight device you configure on the In-Sight® Device Pane if it is not already selected.
-
Click the Open HMI button to open the WebHMI. Depending on whether you use Cognex Network Server (CNS) or a custom Certificate Authority (CA), and whether the CA is already trusted on the PC running In-Sight Vision Suite or not, the following may happen:
- If you use your own custom certificates for authentication, and the custom CAs are already trusted on your PC, then the WebHMI should open through the HTTPS protocol in the browser.
-
If you use CNS for authentication, and the CNS CA is already trusted on your PC (for example because you are on the same computer that you used to configure the HTTPS connection), then the WebHMI should open through the HTTPS protocol in the browser.
Note: When opening the WebHMI, the browser may first open using the HTTP protocol, and then immediately gets redirected to HTTPS. This is normal behavior. -
If you use CNS for authentication and the CNS CA is not yet trusted on your PC, then the browser window is redirected to a custom CNS web page, allowing you to quickly add the CNS CA to the trusted authorities.
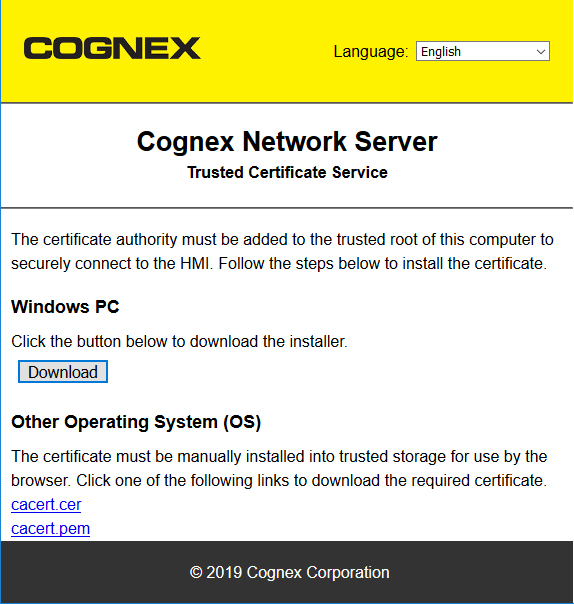
Click Download to get the necessary files, then open the downloaded installer.
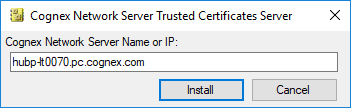
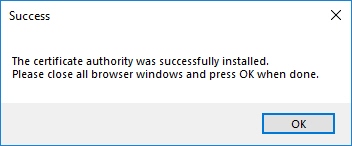
Click Install. If you have the required administrator privileges on the PC, the certificates should be successfully added to the trusted list, indicated with the following message.
 Tip: If you want to access the WebHMI later with a PC using an operating system other than Windows, then you can also use this page to download the *.cer and *.pem files of the certificate, and add them to the trusted storage of the operating system.
-
Verify in the URL bar of the browser that the connection is using the HTTPS protocol.
