Image Viewer
The Image Viewer window can be docked in several places of the application, it can be pinned or set to auto-hide on mouse leave.
To open the Image viewer, select a reader in the Connect backstage page, connect to it, and go to the View tab. There, click on the  button to open the Image Viewer window:
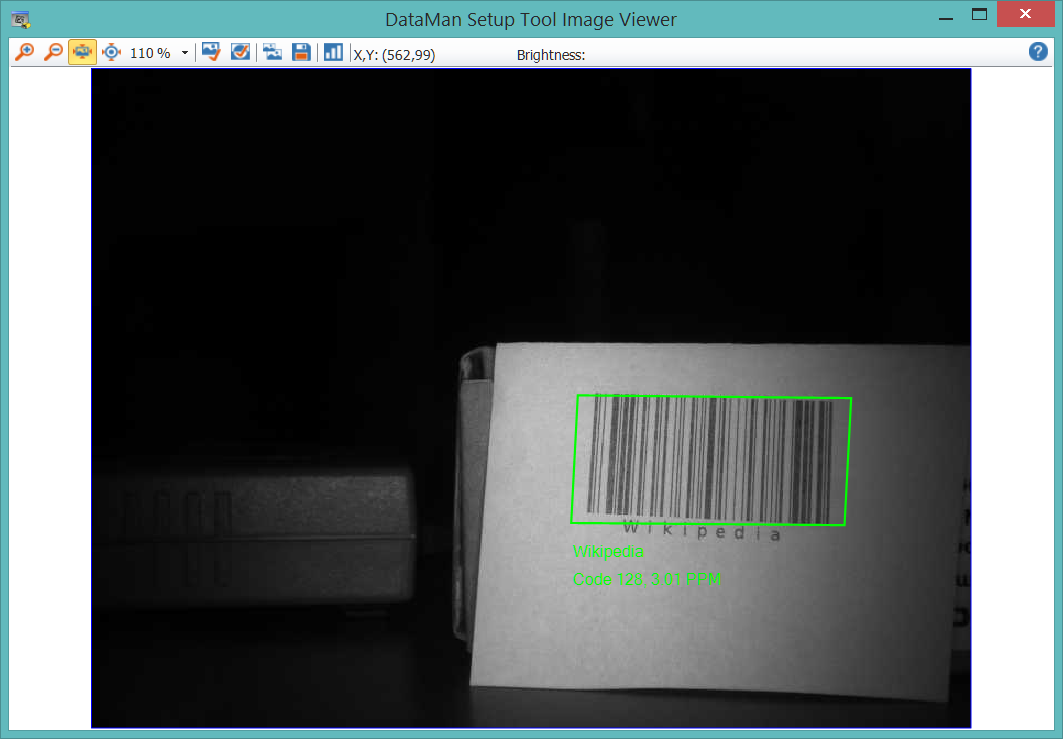
In this window, you can view the image read by your reader. The image is zoomable, it can be copied to the clipboard or saved to a selected folder. You can also select to check the histogram of the read image and the brightness data of a selected point in the image. Use the buttons on the toolbar ribbon of this window to carry out these tasks.
You can view the read image on the right hand side of the window: the Image Panel is always displayed by default. On the View tab you can switch on and off by clicking the  icon. This window can also be docked in different places of the application.
Example:
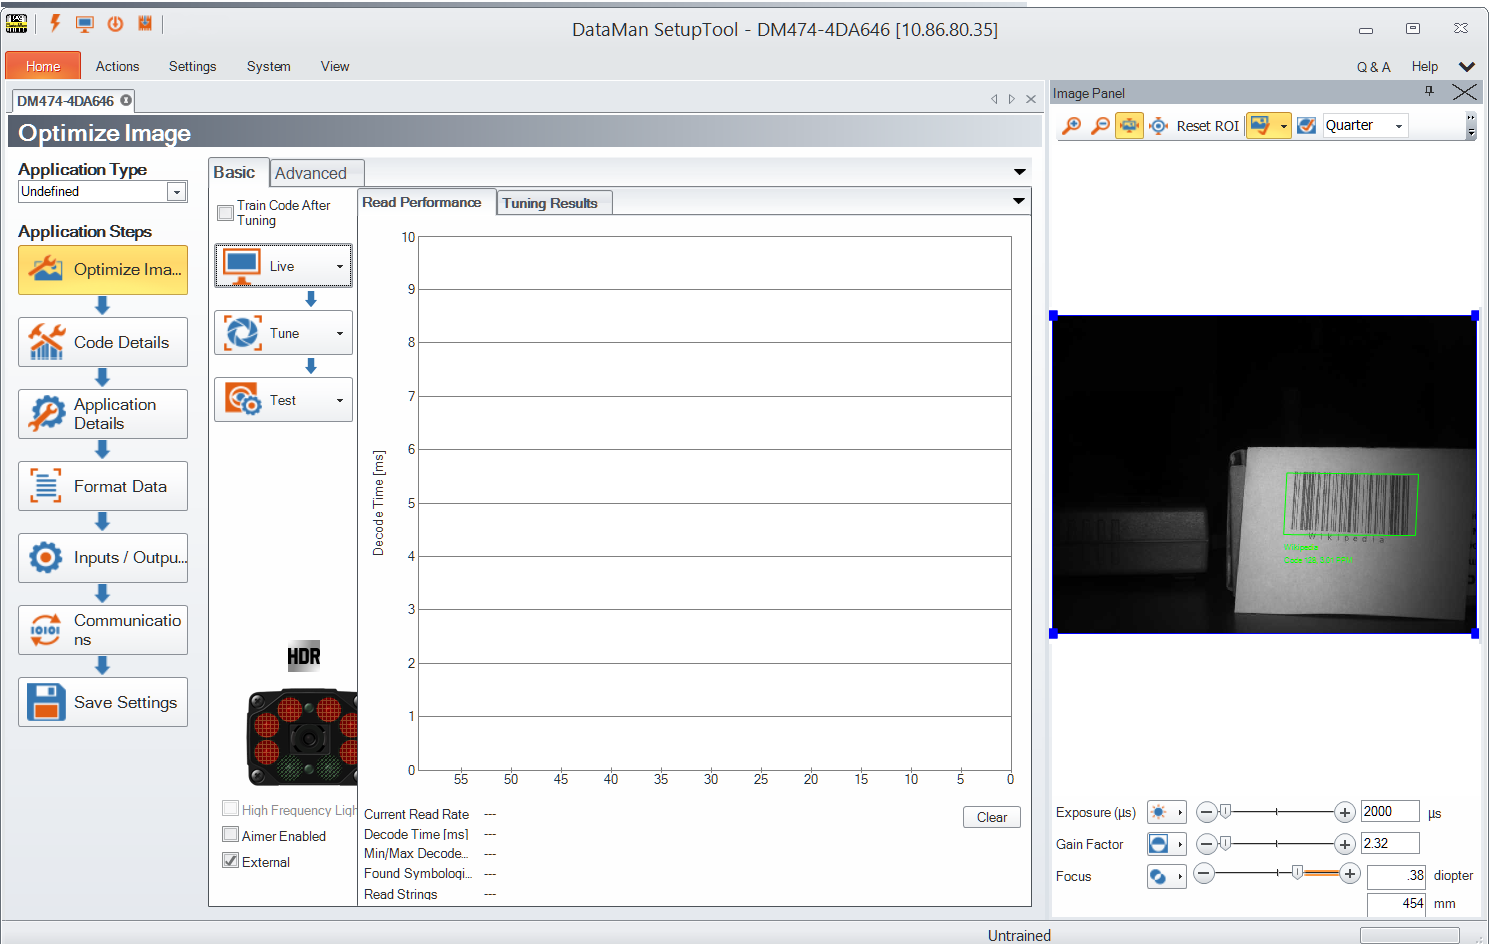
The same zooming options are available here as in the Image Viewer window, but you can also log no-read and decoded images to the file system from this pane using the Logging options (click the More Buttons drop-down arrow on the far right side of the Image Panel:

Clicking the last option here opens the Setup Tool Options window, in which you can set the default folder where logs of no-read and decoded images are to be saved.
Because of multi-reader support, several device document tabs can be open at a time, which means that there can be multiple image sources at the same time. Therefore, the Image Viewer receives image data only from the currently active device document. If the current document cannot provide image data (e.g. it is a Reader Group Editor), the content of the Image Viewer window will be empty.