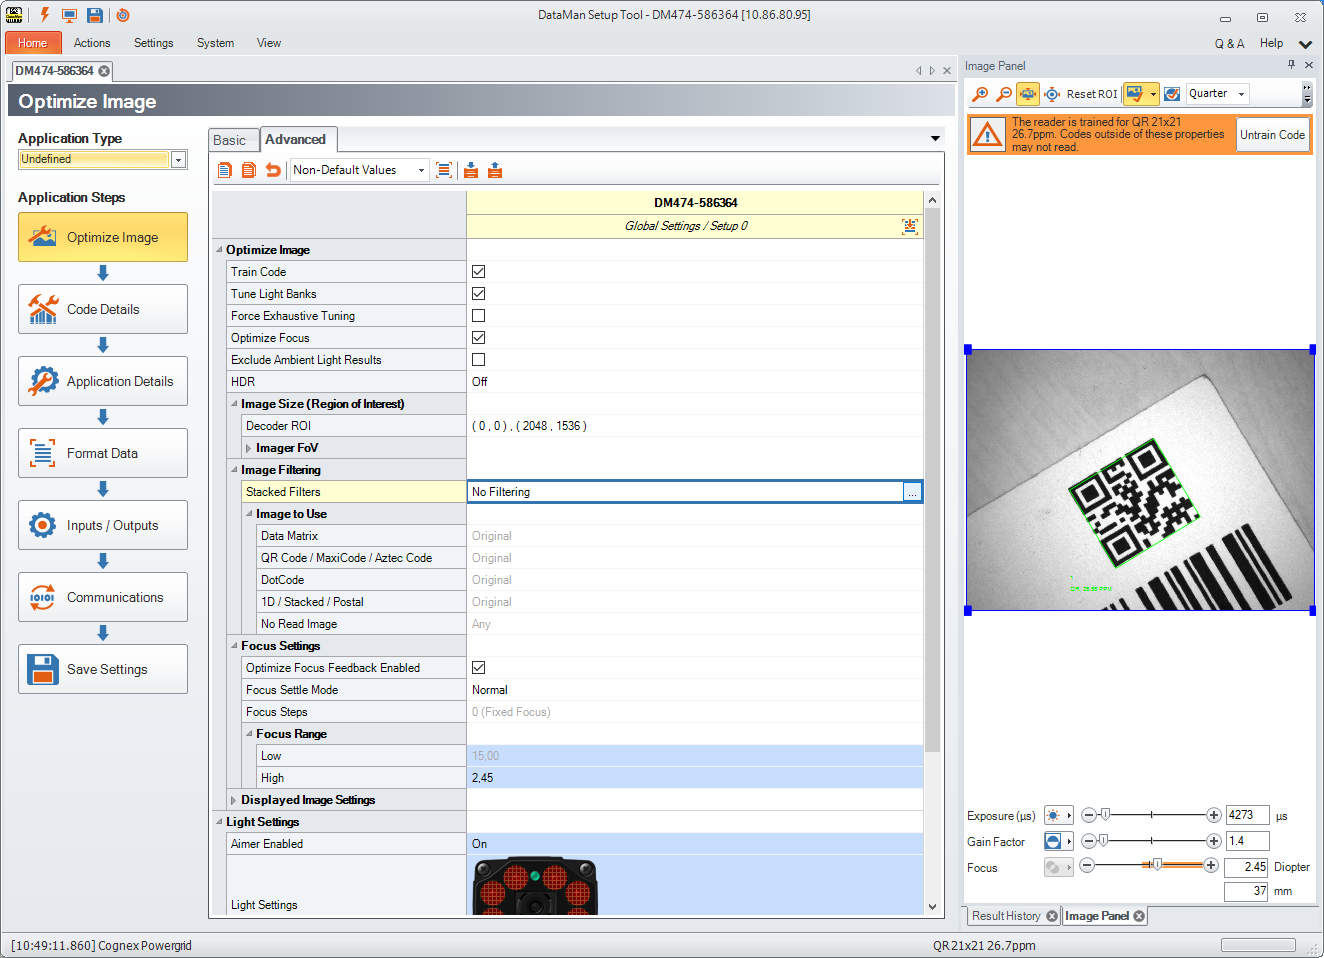
Optimize Image
The first application step is Optimize Image, providing you a means for a quick setup in one step. Three buttons (Live, Tune, and Test) help you setup the reader in this pane.
Each button contains additional options that appear by clicking the arrow on the side of each button.
Live
Click the Live button to enter Live mode. Live mode not only monitors what the device sees, but it decodes as well. In the drop-down window of the Live button, you can find further options to configure Live mode and reader settings.
The following controls provide a subset of frequently used reader settings, which are duplicates of controls from other DataMan Setup Tool panes:
- Decoding: the device decodes the images taken
- Focus Feedback displays a color-coded meter on the right side of the image view. The meter indicates the focus of the lens (lower is less focused).
- Automatic Exposure: the reader automatically determines the best exposure settings.
In the Image Panel, you can change the region of interest (ROI) of the reader by sliding/dragging the blue ROI box. This is the area the reader will attempt to perform reads on.
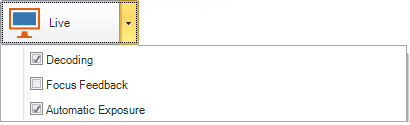
Tune
Click the Tune button to automatically find the best settings for your reading. The advanced window reveals the following features:
- Click Optimize Brightness to set the recommended brightness for your device automatically (only available if Manual Exposure is set), or, for advanced settings, click the link next to the button to navigate to the appropriate pane under Application Details. Alternatively, click the brightness icon under the image, or use the slider for manual brightness setup.
-
Choose between Automatic Exposure or Manual Exposure as desired for your application. Camera gain can be controlled by a separate slider.
- Use the Maximum Gain Factor to set the target's maximum pixel brightness.
- Click Optimize Focus to set the recommended focus for your device automatically. For advanced settings, click the Advanced Application Details link to navigate to the Advanced tab under Application Details or the appropriate pane under Light and Imager Settings. Alternatively, click the focus icon under the image, or use the slider for manual focus setup.Note: Optimize Focus only appears when your device is equipped with a liquid lens.
- Click Train Code to train codes, or click the link next to the button to navigate to advanced code training settings.
- You can configure the reader with any of the following Trigger Types if Manual Exposure is set (some trigger types are not available on all devices):
-
Single
-
Presentation
-
Manual
-
Burst
-
Self
-
Continuous
For more information on trigger types, see Application Details.
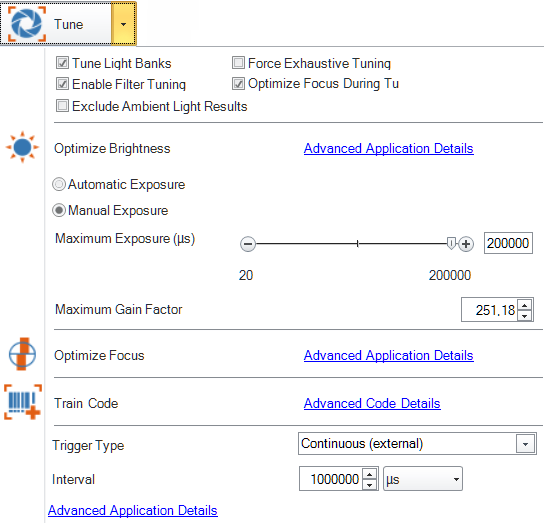
The Tuning Results pane on the right shows a detailed tuning graph.
You can select a result other than the recommended one by clicking on it and then clicking Apply selected in the bottom row:
- If you set Tune Light Banks, the device tunes the light banks. If you know which light settings you want to use, disable it, so the tuning doesn't overrule your preset.
- Selecting Exhaustive Tuning will force tuning the light banks. When Exhaustive Tuning is disabled, and the reader succeeds to read the code with the primary light setting, it will stop to try other light bank combinations. If Exhaustive Tuning is on, the reader will continue to try all combinations to look for the best one, no matter whether or not the first one succeeded.
- If Enable Filter Tuning is selected, the DataMan Setup Tool applies filters to the read image. The filter that was used to successfully read the code is then shown in the Tuning Results window under Image Filter.
- If you want the focus to be automatically optimized during tuning, check the Optimize Focus During Tuning option.
-
Exclude Ambient Light Results if you want to exclude ambient light results for the tuning process. Ambient light results are automatically selected otherwise, because they are the prevailing illumination type for fixed-mount readers.
Test
Click the Test button to test your device with a configuration, without any disruption to production.
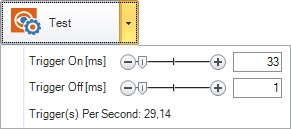
If you selected a trigger type that is external (that is, not Presentation or Self trigger mode) under the Tune button, you can trigger the reader automatically using Test mode to validate and test your application. You can set up an appropriate duty cycle for the reader using the Trigger On and Trigger Off times. The Trigger(s) per Second value shows the calculated trigger frequency.
You can reduce either Trigger On or Trigger Off times to reduce the cycle time, and thus increase trigger frequency.
In the Advanced tab you have further configuration options. In a table-style view you can see the settings and the corresponding values for optimizing your image (Image Size, Image Filtering, Focus Settings and Displayed Image Settings) as well as setting light values (External Lights and High Frequency Lights).
Read Performance
With the graphs in the Read Performance pane on the right, you can monitor decode times and read rates in real time. Click the Clear button to reset the graph.