Add and Configure a VisionPro Tool Block
After images are available, they can be processed by vision tools and their algorithms. In this sample application, a simple Affine Transform tool will be used to illustrate the process.
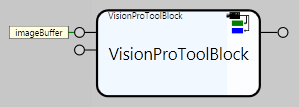
- From the Toolbox, expand the Vision > VisionPro node and drag and drop a Tool Block onto the CopyRegion Task. By default, this toolblock is created with an input pin that waits for a VisionPro iCogImage.
- Right-click on this input pin and assign it to the imageBuffer tag.
- Press the Run
 button to execute the Task and pass an image to the Tool Block.
 - Double-click the VisionPro Tool Block to open the Tool Block in a new tab, where it can be configured.
- From the Toolbox, expand the Image Processing folder and drag and drop a CogAffineTransformTool between the [Inputs] and [Outputs] in the Tools tab.
- Link the [Inputs] Image to the CogAffineTransformTool InputImage parameter, and press the Run Tools button to force the tool to execute.
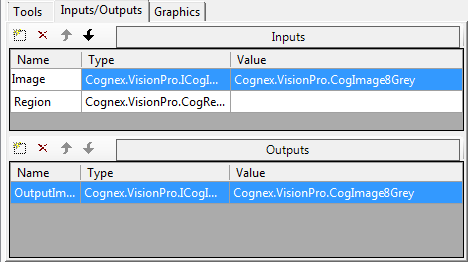
- Go to the Inputs/Outputs tab, select Browse and add a new input: Cognex.VisionPro.CogRectangleAffine. Name it "Region."Note: You can find this input under VisionPro | Cognex.VisionPro.Core.dll | Cognex.VisionPro | CogRectangleAffine.
-
Add a new Output: Cognex.VisionPro.ICogImage. Name it "OuputImage."
- Go back to the Tools tab, right-click the CogAffineTransformTool and select Add Terminals from the menu.
- Select Region and press the Add Input button, and then the Close button.
-
Link the [Inputs] Region to the CogAffineTransformTool Region parameter, and the CogAffineTranformTool OutputImage parameter to the [Outputs] OutputImage output.
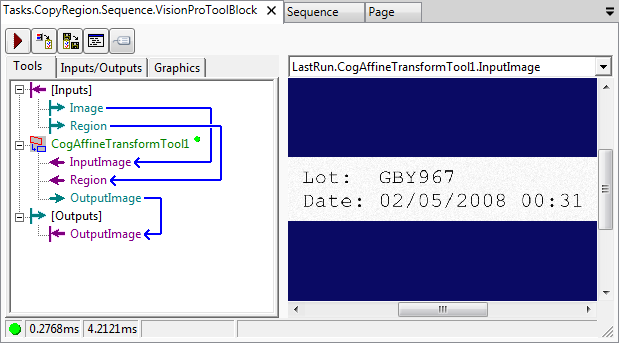
- Press the Run Tools button to force the tool to execute again and ensure that the tool still passes.
-
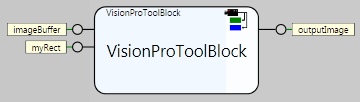
Go to the Task tab, and the Tool Block should appear with two input pins and one output pin.
- Right-click the unlinked input pin, and select Assign to Tag.
- Check the Show All Types checkbox, and select the myRect tag, which was created in the Connect Through Tags step, and press the Accept button.
- Right-click the unlinked output pin, and select Assign to Tag.
- Select the outputImage tag and press the Accept button.
-
Press the Run button to execute the blocks and ensure the images are being passed through.
