Use a SmartLine tool to train an application to find desired line features in your run-time images. The SmartLine tool can be trained using images of the line features you want to find rather then strict rule-based decisions using image analysis tools such as LineMax.
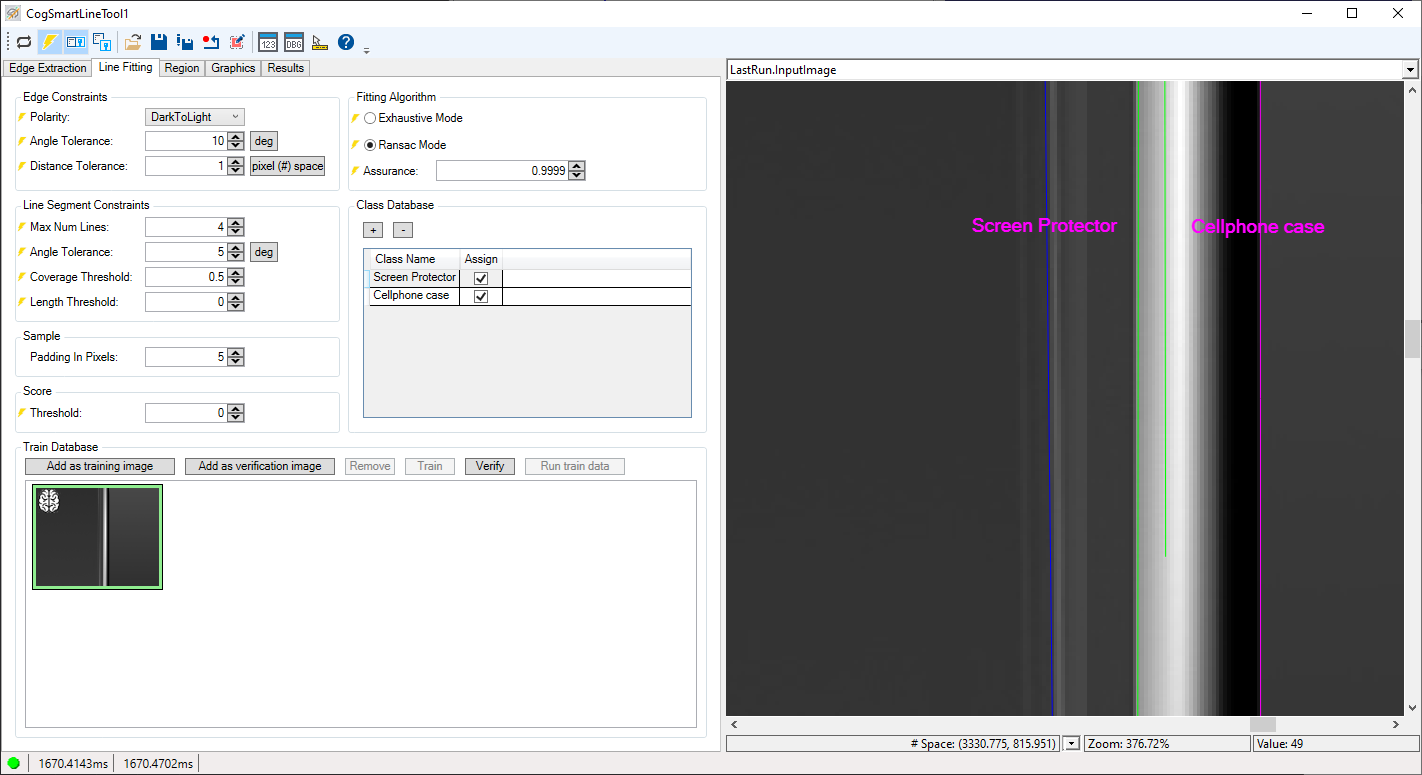
A SmartLine tool can attach labels to one or more line segments for use in your application. See the following figure for an example where the SmartLine tool identifies the features corresponding to a screen protector and the case of a cell phone:
Successfully training a SmartLine tool for your application requires a comprehensive set of training images that represent the range of defects and acceptable part variations the application needs to handle in production.
The SmartLine tool offers the same line-finding parameters as a LineMax tool for applications where you need to specify precise edge and line constraints. See the topic Using a LineMax Tool for details on using a LineMax tool. Training a SmartLine tool can often be easier than configuring all the line-finding parameters offered by a LineMax tool.
See the following sections for more information:
The SmartLine tool uses the same edge and line finding parameters as a LineMax tool. For reference, see the following sections from the topic Using a LineMax Tool for details on what type of edge and line-finding parameters you can modify:
The SmartLine tool uses sample images to locate desired line segments in your run-time images, and must have a train database of images where the desired line segments have already been located and labeled.
Cognex recommends you use an image database of candidate images your vision application likely acquires. Perform the following steps using QuickBuild and the SmartLine Tool to create the train database:
- Launch QuickBuild and select an image database of candidate images as your image source.
- Add a SmartLine tool and run the ToolBlock once to give the tool an input image.
Open the SmartLine edit control and use the interactive graphics it offers to specify the orientation of the line segment or segments you want to locate.
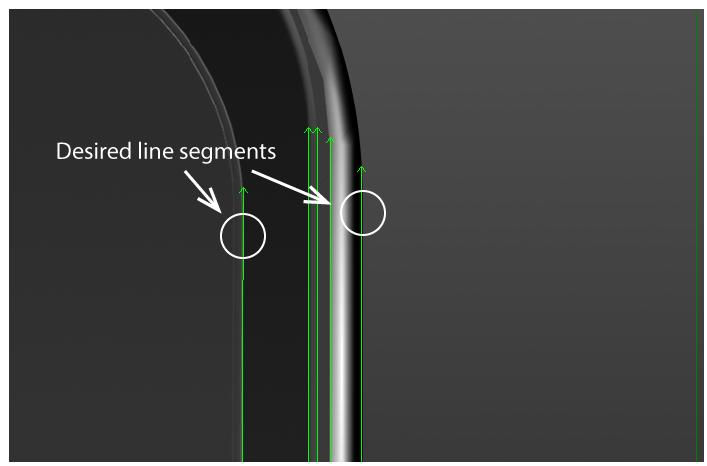
The following figure shows an image where the two line segments of interest are located along with other segments:
- Switch to the Line Fitting tab of the SmartLine tool edit control.
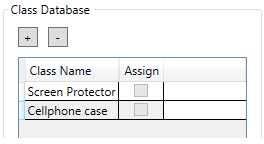
Use the Class Database section of the edit control to create a label for each desired line segment. For example:
For each desired line segment in your LastRun.InputImage:
- Click on the line.
- Click Assign in the Class Database.
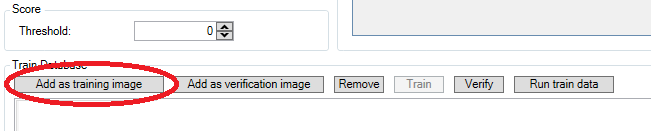
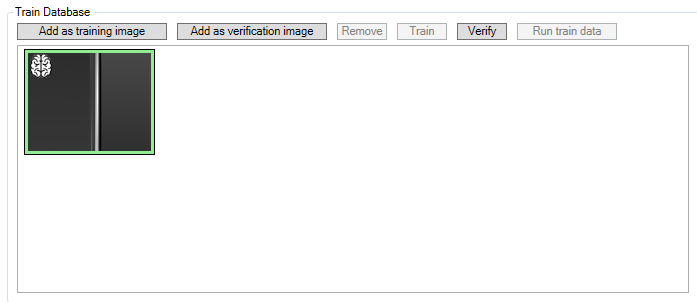
When all desired line segments have been assigned a label, click Add as Training Image in the Train Database:
The SmartLine tool adds this image to the database of trained images:
- Run the SmartLine tool and confirm that it finds the desired line segments and labels them correctly.
Run the ToolBlock on the other images in your image database. For any images where the SmartLine tool does not label the correct line segments:
- Select the mis-labeled line segment.
- Clear the Assign checkbox in the Label Database.
- Select the correct line in your LastRun.InputImage.
- Check Assign in Label Database.
- Click Train in the Train Database.
As you build your train database you might need to change tool parameters from one train image to the next.
Refer to the following sections for managing your train database:
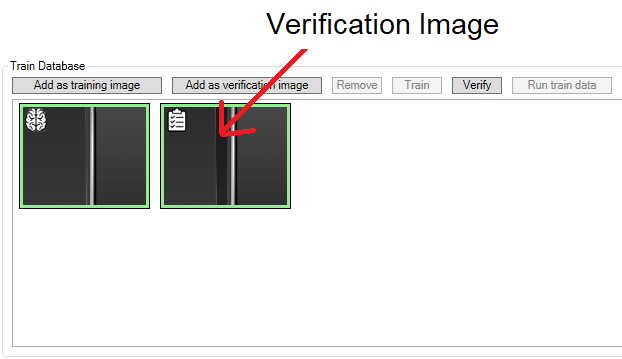
The SmartLine tool offers you the chance to add a verification image to your Train Database. Add verification images to store any image that must be successfully analyzed by the SmartLine tool regardless of how the tool parameters are modified.
The SmartLine tool edit control displays verification images with an icon at the top-left:
You can select and click Verify on the verification image to verify it passes with the current set of parameters.
As you build a train database one of the existing images in the database might display a yellow border to indicate the training image is in an invalid state:
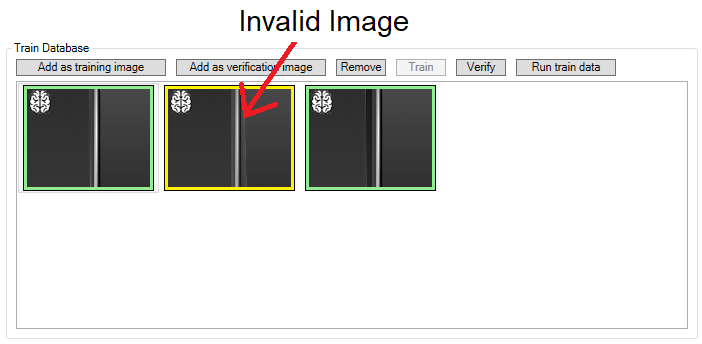
This occurs when you add an image to the train database with one or more labels and later add an additional label for future training images. The original image with fewer labels appears as invalid in the train database.
You may choose to click Remove and delete the invalid image from the train database. Depending on the features of that particular image, however, you may want to replace the invalid image with a valid image containing all known labels.
Perform the following steps to replace an invalid image:
Double-click on the invalid image.
The tool analyzes that image again and results appear in the LastRun.InputImage buffer. In many cases the tool might correctly locate and label the correct line segments in the image.
- Clear the Assign checkboxes in the edit control.
- For each label, select the correct line segment that represents that label and click Assign.
- Click Add as training image to re-add this image with all the current labels to the train database.
- Select the invalid image and click Remove to delete it from the train database.
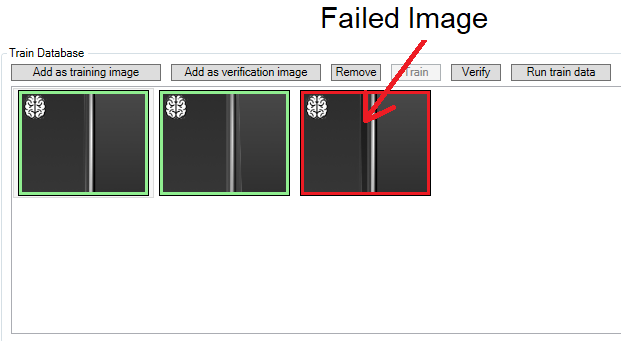
As you build a train database you might be changing tool parameters and cause an existing train image in your database to fail based on the current parameters:
Cognex recommends you select the failed image and click Remove in the Train Database and click Train to retrain the tool based on the remaining images in the database.