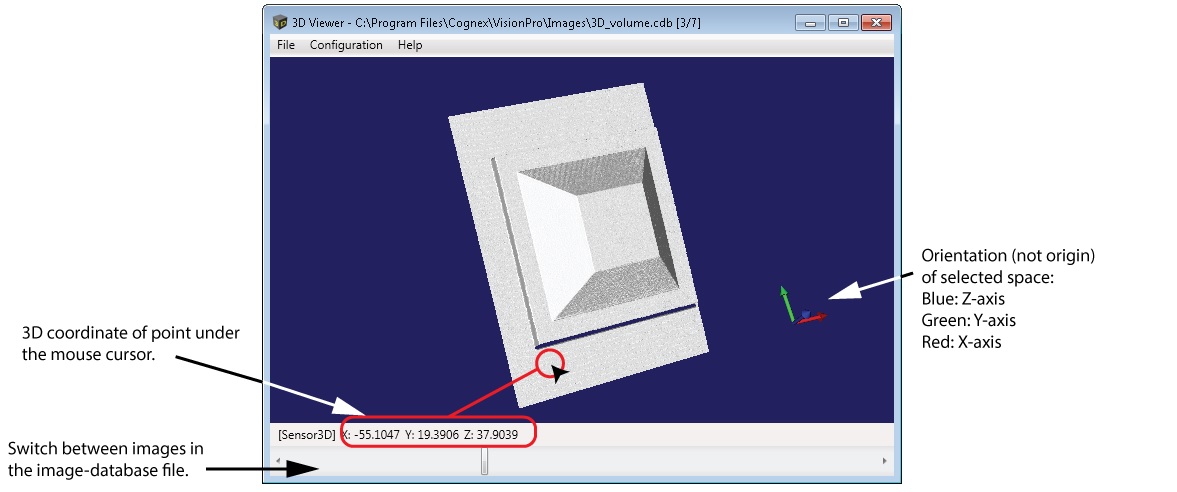
Use the 3D Viewer to view range images or RangeWithGrey images acquired from a Cognex 3D displacement sensor in a three-dimensional environment.
| Range image on the display | Same range image in the 3D Viewer |
|---|---|
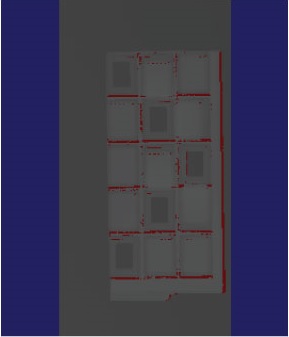 |
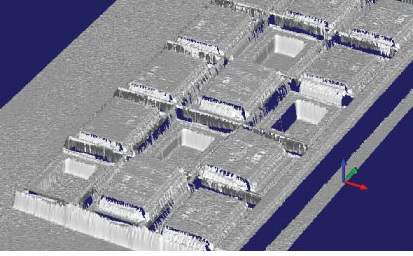 |
| RangeWithGrey image on the 2D Display | Same RangeWithGrey image in the 3D Viewer |
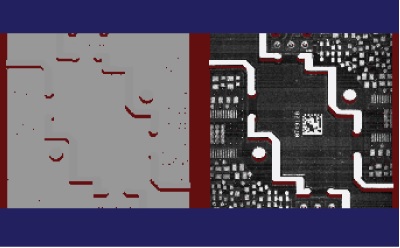 |
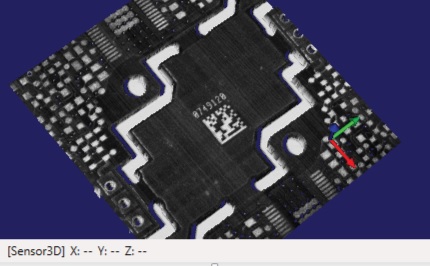 |
Launch the 3D Viewer by choosing Start->All Programs->Cognex->VisionPro->Utilities->VisionPro 3D Viewer.
Viewing 3D Images
Choose File->Open to open and view CDB or IDB files that contain range images.
Changing the View
To change the view of the 3D image:
Rotate the image by holding and moving the left-mouse button.
Pan the image by holding down the Shift key and the left-mouse button while moving the mouse.
Zoom in or out using the mouse wheel.
Dolly to the other side of the image by holding the Ctrl key and using the mouse wheel.
Resetting the View
Right-click in the 3D display to show options for fitting and resetting the view:
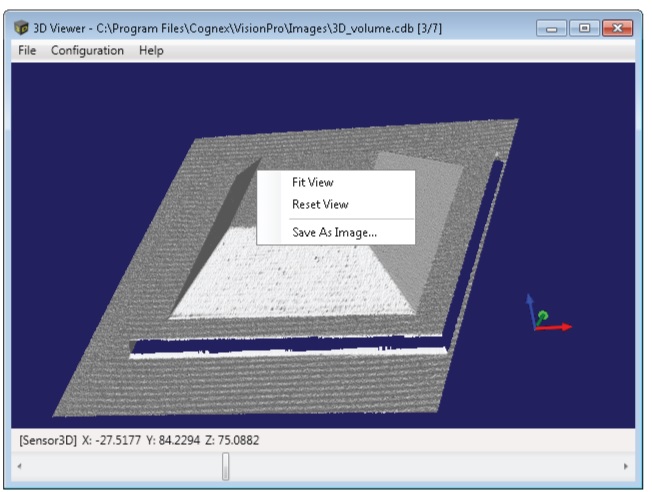
Both the Fit View and Reset View options adjust the pan and zoom so that graphics appear centered and at maximum size. Choose Fit View to leave the orientation unchanged or Reset View to adjust the orientation so that the X-axis extends horizontally and the Z-axis points straight out towards you.
Enabling Range With Grey Viewing
Choose Configuration->Model Settings and enable the Range With Grey option to view the image in RangeWithGrey mode:
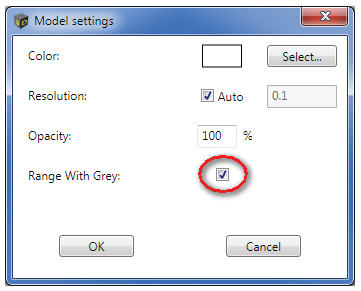
Be aware that if you select the Range With Grey option and the image does not contain grey image data, the 3D Viewer will not interpret the range image data correctly.
Save an Image to File
Right-click on the display and choose Save As Image to save the current view to an external file (PNG, BMP, JPEG format).
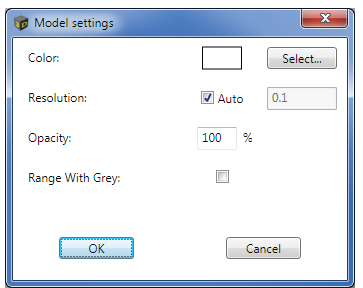
Changing Model Settings
Choose Configuration->Model Settings to change the model settings:
-
Color: Change the color of displayed features
-
Resolution: Select Auto resolution (default) or specify the resolution manually.
The data in the 3D image is subsampled to create the information to be displayed in the 3D viewer. The Resolution value specifies the subsampling rate of the vision data in DisplaySpaceName3D units: 0.1 in Sensor3D space means that the 3D Viewer subsamples by 0.1 mm. The resolution setting directly affects display performance - the lower the value you specify (resulting in higher image resolution) the slower the performance will be. Your specific application needs will determine the trade-off between resolution and performance.
With Auto resolution, the 3D Viewer automatically calculates a resolution value for good performance. If you select Auto resolution, the value specified in the numeric field is ignored.
-
Opacity: Change the opacity of displayed features. The display performance does not increase as you decrease this value.
-
Range With Grey: Enable viewing 3D images that combine height data with greyscale values.
Rendering Differences Between 2D Display and 3D Viewer
The 3D Viewer might render 3D image data differently from what is seen in a 2D display:
-
Images might be changed in proportion in the 3D Viewer compared to the 2D display, for example, becoming squeezed or elongated.
-
Images might have the bottom rows displayed in a 2D image become the top rows of a 3D image.
-
Images might have data shown on the left part of a 2D image become the right part of a 3D image.
This behavior is often a result of the following:
-
Editing your custom 3D transforms in an incorrect manner.
-
Editing Sensor3D in an incorrect manner.
-
The aspect ratio of the object under inspection in the range (or RangeWithGrey) image was not preserved during acquisition. That is, the scale in the X direction does not match the scale in the Y direction.
-
The acquisition direction was set incorrectly.
-
AutoCorrectPixelRowOrder was not set in a manner that the 3D Viewer expects.
Be aware of the following reasons for visual differences between a 2D display and the 3D Viewer:
-
The 2D display always has a row-wise and column-wise (pixel grid) understanding of the data it shows. It shows the pixels as they are acquired and stored in the pixel grid of the image. The first row of pixels on the screen always represents the first row stored in the image.
-
The 3D Viewer maps all range-image data to a physical space defined by the DisplaySpaceName3D property of the display, and disregards the pixel-grid nature of the stored data in favor of representing that data in the physical space. (DisplaySpaceName3D has the default value of ".", which in turn results in using the SelectedSpaceName3D of the range image.) The 3D Viewer disregards which pixel comes first or last in the range image (or RangeWithGrey image) pixel buffer. It only processes what physical position that pixel represents in the physical space.
© Copyright 2017 Cognex Corporation. All rights reserved.
Microsoft and Windows are registered trademarks of Microsoft Corporation in the U.S. and other countries.