Classify Tool
Use a Classify tool to examine an acquired image and label it with one of several classes that you define. In the following example, a Classify tool analyzes images of candy wrappers to determine the correct variety:
The Classify tool allows you to specify a region of interest (ROI), and train the tool by labeling an initial training set of images. Once you have trained the Classify tool, it is able to output a class for this region on other images by comparing with the training set. The Classify tool utilizes deep learning technology to distinguish the characteristics and differences of the selected image part, giving you real time feedback on your training progress and the accuracy of class predictions.
To add a Classify tool to your project:
-
Acquire a set of training images.
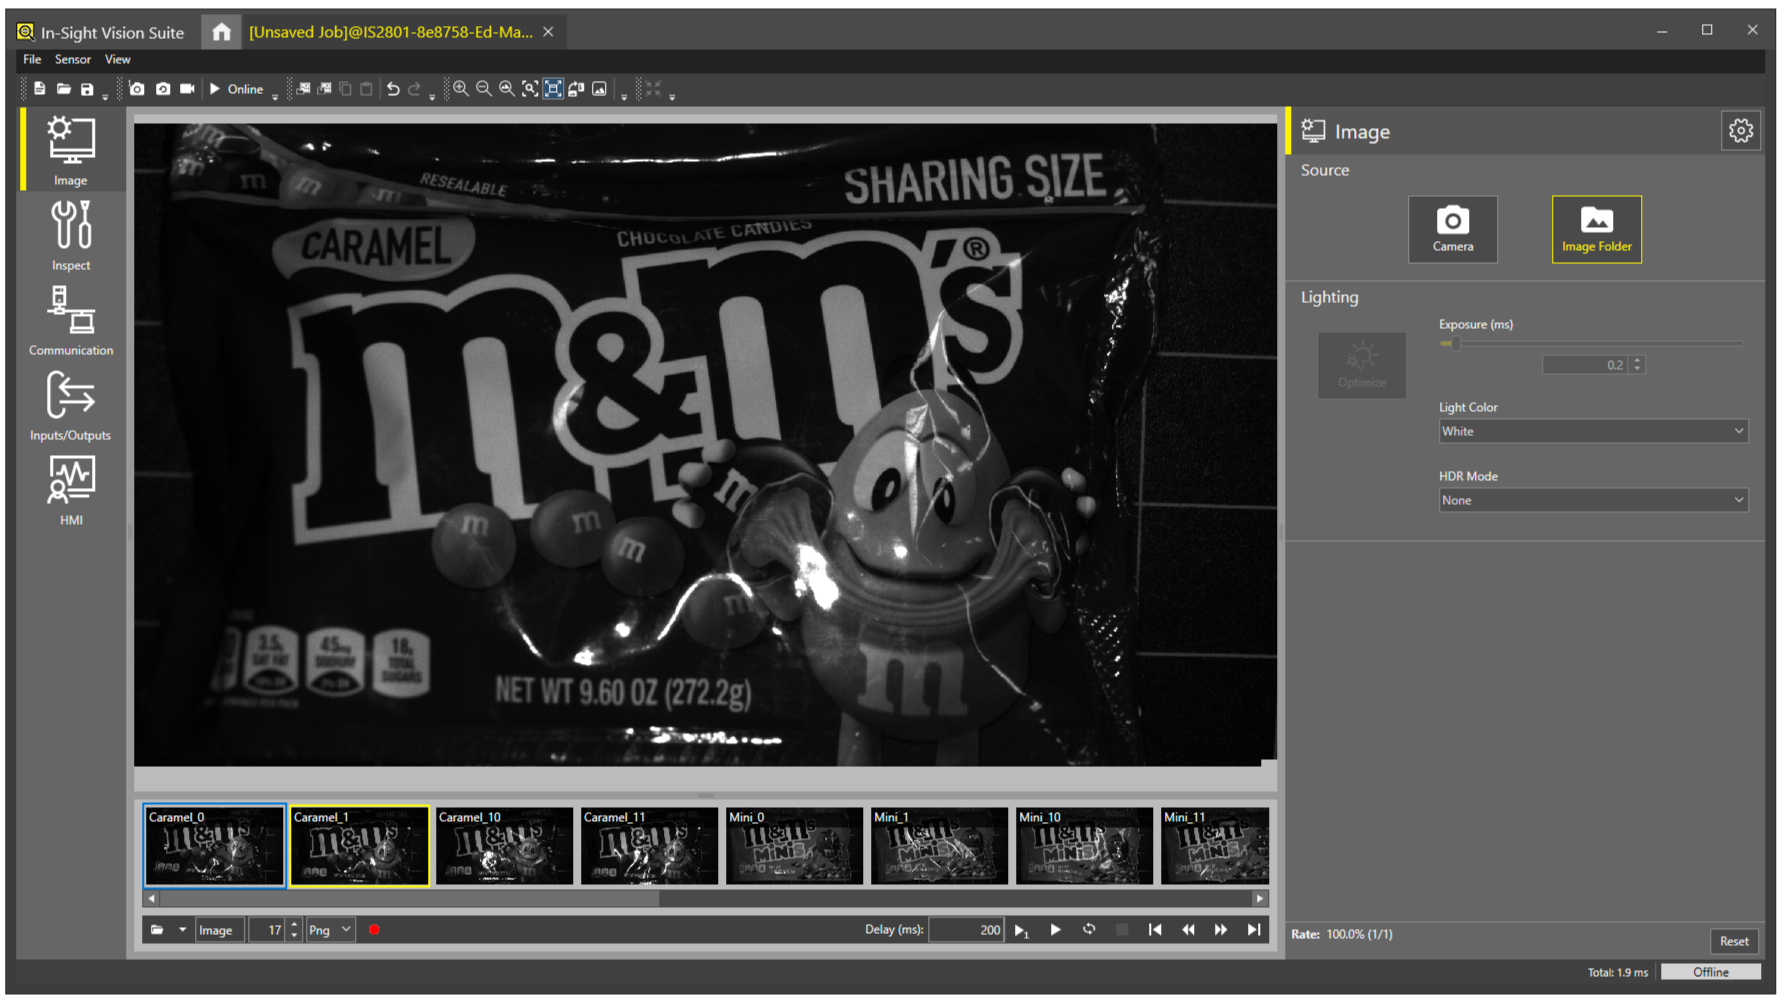
You must train a Classify tool with a set of images representing the types of images your deployed application might encounter. More training images can improve the accuracy of the tool, but require more time to create a training image database. The following figure shows the Filmstrip with a set of saved image files that can be used for training, although you can always perform training using live images:

-
Select a training image from the Filmstrip.
-
Move to the Inspect application step, open the ViDi EL Tools group, and select the Classify tool.
-
Position the Classify Region graphic on the portion of the image you want to label. The graphic allows you to drag it around the image and supports handles for resizing and rotating it to desired dimensions, as shown in the following example:
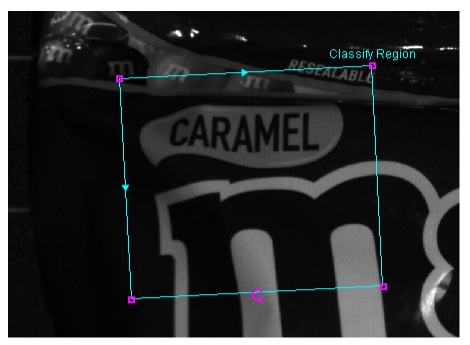
For this example application, the Classify Region graphic encloses the entire image.
-
Click OK in the right corner under the Directions box.
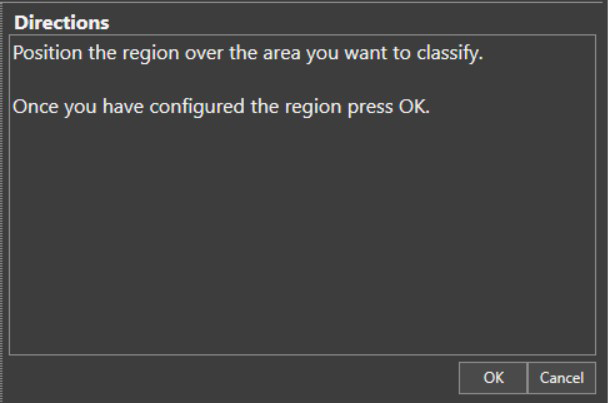 Note: Once you click OK, you can no longer resize the region of interest (ROI).
After you click OK, the Classify tool appears in the list of configured tools, and the Classify tool property edit panel opens.
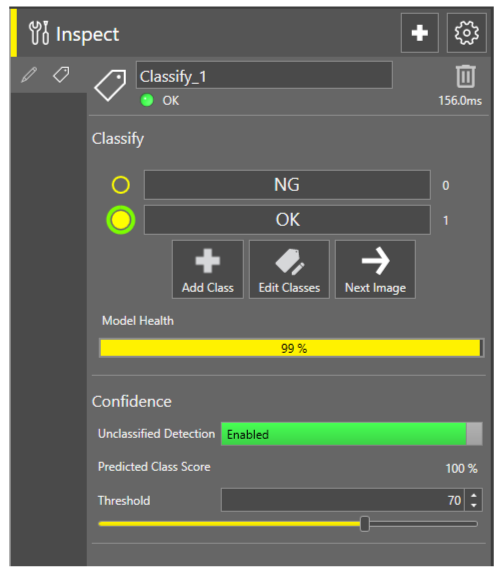
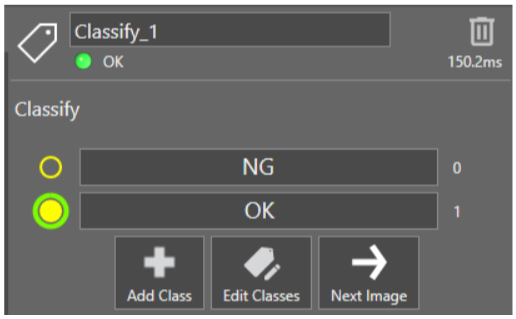
By default the Classify tool contains two classes and assigns your ROI to the class OK.
By default a Classify tool contains two classes:
-
OK
-
NG (not good)
Once your project contains a Classify tool, perform the following steps to create custom classes:
-
Click Add Class and enter a name for a custom class:
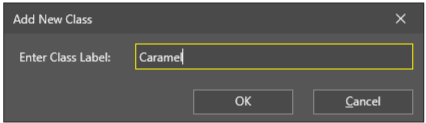
Click OK.
-
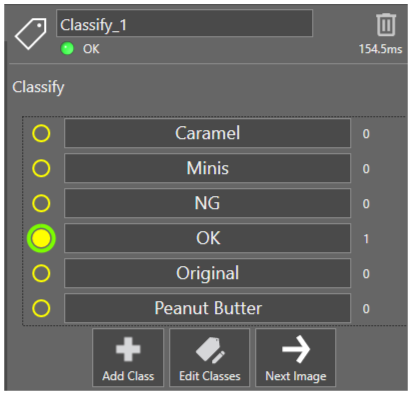
Click Add Class as many times as you need to create the classes you need for your application, as shown in the following example:
-
(Optional) If you want to delete the two default classes, click Edit Classes.
The Classify tool displays a panel for working with classes and any images they contain:
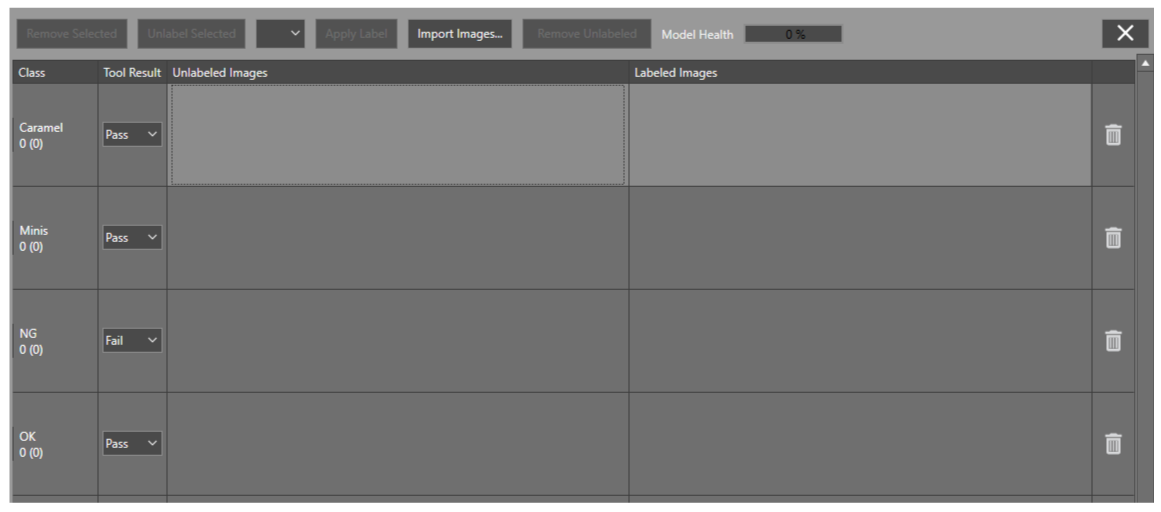
Each row represents a separate class in your project.
-
Click the trash barrel icon at the end of a row to delete that class.
-
Close the Edit Classes panel.
See the section To Modify Classes Directly for more information on editing classes.
-
Select any training image.
Be aware the Classify tool immediately attempts to try and classify the image based on the current deep learning model for this instance of the tool.
-
Click on the class corresponding to that image.
Even when the Classify tool correctly labels a new training image, clicking on the correct class strengthens the deep learning model the tool uses when you deploy your application.
-
Repeat this process for more training images.
As you train a Classify tool, it indicates the count of how many training images you have trained for each class:

As you add training images to your deep learning model, note the Model Health:
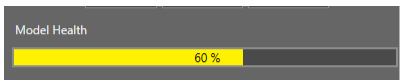
Model Health acts as a measure of accuracy for this class against all labeled images in the tool. The value tends to increase as you add more representative images to each class. If individual classes contain a large degree of variability from one image to another, however, the value can remain low even while the tool predicts accurate results. Do not use Model Health as a hard reference for tool validation.
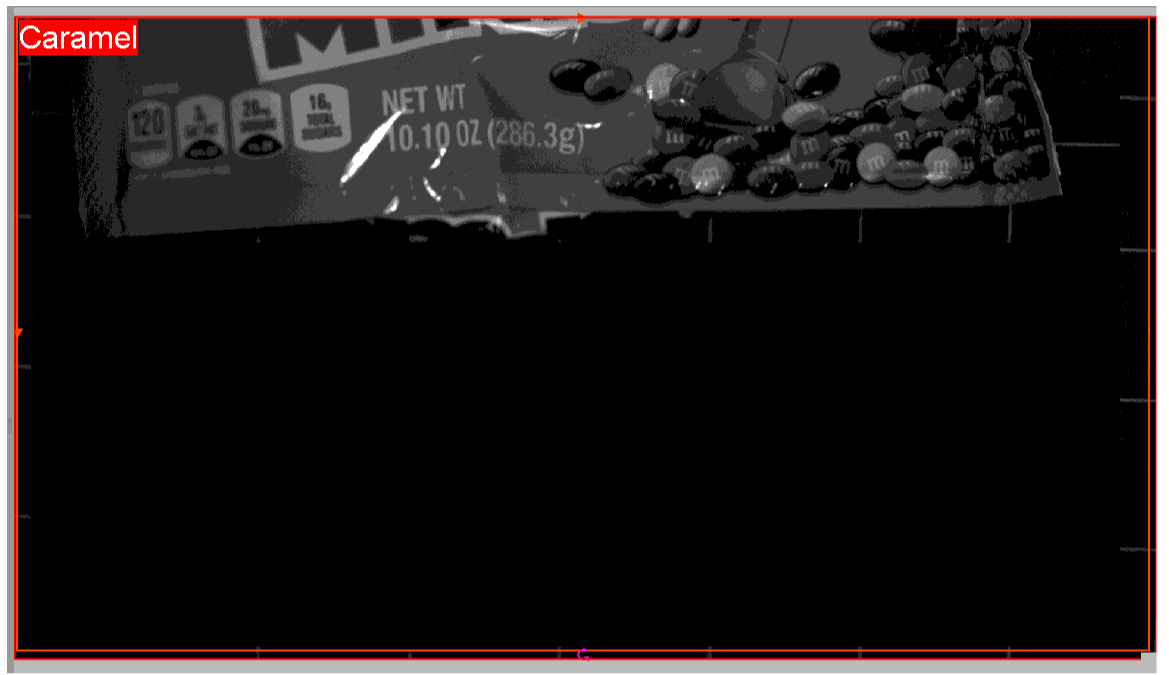
A Classify tool attempts to label every acquired image with an existing class. Even in situations where the image contains erroneous data or fails to contain enough information to adequately classify an image, the tool still attempts to match the image to the most likely class.
For example, the following figure shows how a Classify tool can label an image with a trained class despite the fact that an insufficient amount of the candy wrapper is available:
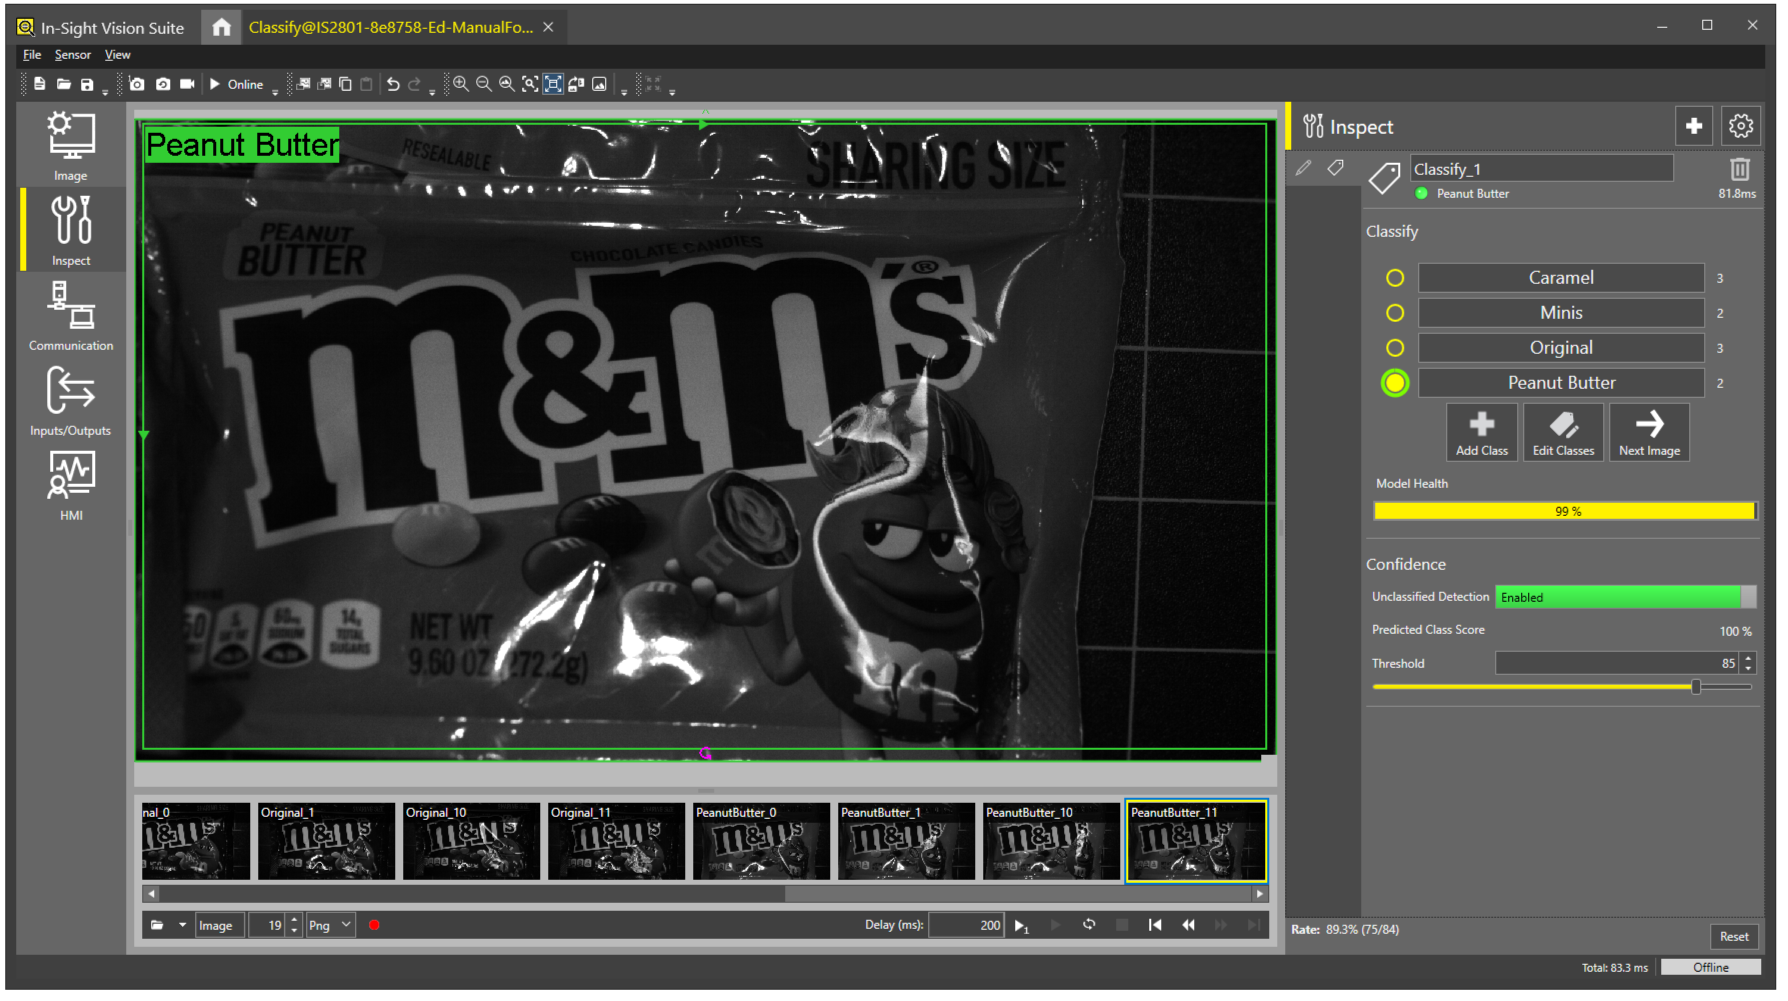
For some applications, you might want to enable Unclassified Detection, which allows the tool to label some images as no match for any trained class. The following figure shows the same image as the previous figure with Unclassified Detection enabled:
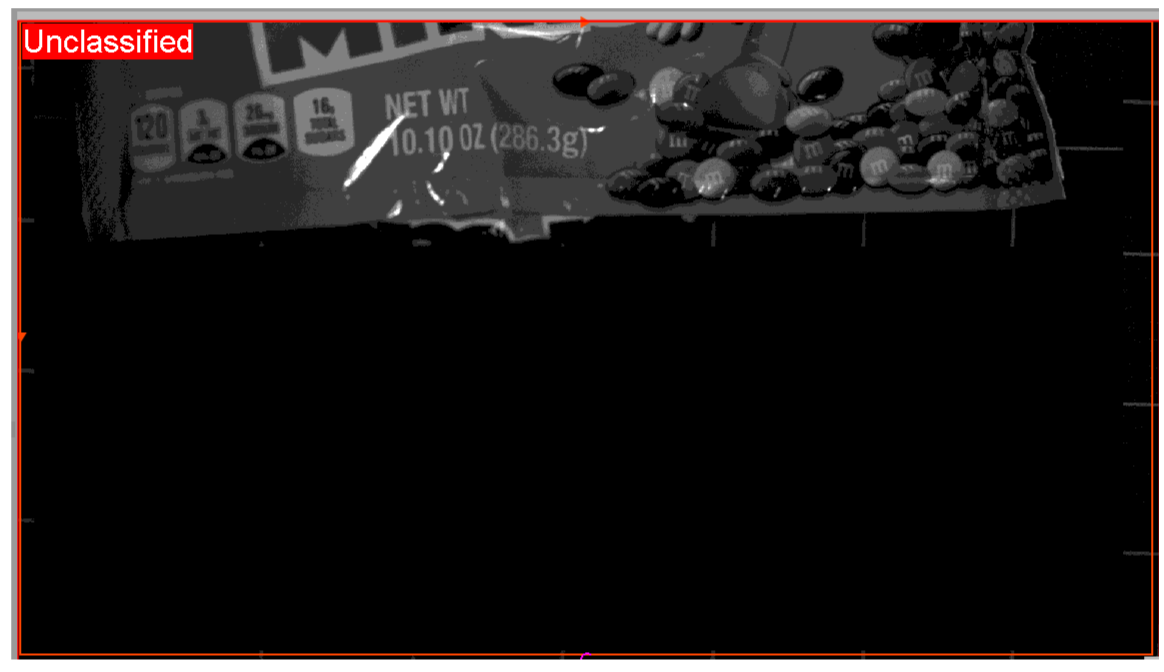
Toggle the box for Unclassified Detection to enable or disable this feature. The tool labels an image as Unclassified if its Predicted Class Score falls below the Threshold value.
With Unclassified Detection disabled, the tool returns a failed result while still labelling the image with the most likely class.
Use a completely different set of saved images for testing your Classify tool and verify the tool correctly labels each image.
-
If the tool incorrectly labels an image with the wrong class, click the correct class name to add this image to the deep learning model for this class and re-test this image.
-
If the tool corectly labels the image but returns a failed result, it indicates that the image received a matching score below your current Threshold:
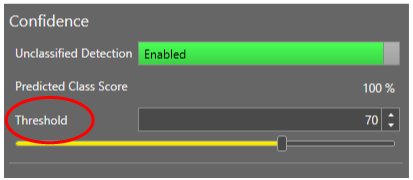
Consider lowering this Threshold to allow more variation for images matching a specific class.
Click Edit Classes to open a panel offering additional options for the classes you define for a Classify tool.
The Edit Class panel displays all images used to train each class. Use your mouse to hover an image to see a larger version:
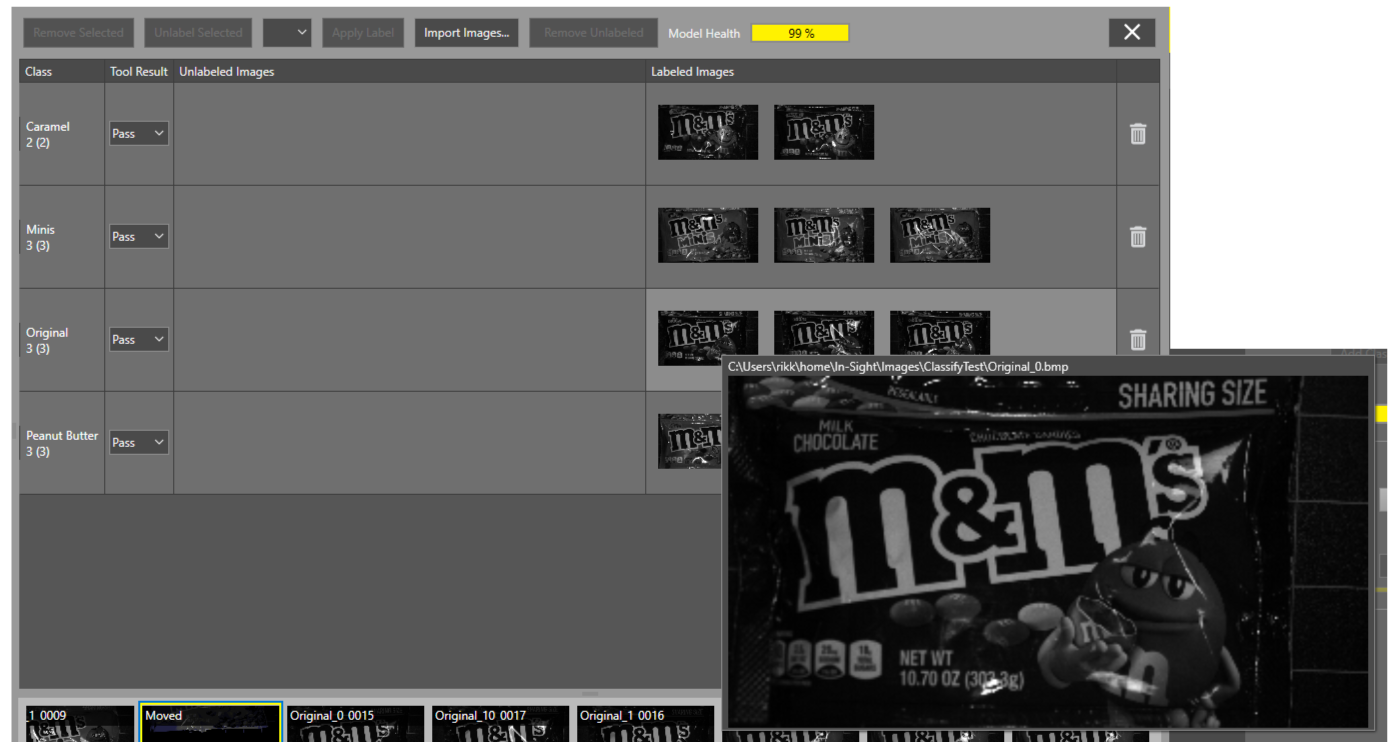
The Edit Class panel allows you to perform the following tasks:
-
Move images from one class to another.
If you mistakenly label an image with the wrong class, use this panel to click and drag it to the correct class.
-
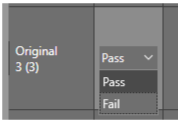
Change the Pass/Fail result for any given class.
If your vision application requires a given class return a Failed inspection for your finished application, use the panel to change the tool result:
-
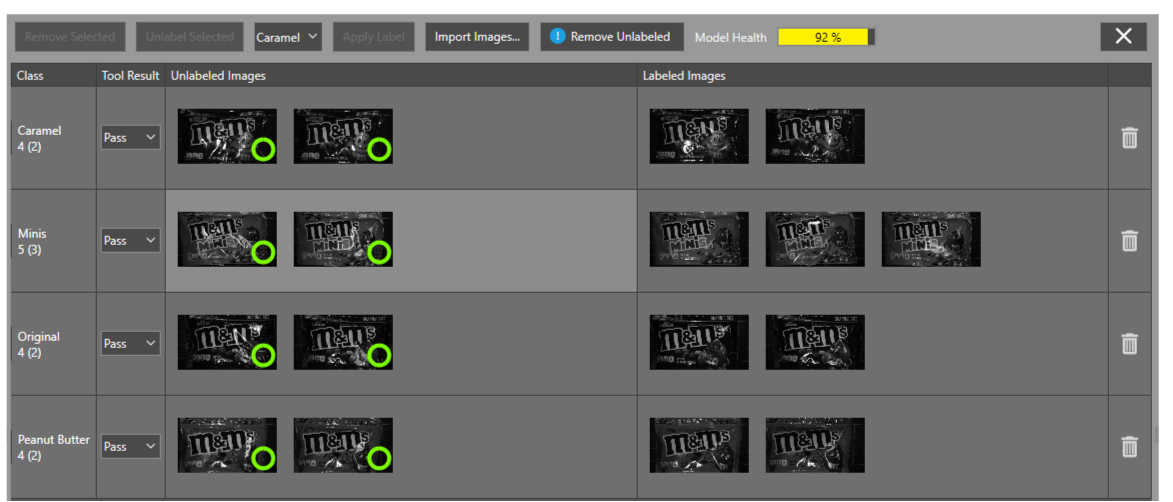
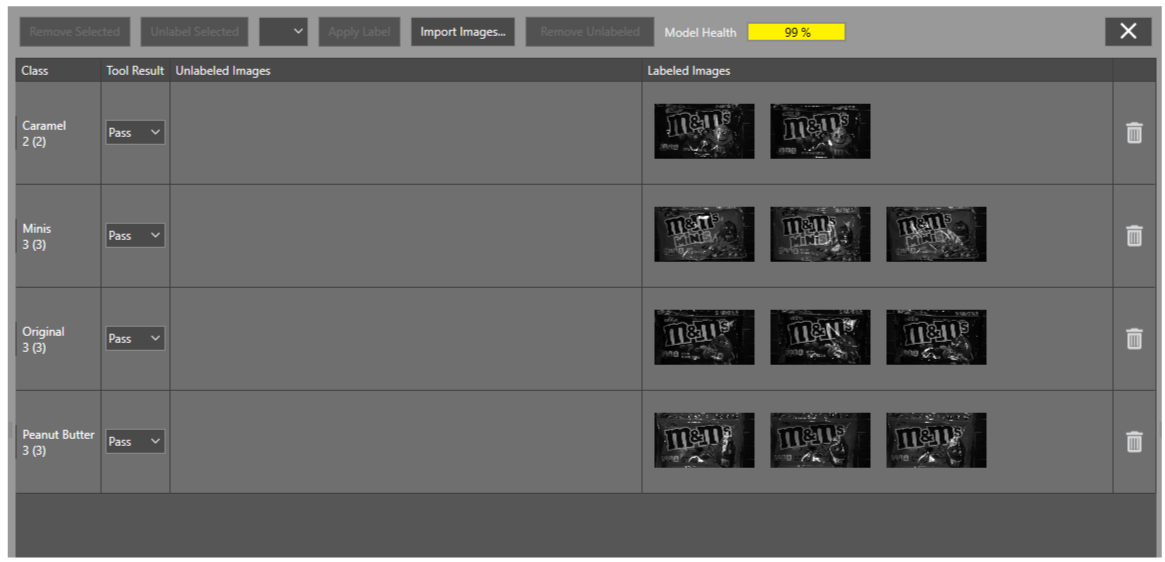
Import and classify multiple images at once.
Click Import Images and select one or more saved images. The import option ignores images you have already used for training classes.
The tool predicts the correct class for all the incoming images, placing each in the corresponding row and marking them with green icons indicating the confidence score that each receives, as shown in the following example:
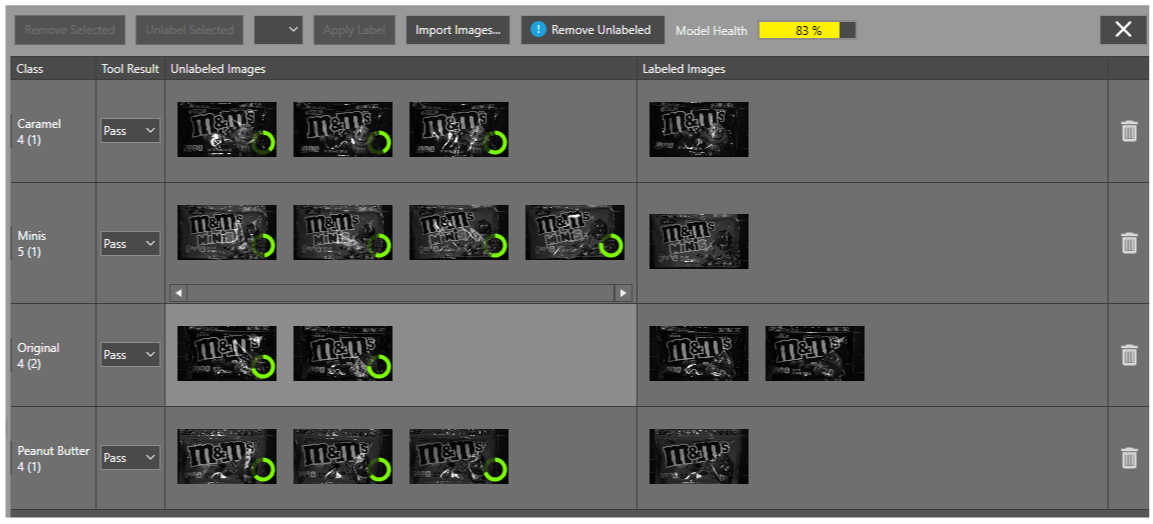
Icons resembling a closed circle represent a higher confidence score.
Strengthen your deep learning model by moving images from Unlabeled Images to Labeled Images. As you add more labeled images, the remaining unlabeled images reflect a higher confidence and the Model Health improves, as shown: