Create a Link-Local Connection to an In-Sight D900 Series Vision System
If you are having difficulty connecting to your In-Sight D900 series vision system over a network connection, using a link-local connection can help diagnose and correct potential issues.
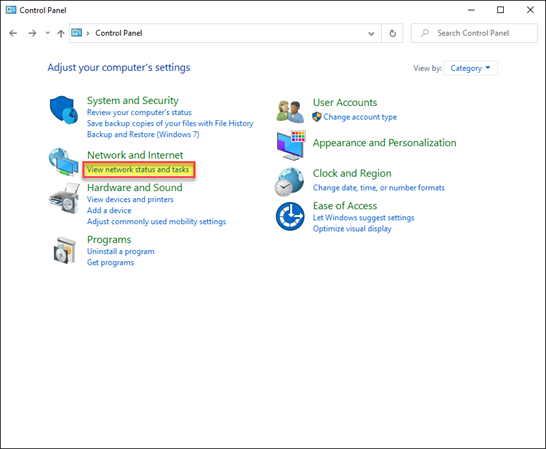
- On the development PC that is running In-Sight Vision Suite, open the Windows Control Panel.
-
Select View network status and tasks.
-
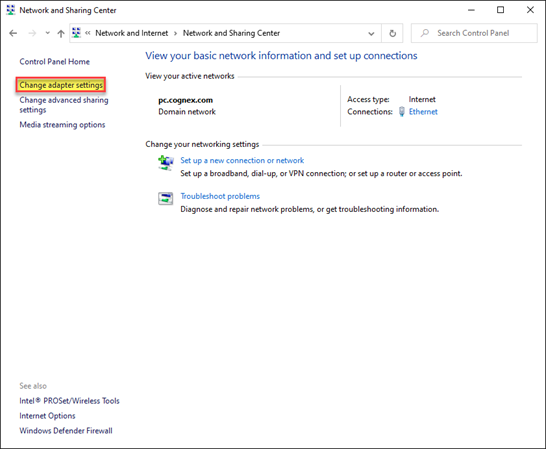
Select Change adapter settings.
-
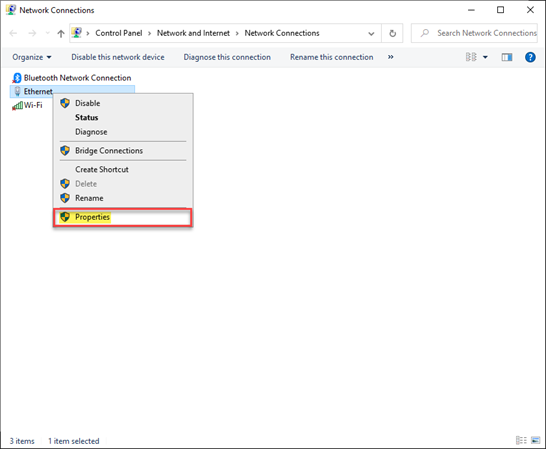
Right-click the Ethernet icon, and select Properties.
-
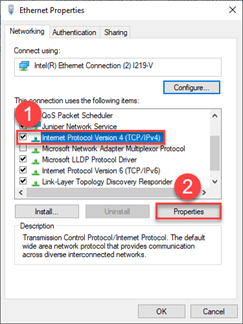
In the Ethernet Properties dialog, ensure that Internet Protocol Version 4 (TCP/IPv4) is enabled, select it, and then press the Properties button.
-
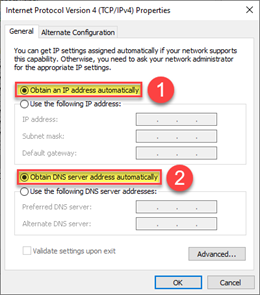
In the Internet Protocol Version 4 (TCP/IPv4) Properties dialog, enable both the Obtain an IP address automatically and Obtain DNS server address automatically options and then press the OK button to close the dialog.
-
Connect the Ethernet cable to the In-Sight D900 series vision system, and the other end directly to the PC. Connect the power to the vision system. Ensure that the Power LED is green and the Network LED is yellow and flashing.
Note: After supplying power and connecting the vision system to the PC, allow 5 to 10 minutes for the PC to identify and connect to the vision system. - Launch In-Sight Vision Suite.
-
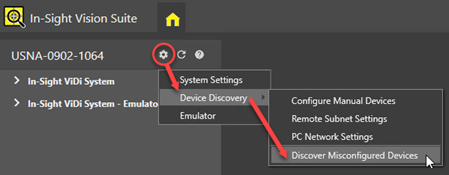
Press the System Settings button to enable the menu, then select Device Discovery > Discover Misconfigured Devices.
-
The vision system should be displayed within the In-Sight® Device Pane, with the Misconfigured icon.

- Open the Network Settings utility, and ensure that Address Assignment is set to Auto (DHCP).
- Wait for the vision system to restart.
- Once the vision system has restarted, you should be able to connect to the device.