How to View Files Stored on In-Sight Device
If you use the WriteImage or WriteData function to write files to the In-Sight device or the SD card installed to the In-Sight device, you must use FTP software, such as FileZilla Client, to view the stored files.
Install FileZilla Client
- Go to the FileZilla website: filezilla-project.org.
-
Download FileZilla Client. FileZilla Client allows you to transfer the files on the In-Sight device.
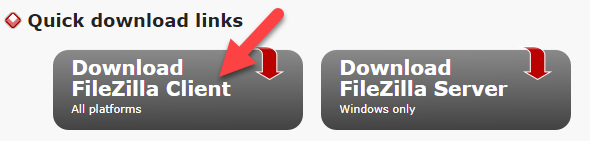
- Follow the wizard's instructions to install FileZilla Client to the PC.
View Files Stored on In-Sight Device
- Open FileZilla Client.
-
Configure the following fields:
- Host: Enter the Host Name of the In-Sight device. Alternatively, you can enter the IP address of the In-Sight device.
- Username: Enter the User Name of the In-Sight device.
- Password: Enter the password.

- Click Quickconnect.
-
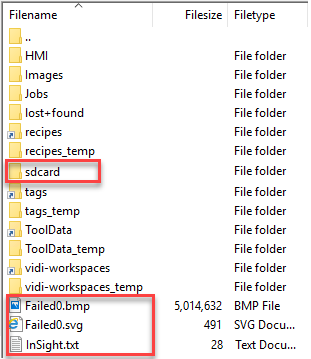
You can now view the stored files.
- If the function's File Path field is left blank, the files are saved to the root directory (Failed0.bmp, Failed0.svg and InSight.txt, in the screen capture below).
- If the function is configured to write the files to the SD card installed to the In-Sight device, the files are saved to the "sdcard" directory.
Create a Subfolder Using FileZilla Client
You can create a folder structure on the In-Sight device using FileZilla Client. This could be useful if you want to separate images from text files or separate images/text files into a job-related directory.
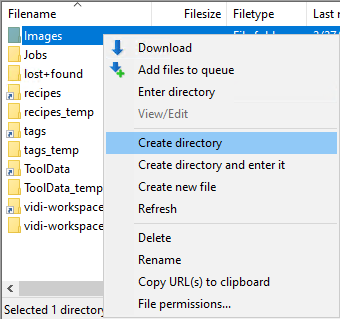
If you want to send images to a subfolder "Job1" under the "Images" directory on the In-Sight device, follow these steps:
-
On FileZilla Client, right-click on the Images directory and select Create directory. The Create directory dialog appears.
-
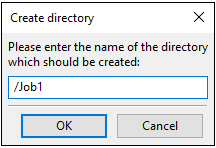
In the dialog, enter Job1, then click OK to close the dialog.
-
The Job1 subfolder is now created under the Images directory.

- On In-Sight Vision Suite software, connect to the In-Sight device.
-
Open the WriteImage property sheet and enter Images/Job1 to the File Path field.
Note: On the In-Sight device, the folder separator is the forward slash "/". - Click OK to close the property sheet.
- Now the images are sent to the Job1 subfolder under the Images directory.