PC Filmstrip: EasyBuilder View
The filmstrip can be used to play back images recorded to the PC or review images and results stored to the vision system.
Display the Filmstrip
On the View
menu, click Filmstrip
(alternately, click the Filmstrip
button ![]() on the EasyBuilder toolbar).
on the EasyBuilder toolbar).

PC Filmstrip
Once the Record/Playback Options dialog settings have been configured, when the Record button is pressed and images are acquired, the pass and fail images are recorded and saved to the PC. You can save the images from an Online or Offline vision system to any folder you have "write" privileges to on the PC. The PC playback mode can be used to play back the recorded images; the image is sent to the vision system and the job runs against the image being played back. Up to 10,000 images can be saved to the PC.
- Images can be recorded when the vision system is Online or Offline.
- To allow the playback of images when a vision system is Online, the Trigger parameter in the Set Up Image Application Step must be set to External, Manual or Network.
- The filmstrip does not support saving images to the SD Card installed to the vision system. For more information, see In-Sight Files.
PC Filmstrip Controls


Using the PC Filmstrip
For the purpose of these instructions, we will record pass and fail images to create a set of known good and bad images. We can then specify the Playback Folder location to play back these images in the PC filmstrip and re-run the job against the images.
Configure Record Settings
The Record/Playback Options dialog allows you to adjust record settings for individual vision systems and emulators. For more information, see Record/Playback Options Dialog: EasyBuilder View.
- From the Set Up Image Application Step, click Load Images from PC in the Acquire/Load Image group box.
- In the Record/Playback Options dialog that appears, click the Record tab and configure the Record settings.
- To automatically sort pass and fail images, select Sort on Pass/Fail (Record to Good/Bad Folders) in the Pass/Fail Sort conditions.
- Once all other Record settings have been specified, click OK to close the Record/Playback Options dialog. When pass and fail images are recorded, a "Good" and "Bad" Folder are automatically created within the specified Record Folder location.
Record Images
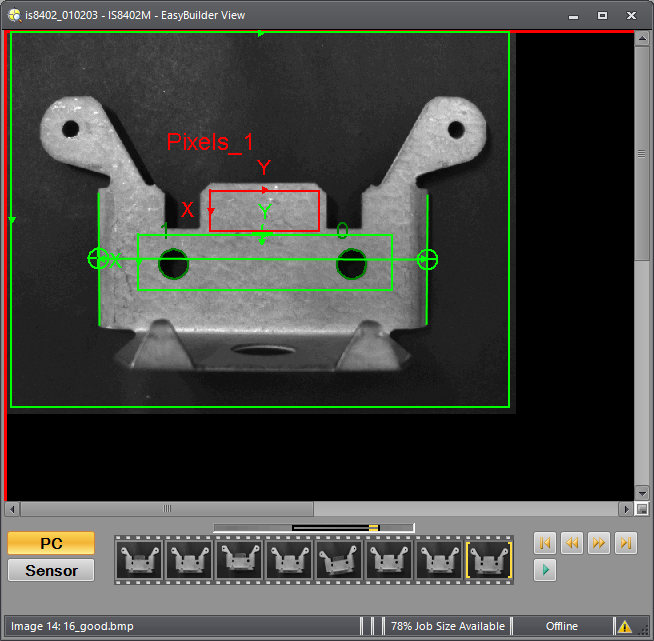
- In the filmstrip, click the PC button.
-
From the EasyBuilder toolbar, click the Record button.
Note: Images can be recorded when the vision system is Online or Offline. - Trigger image acquisition on the vision system. As images are acquired, the pass and fail images are automatically sorted and stored to the Good or Bad Folder, respectively.
- Click the Record button again to stop recording.
- From the PC, manually navigate to the Record Folder. Verify that images are being stored in the Good and/or Bad Folder.
Configure Playback Settings
The Record/Playback Options dialog allows you to adjust playback settings for individual vision systems and emulators. For more information, see Record/Playback Options Dialog: EasyBuilder View.
- From the Filmstrip Application Step, click Playback in the PC Settings group box.
- In the Record/Playback Options dialog, click the Playback tab and configure the Playback settings.
-
To play back only pass images, in the Playback Folder field, specify the Good Folder that was automatically created. Or, to play back only fail images, in the Playback Folder field, specify the Bad Folder that was automatically created.
Tip: By default, the Playback Folder references the EasyBuilder Sample Jobs folder. The EasyBuilder sample jobs provide a powerful demonstration of the usefulness of the Record/Playback options. The Record/Playback options enable a series of previously acquired images to be cycled through, providing instantaneous feedback of tool results, allowing for quick configuration of thresholds and limits. For more information, see EasyBuilder Sample Jobs and Sample Images. - Once all other Playback settings have been specified, click OK to close the Record/Playback Options dialog.
Play Back Images
- In the filmstrip, click the PC button.
- If the Trigger parameter (in the Set Up Image Application Step) is set to Camera or Continuous, place the vision system Offline to play back images. If the Trigger parameter is set to External, Manual or Network, the vision system can remain Online to play back images.
- In the filmstrip, click the Play button to play back the images, or click the navigational buttons to manually cycle through the images.
-
Go to the Run Job Application Step to display the Results Table (or click the Results tab in the Palette).