Custom Views
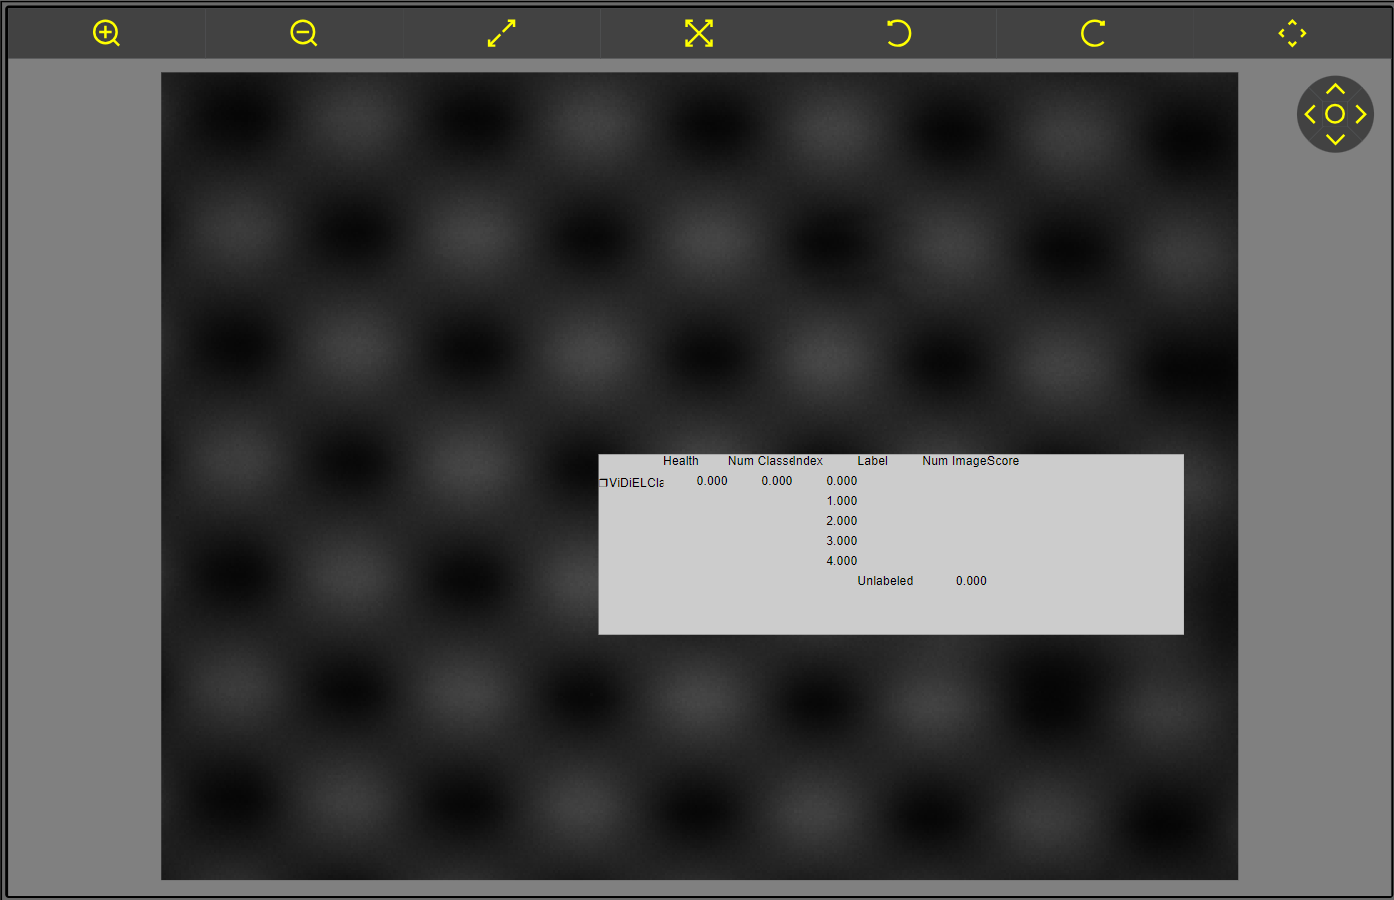
Configure custom views for the WebHMI. With a custom view, you can display both the image and a selected area of the spreadsheet on one screen. You can save multiple custom views in Spreadsheet and freely switch between them on the WebHMI.
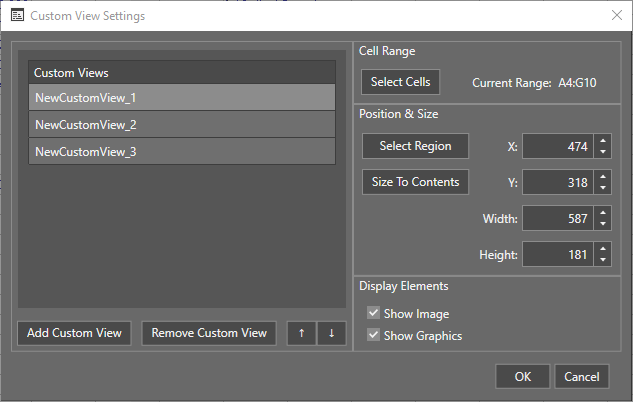
Custom View Settings
|
|
|
| Add Custom View | Adds a new custom view to the list. After clicking the button, select the cell range to display. |
| Remove Custom View | Removes the selected custom view from the list. |
| Up/Down Arrows | Moves the selected custom view up or down in the list. |
| Select Cells | Selects the cell range to display. |
| Select Region | Selects a region on the image where the selected cells will appear. |
| X, Y | Position of the displayed cells. |
| Width, Height | Size of the displayed cells. |
| Size To Contents | Changes the size of the region to fit the selected cells. |
| Show Image | When enabled, shows the image on the WebHMI. |
| Show Graphics | When enabled, shows tool graphics on the WebHMI. |
On the In-Sight Vision Suite home screen, click Open HMI under the vision system you are working with.
Click Switch View.
Select a custom view from the drop-down.
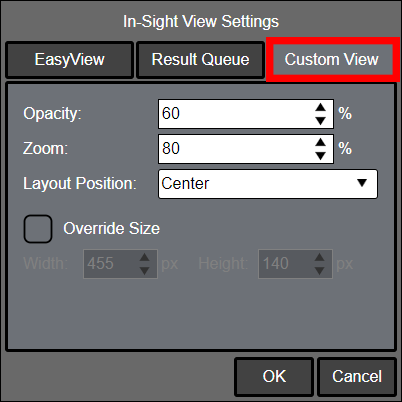
You can modify the custom view window by clicking on Settings, then selecting the Custom View tab.
For more information, see HMI Controls in the In-Sight® Vision Suite Help document.