Read Tool
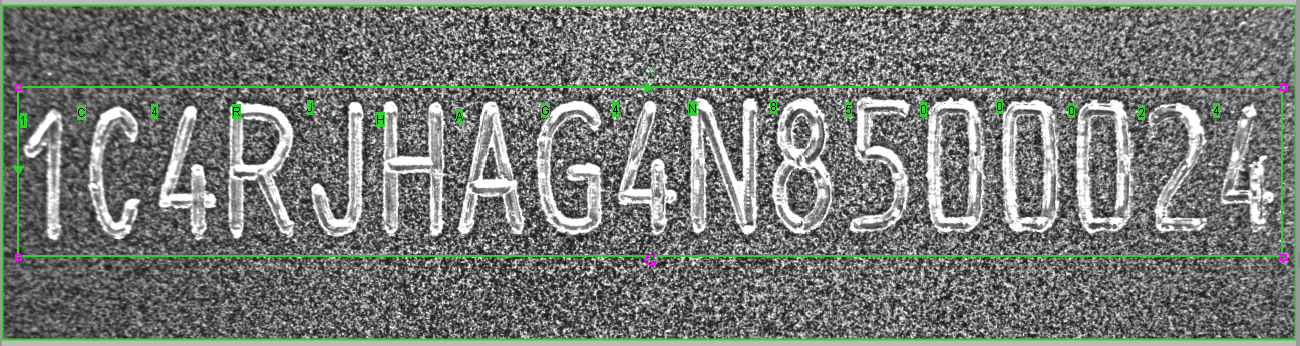
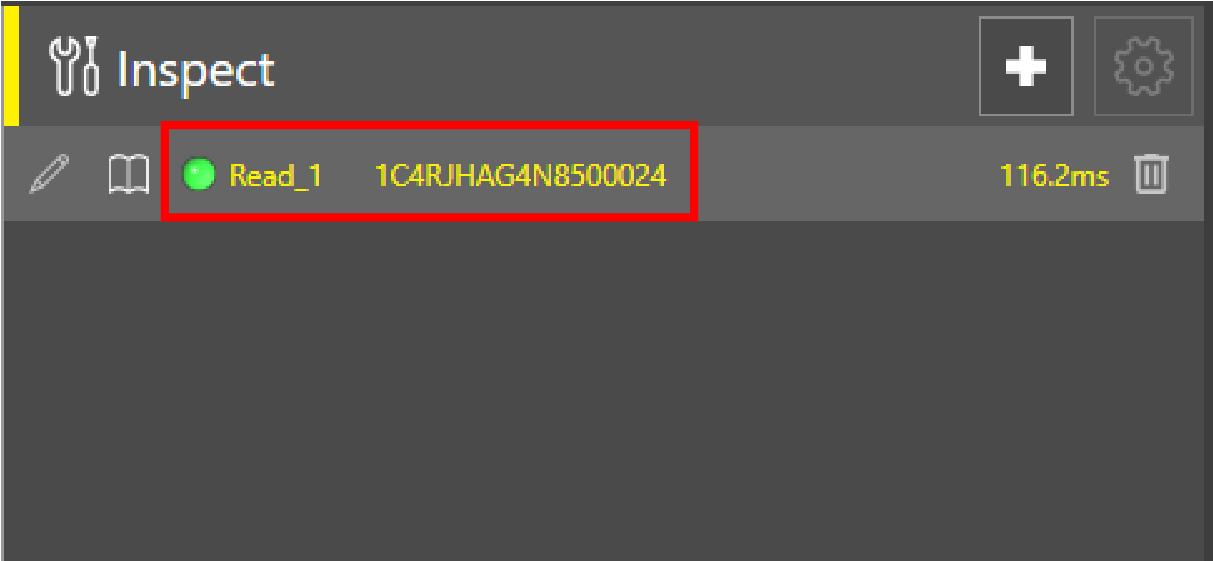
You can use the Read tool to identify letters, numbers, and symbols on a filmstrip image or live camera feed. The output of the Read tool appears on the image as a label at the top-left corner of the corresponding character and on the list of configured tools.
To add the Read tool:
-
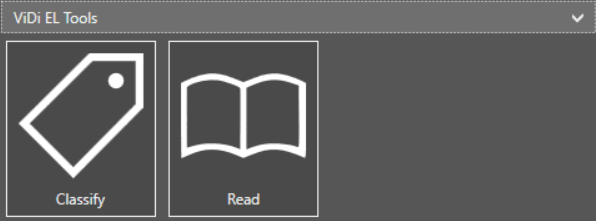
Select the Read tool under the ViDi EL Tools group in the Inspect application step.
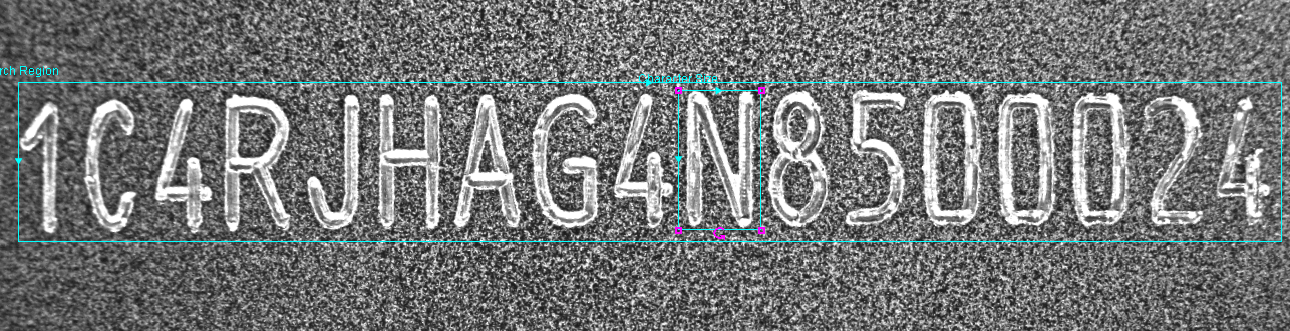
- Position the Search Region around the area to search. Position the Character Size region over the character you want to find. To resize the search boxes, click and drag the corners. To rotate the search boxes, click and drag the rotate button.
-
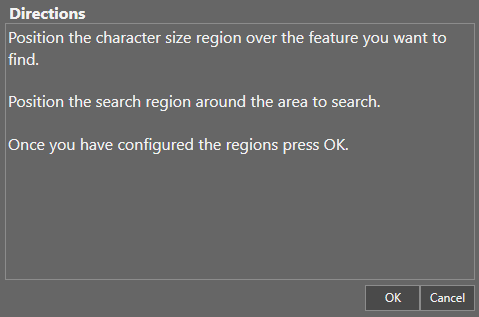
Click OK under the Directions box.
-
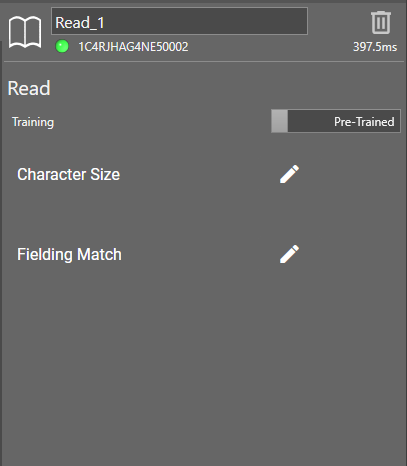
After you click OK, the Read tool appears in the list of configured tools, and the Read tool property edit panel opens up.
-
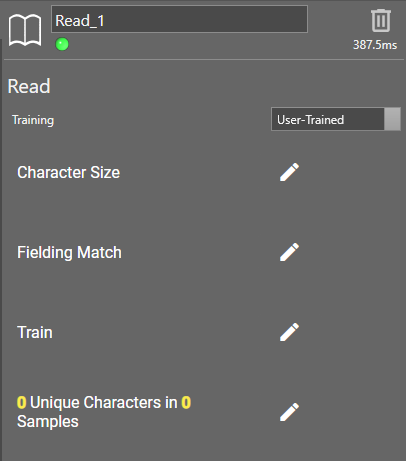
By default the tool tries to train the letters and numbers in the Search Region automatically. However, to achieve the best results, you can train the tool manually. To do so, click on the Training toggle to switch from Pre-Trained to User-Trained mode. Two new fields appear: Train and Unique Characters in Samples.
 Character size
Adjust the Character Size search box. The search box cannot be rotated. Place the bounding box tightly around the character.

Fielding Match
You can set the tool to accept only certain characters or patterns under Fielding Match. There are two main settings, Variable number of characters and Fixed number of characters.
-
Variable number of characters
The tool reads all the characters on the image.
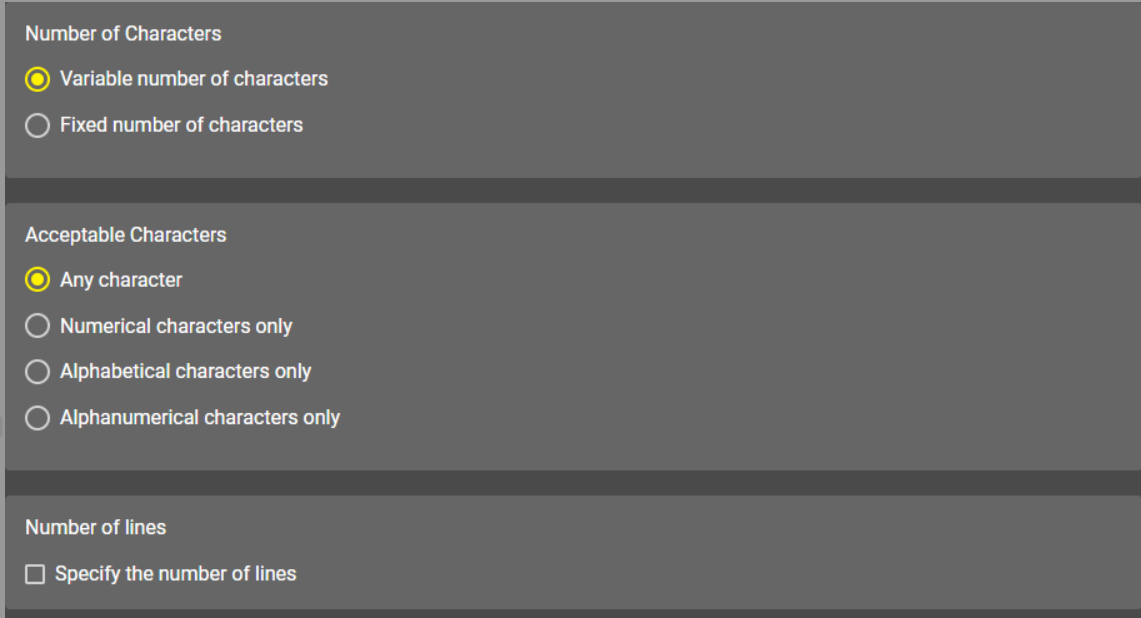
Acceptable Characters: Specify what type of characters the Read tool recognizes.
-
Any character: The tool searches for letters, numbers, and symbols (for example <, $, ?).
-
Numerical character only: The tool searches for numbers only.
-
Alphabetical characters only: The tool searches for letters only.
-
Alphanumerical characters only: The tool searches for numbers and letters.
Number of lines: Tick the box next to Specify number of lines if the characters on your image are arranged in multiple rows. Enter the number of rows in the Number of lines input field.
-
-
Fixed number of characters
The tool reads a character pattern or character patterns on the image. The tool recognizes characters that does not fit the provided pattern, but returns an error.
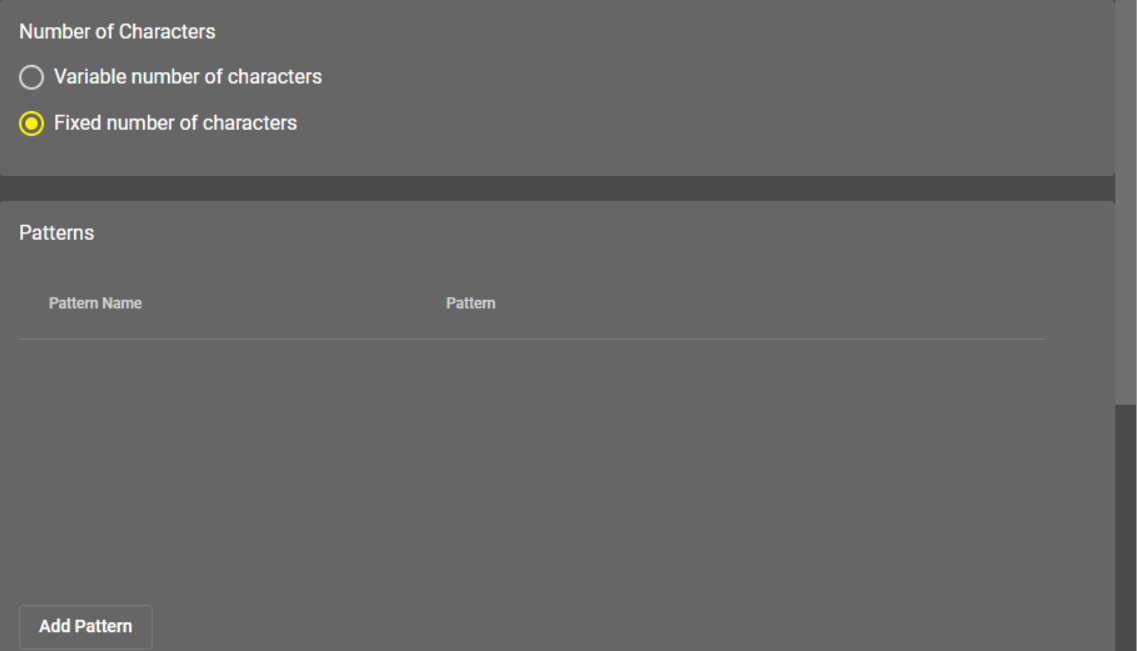
The pattern uses a simple regular expression style composed of constant characters (alphanumerical and special characters) and metacharacters.
You can use the following metacharacters:
-
"\d": matches any numerical character [0-9].
-
"\l": matches any alphabetical character [a-z, A-Z].
-
"\w": matches any alphanumerical character [a-z, A-Z, 0-9].
Examples of valid patterns:
-
"\d\d\d\d": matches a number composed of four digits.
-
"\l\l\l": matches a word composed of three letters.
-
"\d\d:\d\d:\d\d": matches a time in the HH:MM:SS format.
-
"N\d\d\d\l\l\l": can be used to read a serial number starting with 'N', followed by 3 digits and 3 letters.
You can apply multiple patterns for one Read tool configuration by clicking the Add Pattern button. If you provide multiple patterns the tool returns the name of the matching pattern during reading.
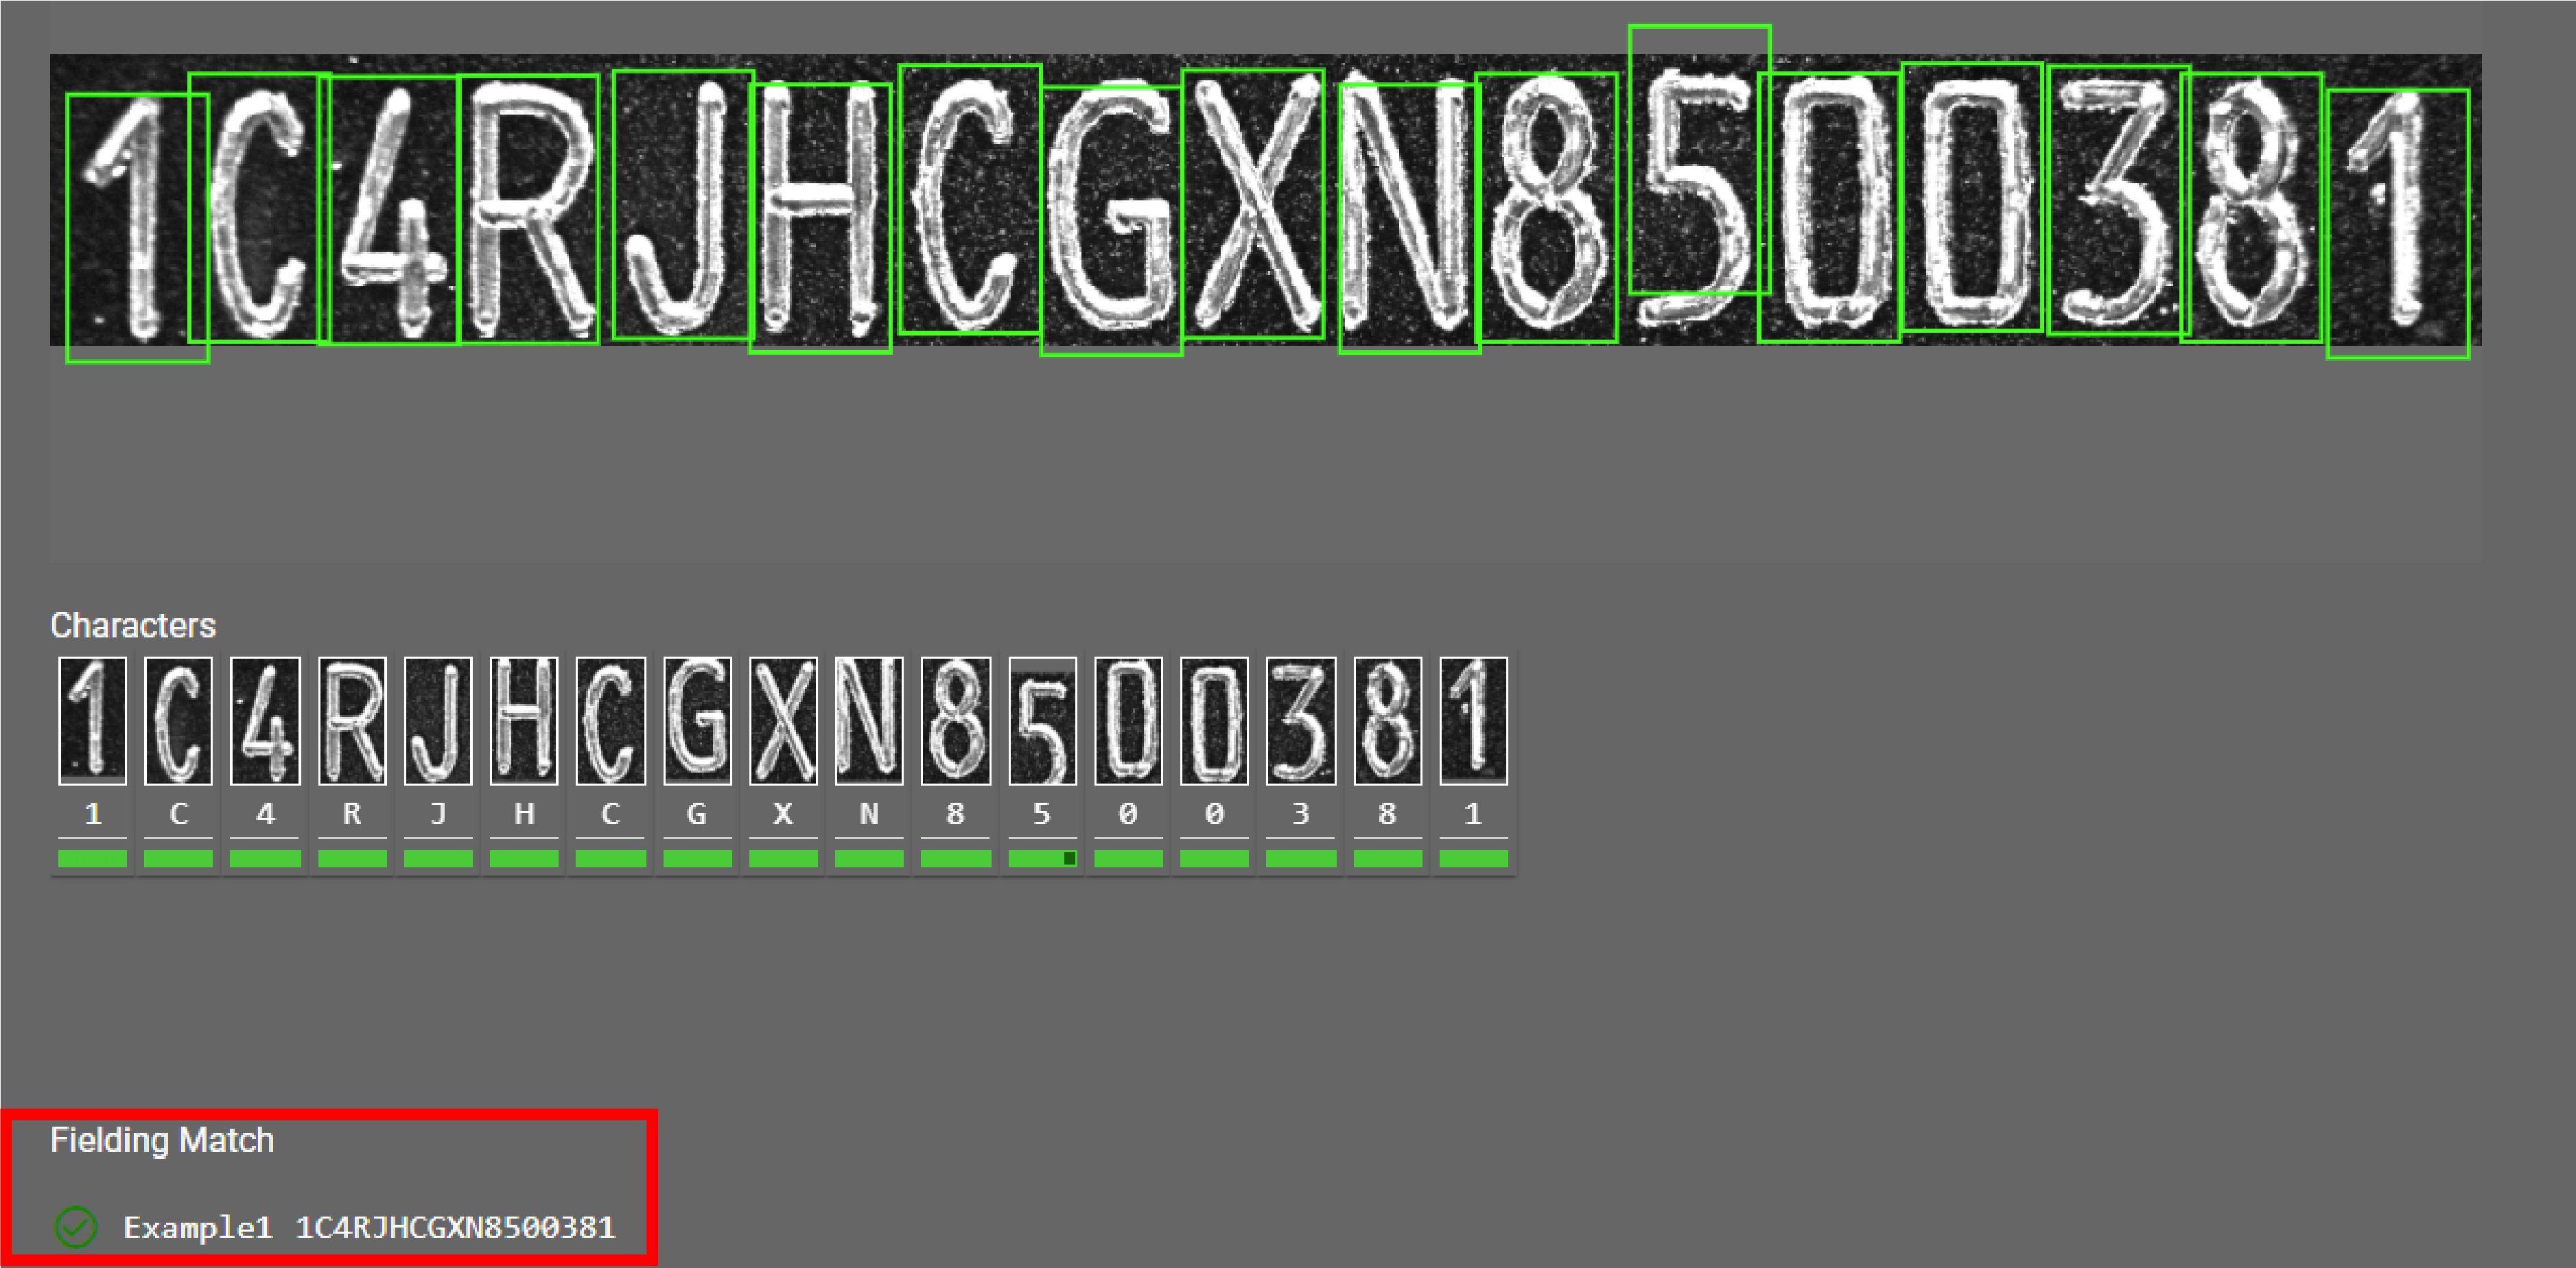
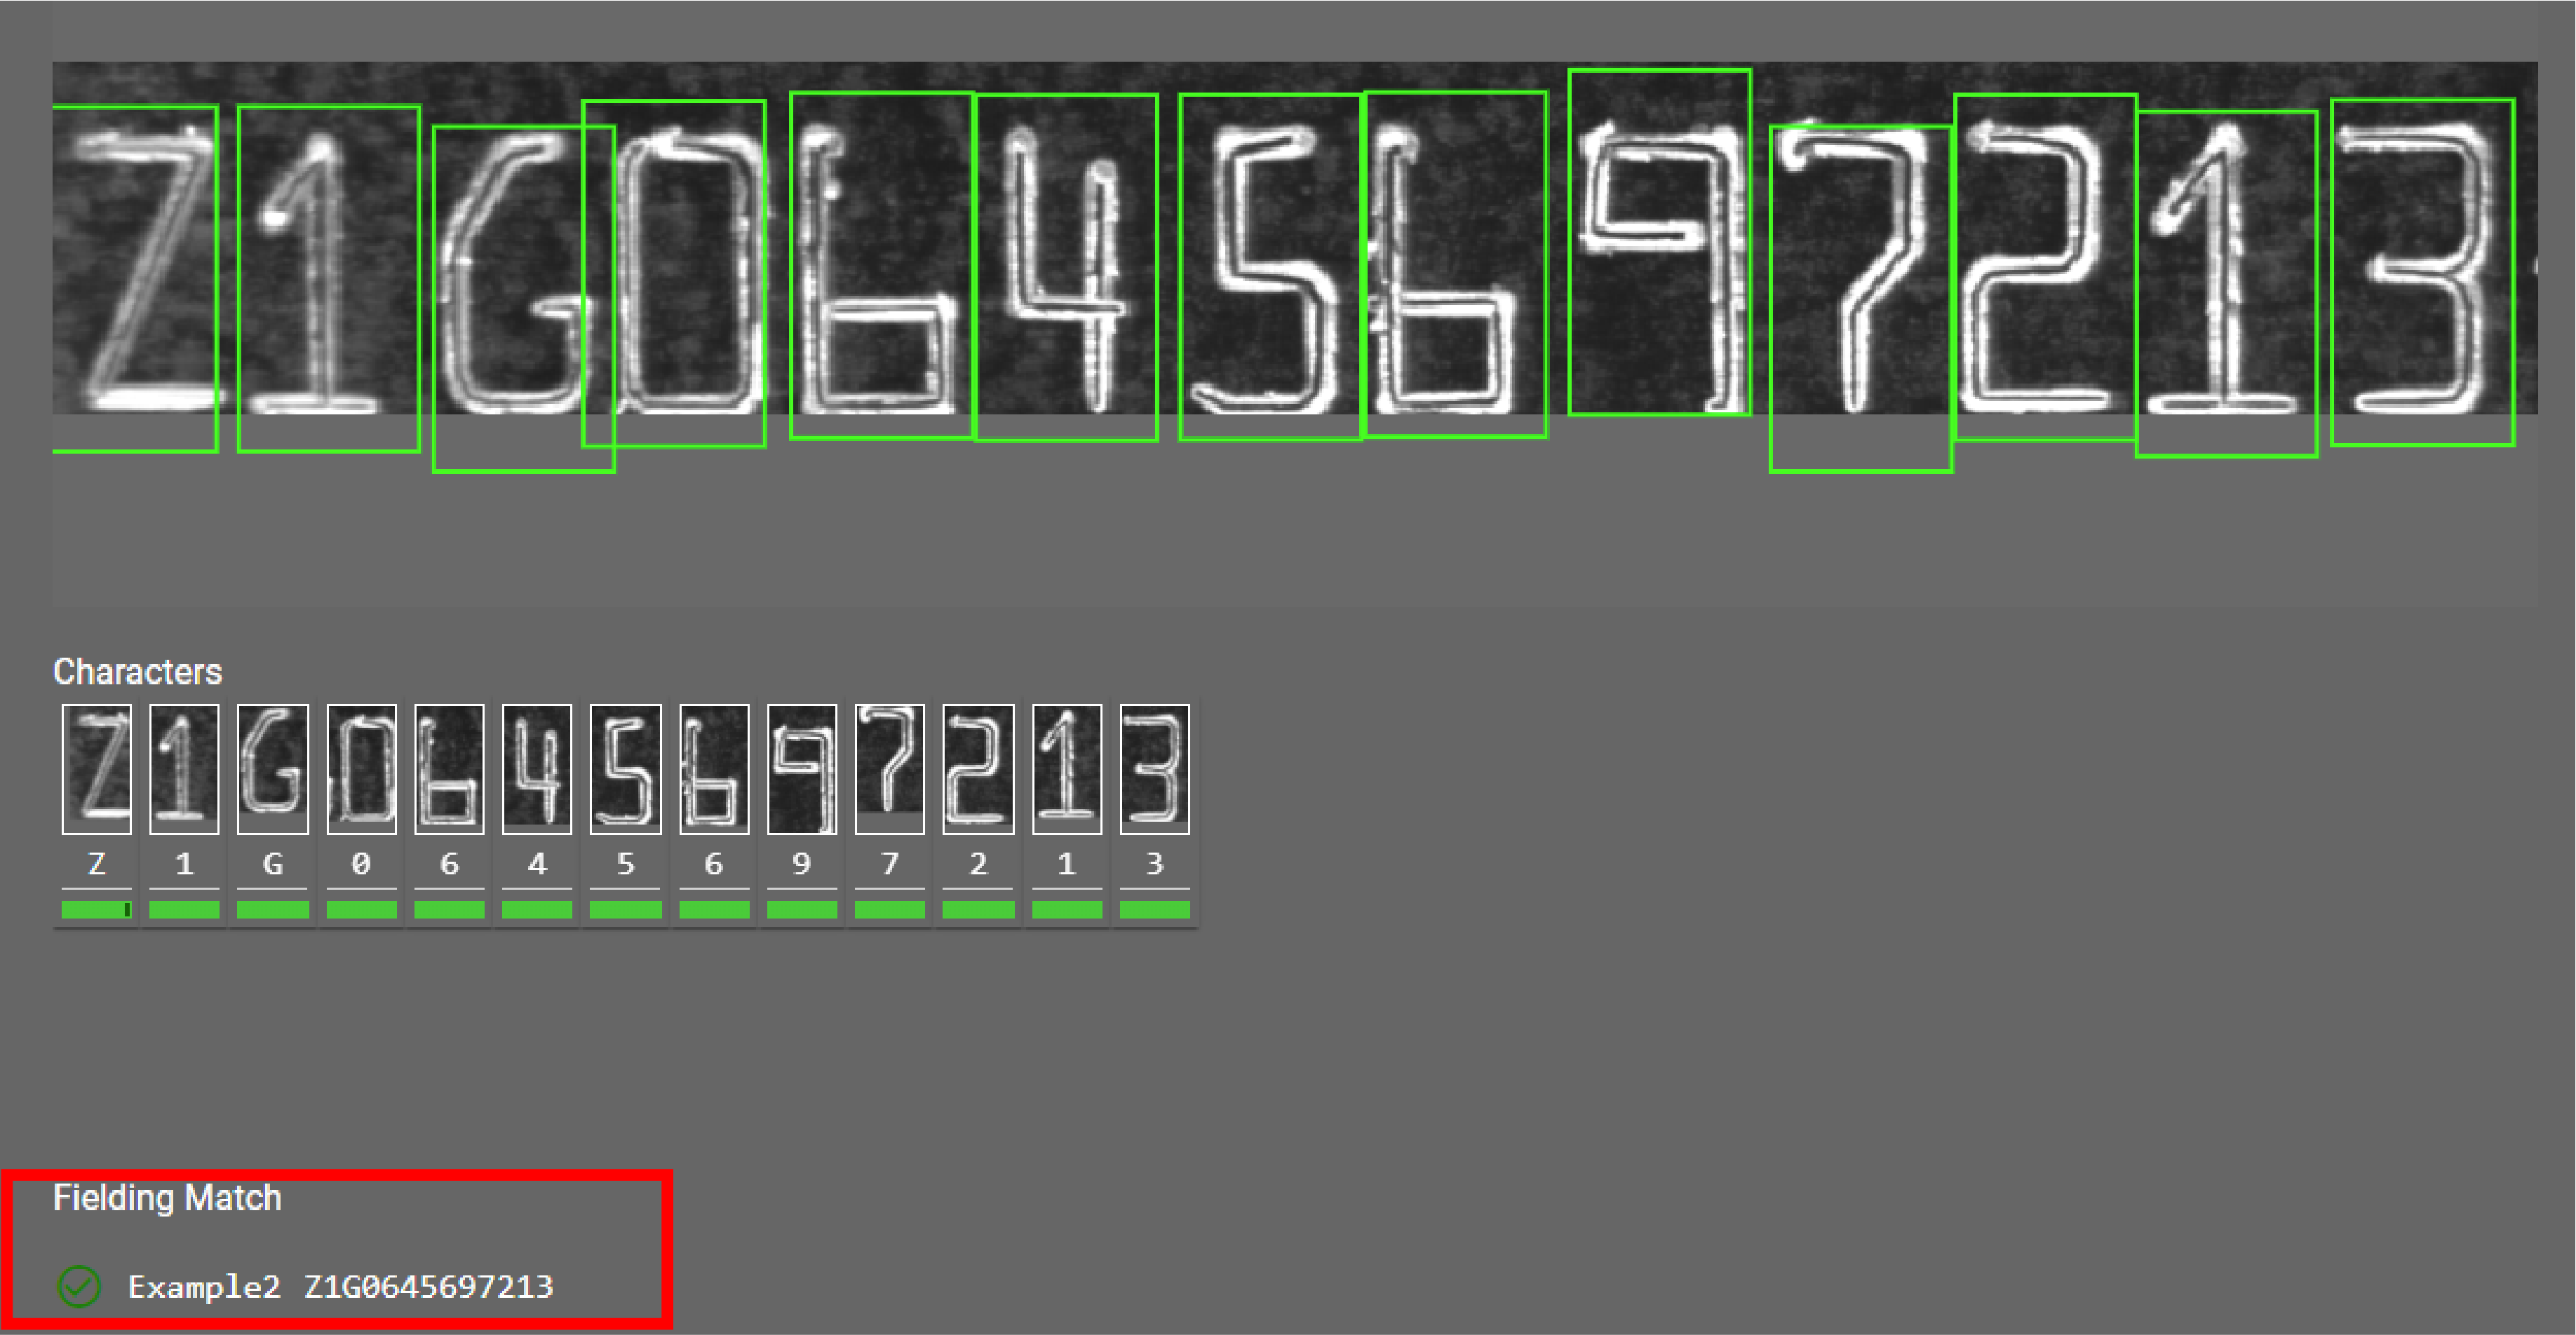
Formula used: 1C4RJH\w\w\w\w\d\d\d\d\d\d\d Formula used: Z1\w06456\d\d\d\d\d -
Train
Train letters, numbers, and symbols to the tool.
-
Load your images by selecting the folder icon in the bottom-left corner. You cannot open individual pictures, only folders, so it is recommended to put all your images under one directory.
-
Type in the corresponding characters for the selected letters and numbers. Label and train all expected characters (A-Z, 0-9) for your application before deploying the tool. To use the Read tool you need to train at least 3 images. The more images and characters you train the higher the quality of your output will be. Also, fixturing with the pattern tool often leads to improved speed and tool performance.
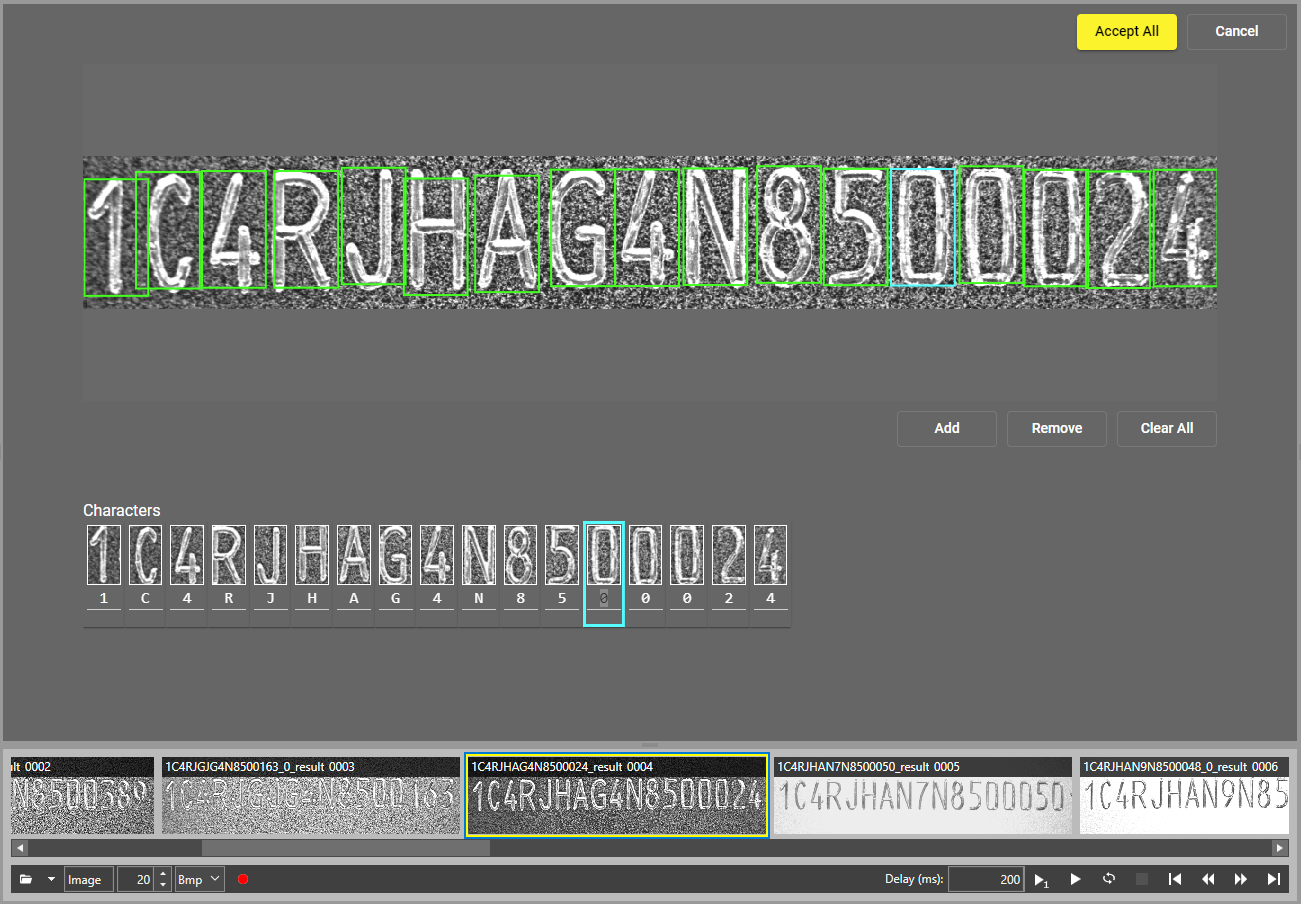
By default, the tool identifies possible characters on the image by placing a green bounding box around them. You can move the bounding boxes freely, but the size can only be modified under the Character Size setting. To add more bounding boxes, click on one of the boxes and select the Add button. To remove a box, select it and click on Remove. To remove all your boxes, select the Clear All option. To accept your settings, click on Accept All.
Note: Every character needs to be labeled in the search region. Removing labels from valid characters trains the tool to ignore them.
Unique Characters in Samples
Shows the number of trained characters and source images, and the confidence level of the tool in a given character. The lower the percentage is, the less likely that a result is correct.
You can see the percentage by hovering over the colored line under the character. The color also shows the confidence level:
-
Green: high certainty.
-
Yellow: medium certainty.
-
Red: low certainty.
You can sort the trained data either by character or image:
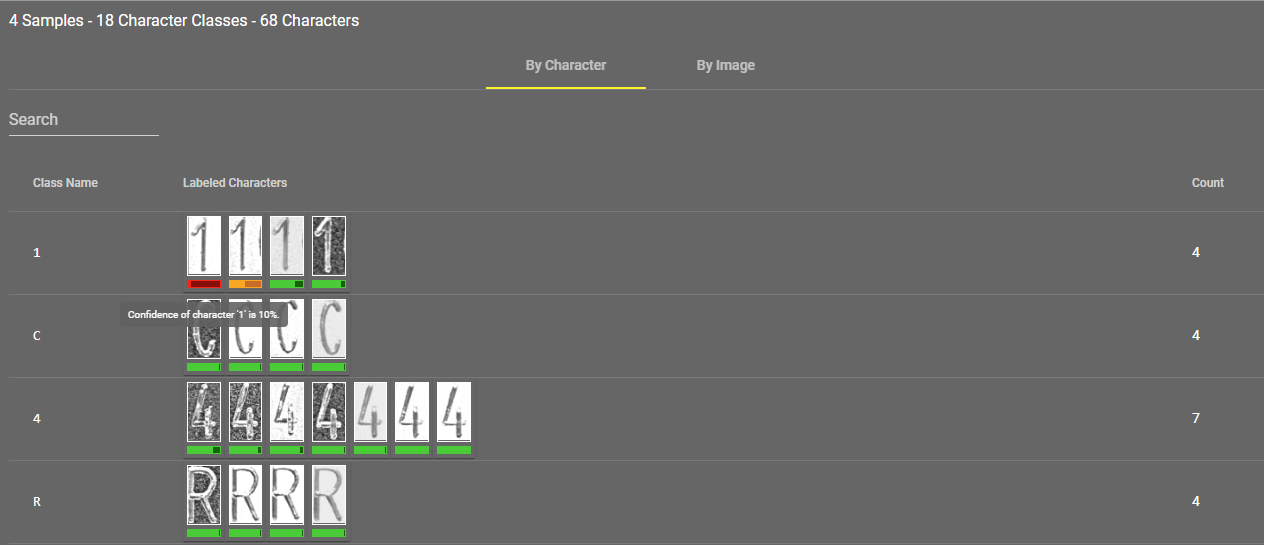
You can jump to retraining a certain character by left-clicking its image under By Character view, or you can retrain all characters on one image by clicking on the edit icon next to the appropriate row in By Image view.
You can also search for a specific character by typing it in the search bar under both views. The tool differentiates between upper-case and lower-case letters.
You can also delete samples by checking the box next to the appropriate row and clicking on Delete Samples.