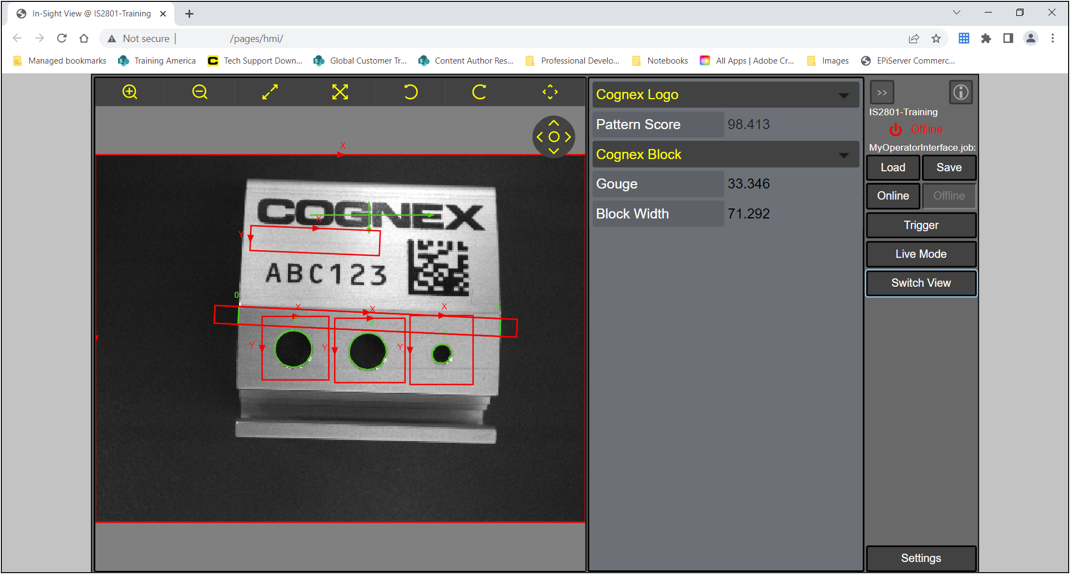
EasyView
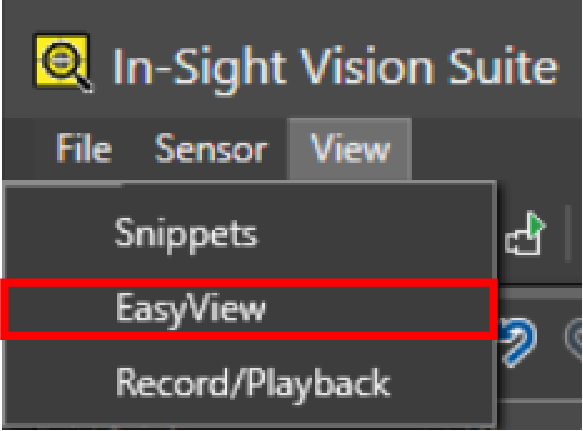
The EasyView panel in Spreadsheet allows you to select and organize the Spreadsheet cells that you want to display in the WebHMI. You can open the EasyView panel in the View menu.

|
||
|---|---|---|
| Number | Element | Description |
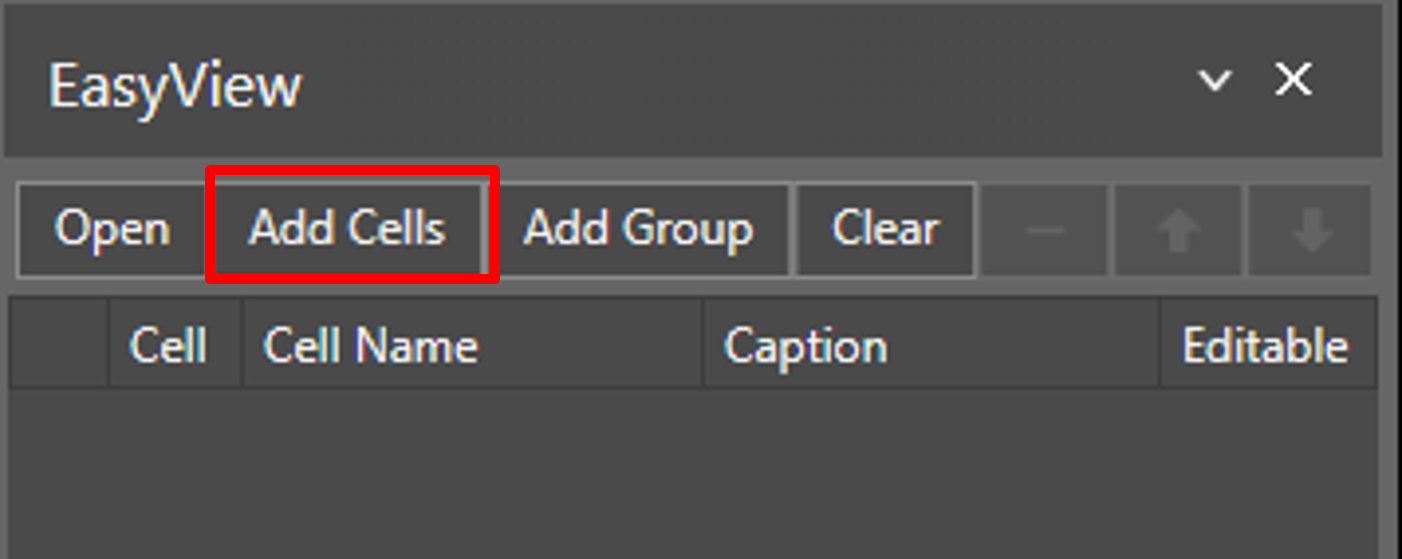
| 1 | Control Buttons |
Click Open to open the EasyView in the web browser. Click Add Cells to add a cell. Click Add Group to add a label between the selected cells. This can help to keep your EasyView organized. Click Clear to remove all the contents from the EasyView. Click Remove to delete only the selected rows. Click the arrow buttons to modify the order of the rows. |
| 2 | Added Cells | Lists the added cells here. Under Caption, you can rename the cell, so you can easily identify that cell in the WebHMI. |
There are two ways to add cells to EasyView:
Option 1:
-
Navigate to View menu and select EasyView.
-
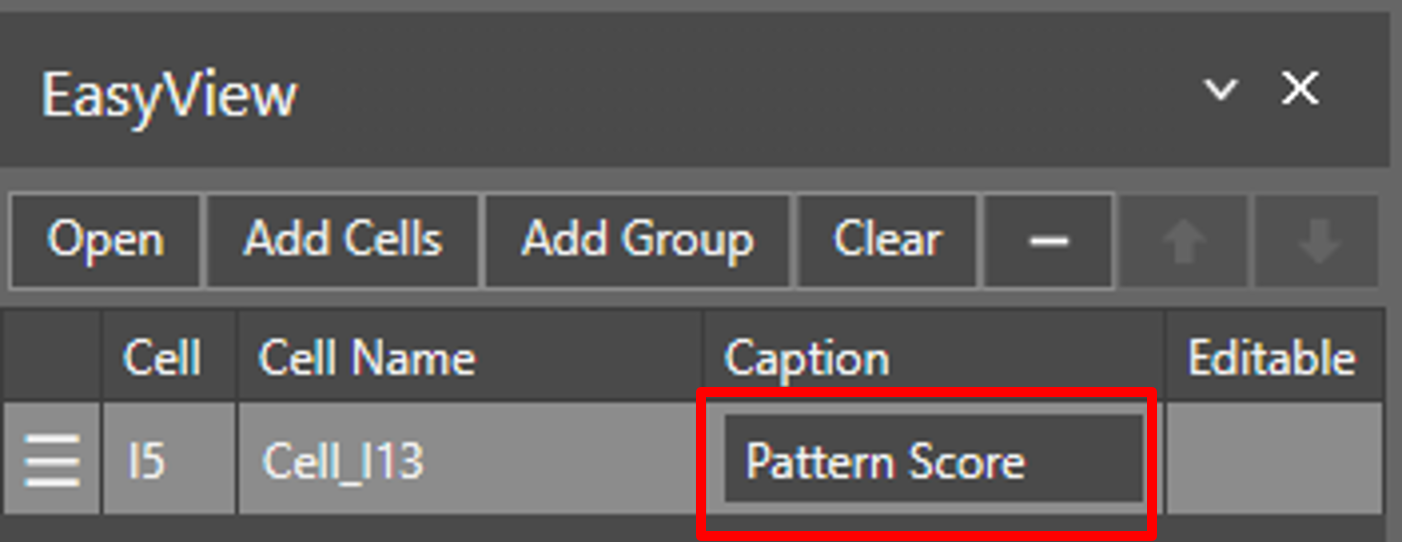
In EasyView, click Add Cells.
-
Select the cell on the Spreadsheet and press Enter.
-
Double-click under the Caption to rename the cell to something that easily identifies the cell in the WebHMI.
-
Click Open to open the WebHMI to check your results.
Option 2:
-
Navigate to View menu and select EasyView.
-
On the Spreadsheet, right-click on the cell you want to add to EasyView.
-
Click Publish to EasyView, then click Selected.
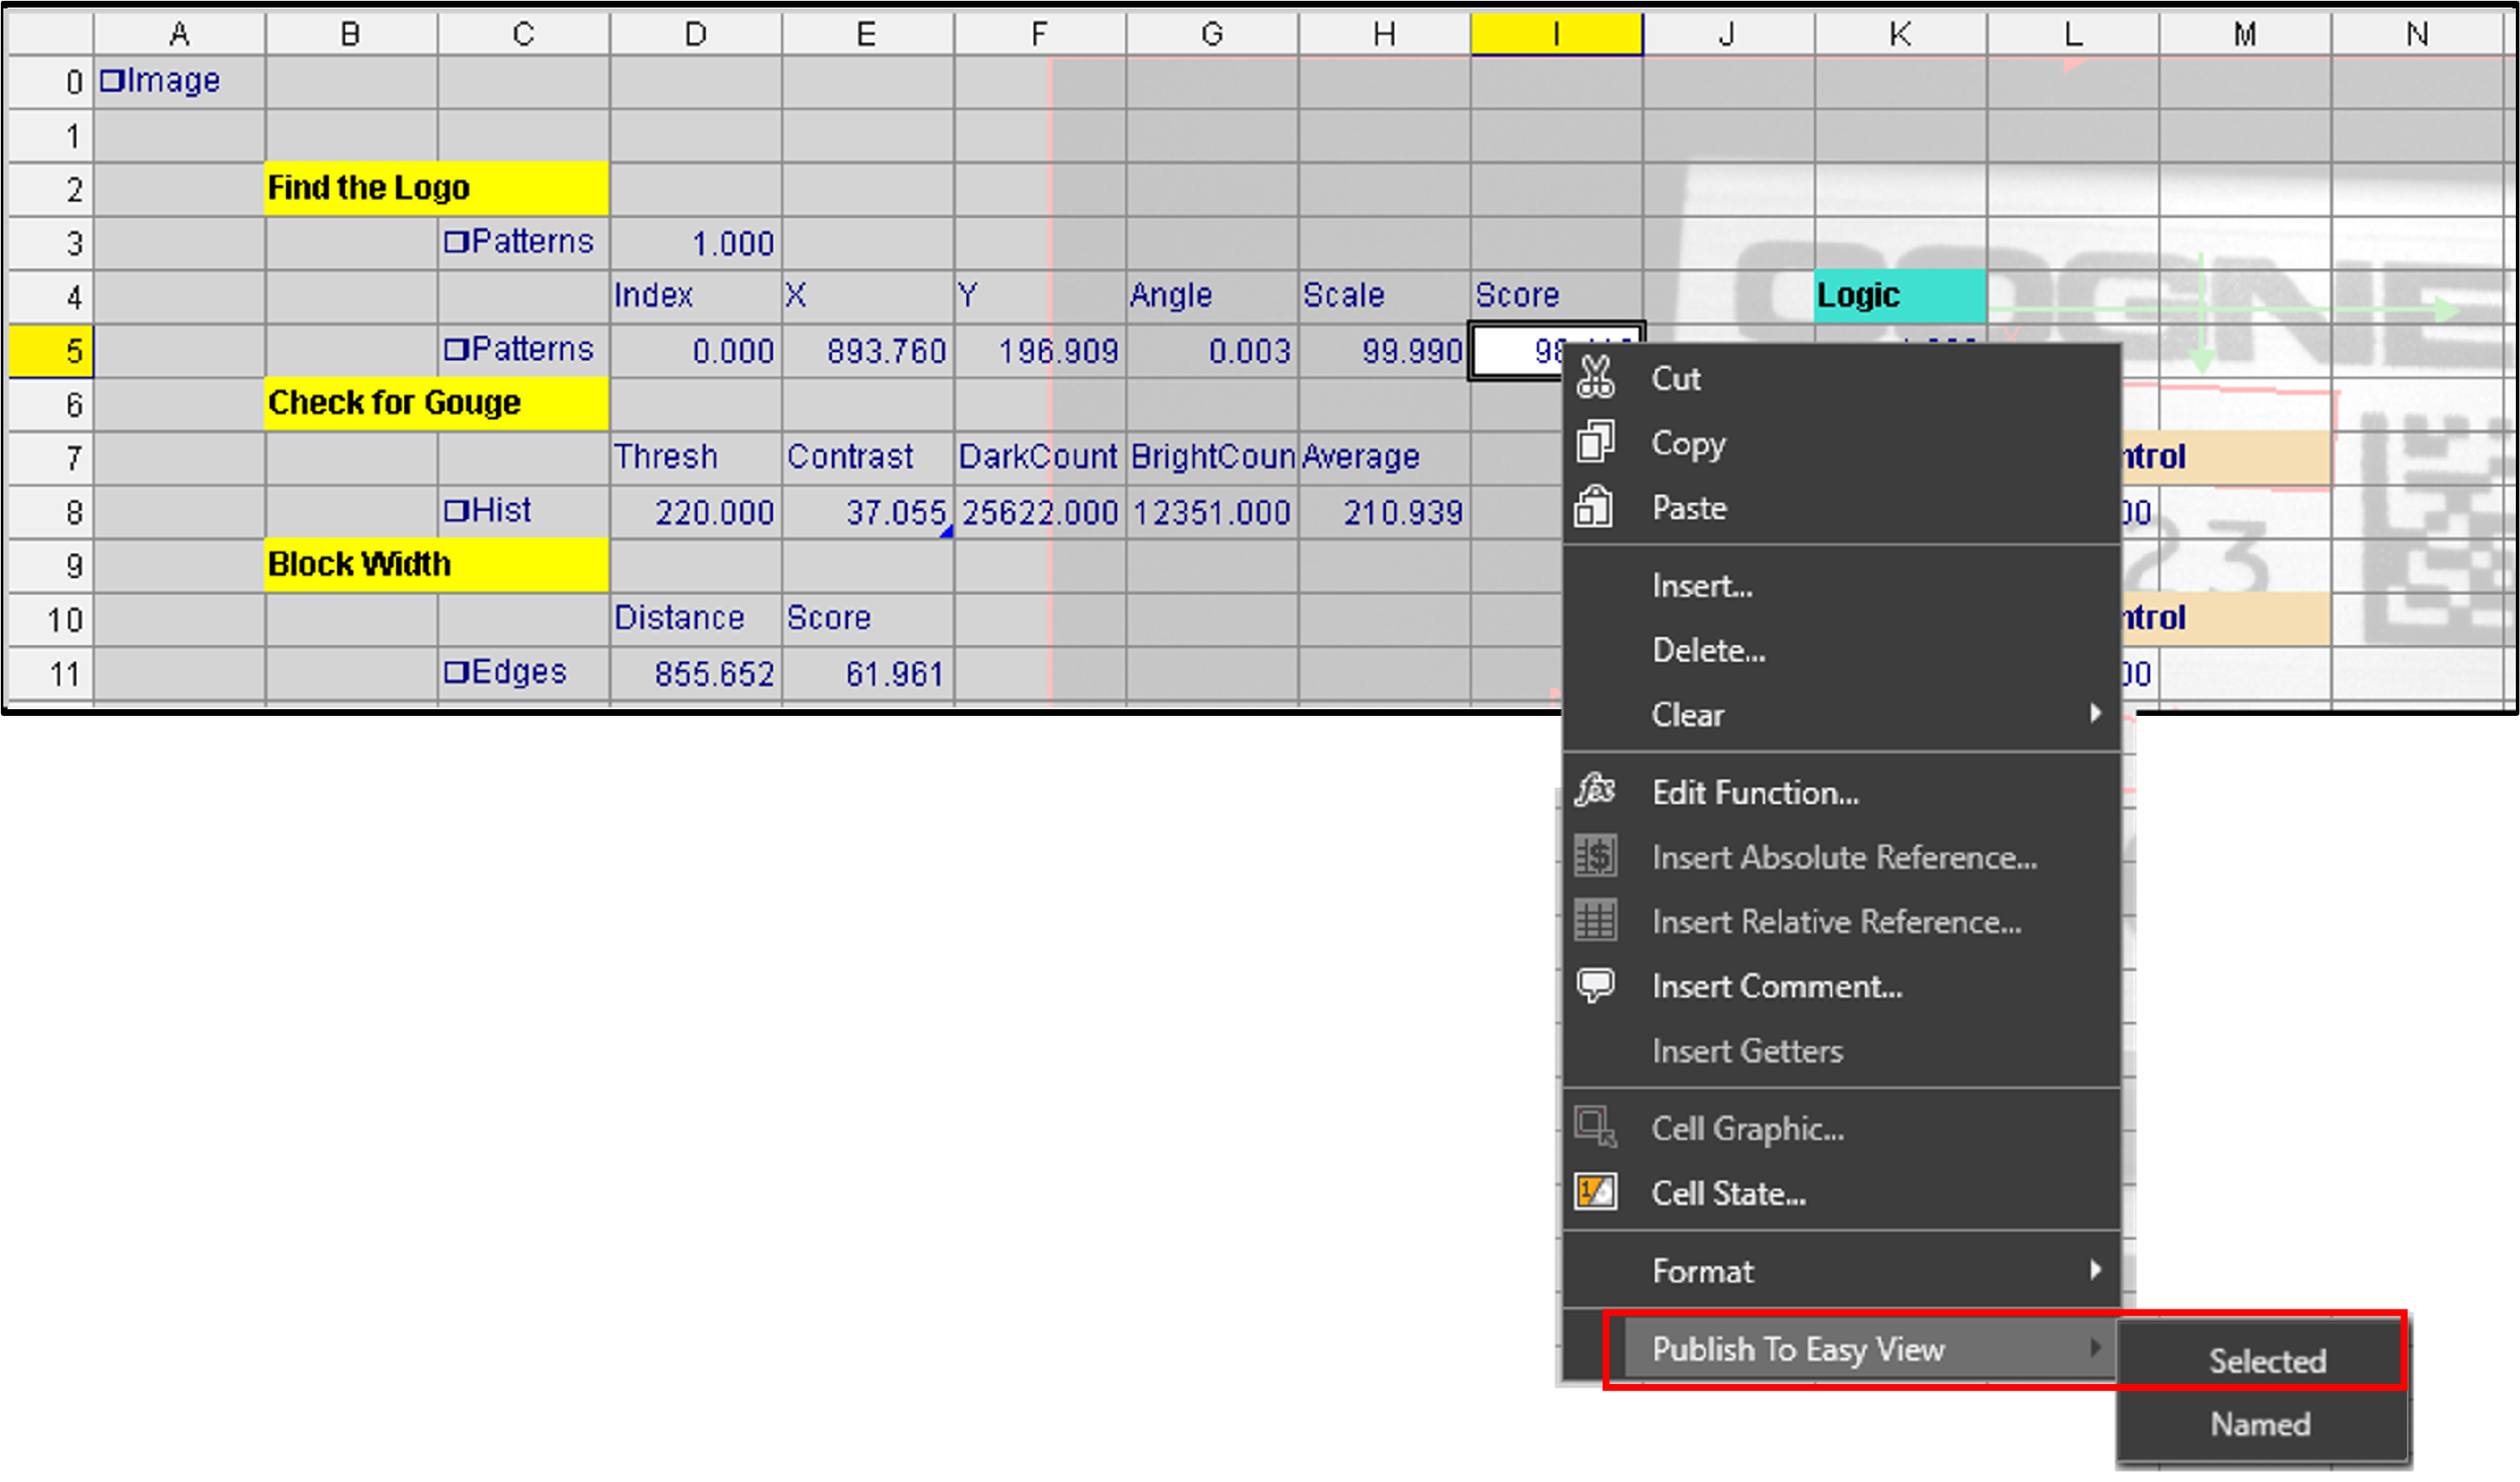
-
Click Open to open the WebHMI to check your results.