Installing High Speed Liquid Lens with Torch-HR
-
Snap the cable into the vision system. Connect the side with the black cover to the vision system, and connect the side with the 2D code to the
Note: Use caution when installing the cable.
-
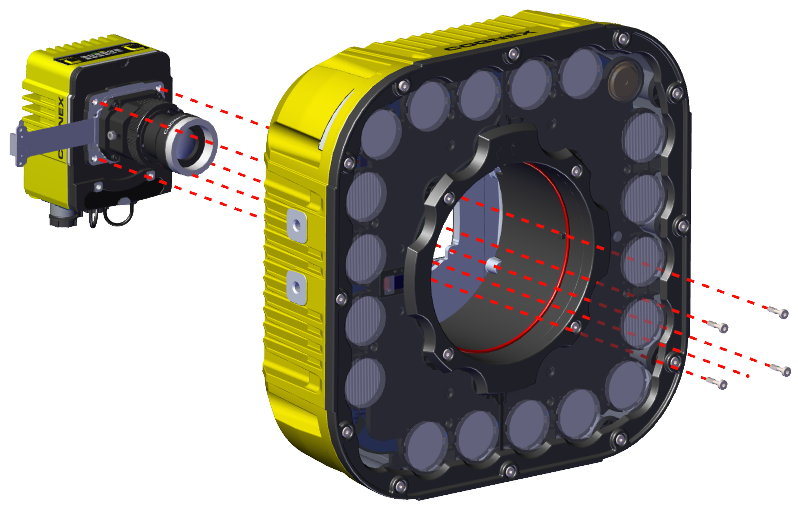
Screw in the four screws to attach the lens to the vision system.
Note: When using a C-mount lens, screw the lens into the C-mount threads instead of attaching the liquid lens. The illumination module installation is the same.
-
Bend the other end of the cable and feed the cable through the back of the illumination module.
Note: Only snap the cable into place after you have completely attached the vision system to the illumination module with the screws. Otherwise, the cable can break.
-
Screw in the four screws from the illumination module into the vision system. Tighten each screw to 0.75 Nm.
-
Snap the cable into place in the illumination module.
-
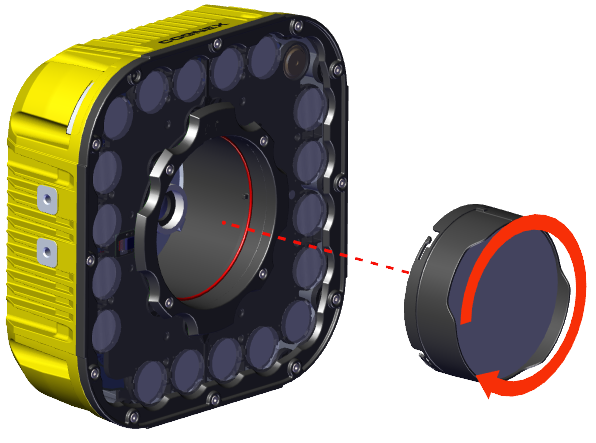
Align the slots in the cover with the illumination module. Twist slightly to lock the cover in.
Note: You can remove the lens cover at any time by twisting in the opposite direction. Removing the lens cover allows for access to the lens or installing a new lens without disassembling the