Installing High Power Integrated Torch (HPIT)
For possible hardware configurations using HPIT with a DataMan 370 or 470 series reader, see the DataMan 370 Series Reference Manual and the DataMan 470 Series Reference Manual, respectively.
Tools needed:
-
2 mm Allen wrench
- Phillips screwdriver (PH0)
Perform the following steps to mount the HPIT to your DataMan 370 or 470 series reader:
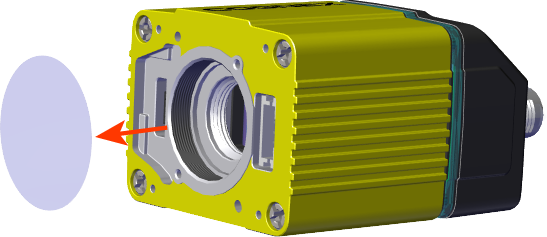
- Remove the adhesive protective film covering the threaded lens opening.
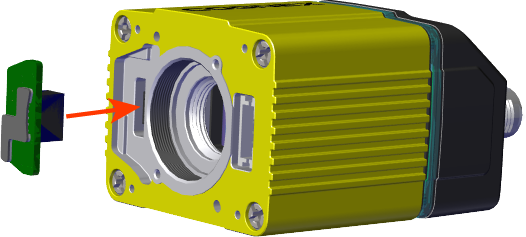
- Add the small PCB into the light connector.
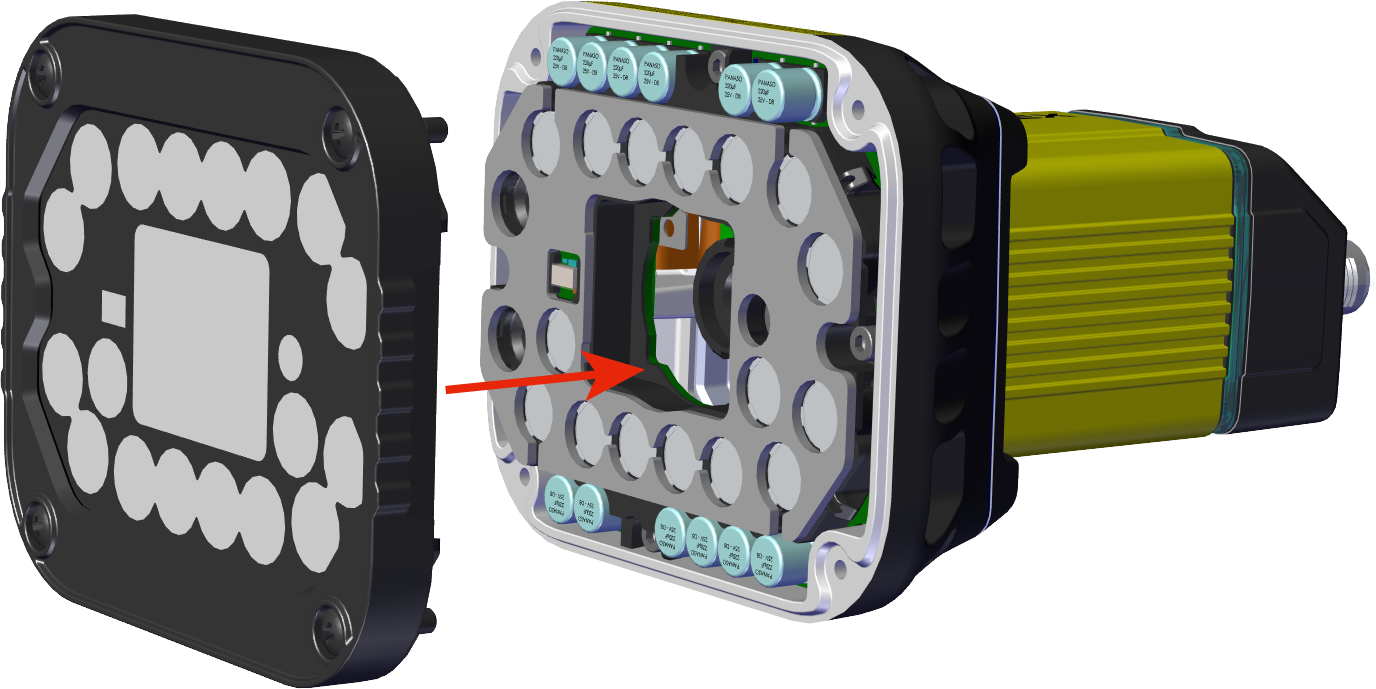
- Attach the DM470 HPIT adapter plate.
- Attach the lens module and fix the lens with the captive screws.
- Do not push or pull the lens at its barrel – push or pull on the metal housing.
Be careful not to touch the gear ring with the screwdriver.

- Attach the light module.
- Attach the front cover.
|
|
|

|
|
|

|
|
|


M3 x 6 mm screws

|
|
|


|
|
|


M3 x 6.35 mm captive screws

|
|
|

M3 x 12mm captive screws
