Display an Acquired Image
This topic covers how to display an image output by a Camera Reference Block, and assumes that an image Device has been added to a Task.
-
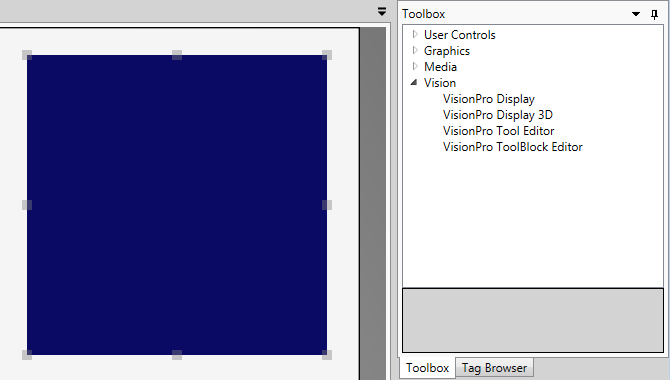
On the Page, from the Toolbox, open the Vision node and drag and drop a VisionPro Display onto the Page.
-
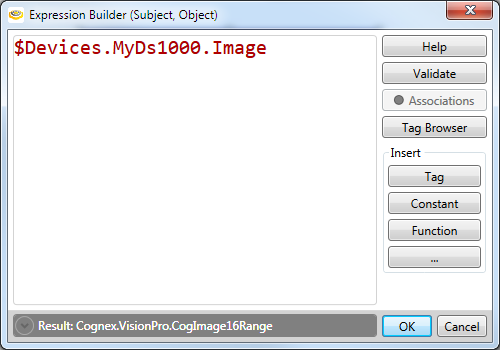
In the Properties, press the grey dot beside the Subject parameter to launch the Expression Builder.

- Press the Add Tag button, and in the Tag Selector dialog, navigate to the desired image Device, select the Image and press the Accept button.
-
The Expression Builder will now display the newly created reference. Press the Accept button.
-
Now, in the Properties, the dot beside the Subject parameter will now be green.

- Next, to facilitate cycling through images, add a Button to the Page from the User Controls node.
- Set the Click Command parameter to Device.{CameraName}.Acquire, and in the Text parameter, enter "Acquire Image."
- Place the Page into Test Mode, and press the Acquire Image button to force the connected camera device to acquire an image.