Setting Up a GigE Camera
Cognex Designer supports including GigE cameras directly into a Task. This allows you to include the image acquisition step as part of the Task.
- Connect the camera to the network and the power source.
- Use the Cognex GigE Vision Configurator utility to configure the camera.
-
In Cognex Designer, in the Devices node of the Project Explorer, right-click Cameras and select Add > 'Camera' device.
Note: If the camera is already listed, right-click on it and select Connect.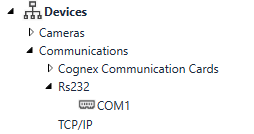
-
This launches the Parameter Configuration dialog, where you provide the name, the device and the video format for the camera.
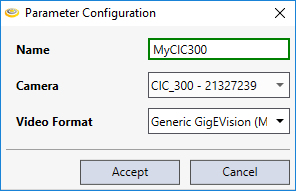 Note: For more information about the Parameter Configuration dialog, see the Camera Device topic.
 - Press the Accept button.
- Go to Tasks > Task > Task.
-
In the Toolbox, your camera will be in the Devices node, with the name you specified.
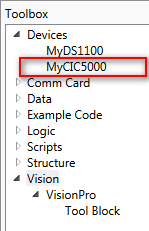
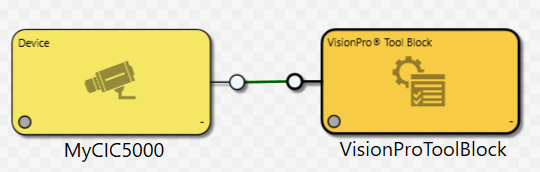
- Drag and drop the desired Camera device onto the Task, where it becomes a Reference Block that can be linked to compatible Tool Blocks or Reference Blocks.
-
Double-click the camera's block to configure the camera's Settings, Strobe & Trigger, Image Properties, GigE and Custom Properties, as well as focus and acquire images with the camera.
-
You can then link your camera's output image as an input to other blocks in the Task.
 Note: To poll a GigE feature of a camera, consider using the Device Paths of a tag. Or, alternatively, you can utilize GigE commands; for more information, see the Using GigE Commands with a Camera Device topic.
 - Press the Run
 button to acquire an image, and pass the image to the linked block.