Standard Type Green Classify Parameters
The parameters adjust how the tool is trained, and also how the tool processes statistical results. You can open and close the parameters side pane by selecting the tool and then clicking the % icon. You can access additional parameters that provide advanced features by selecting Expert Mode in the Help menu.
Type and Mode Parameters
Training Parameters
The Training tool parameters control the training process.
| Parameter | Expert Mode | Description |
| Maximum Epochs | Yes | Specifies the maximum number of epochs used for training. Training stops automatically if the training reaches convergence before reaching the Maximum Epochs value. If the training does not reach convergence before reaching the Maximum Epochs value, you decide whether to continue or stop the training. |
| Patience Epochs | Yes | Affects the time that the system waits before it can stop the training early. During training, the system checks if the model has reached optimal performance, and if so, the system can finish the training early. The value range is 0–100. A higher value corresponds to longer training time. |
|
Training Set |
No |
Specifies the training data set used to create a neural network model. The system only extracts the features of the images that are included in the training set. Click Edit to open a dialog where you can specify the sample sets and the percentage of the labeled images used as training samples. The system selects the training images randomly each time you start training. |
|
Validation Set Ratio |
No |
Specifies the ratio of the views used in the validation set The validation set is a set of images reserved for validation. The validation set is separate from the training set and test set. Since the validation set is separate, it allows you to evaluate how well the tool performs when using unseen images. The VisionPro Deep Learning application calculates a special metric, the Loss. The Loss is based on the performance of the tool on the validation set.. The system randomly selects the validation Validation refers to a process during the training of a tool that helps to evaluate performance. Validation is like a mock exam that the tool takes during the training phase, separate from the final test. For example, validation helps you to recognize overfitting and avoid wasting time when training a tool. If you recognize that the tool is overfitting, you can stop the training early. set from the training set when you start the training. The value range is 1%–50%. If you increase the Validation Set Ratio while keeping the size of the training set, the amount of data used for training decreases. This means that a high Validation Set Ratio can negatively affect the performance when using a small training set. On the other hand, if the Validation Set Ratio is too low, it will not be helpful for selecting a good model for an unseen data set. |
| Class Weights | No | Specifies the weights used for applying different batch sampling methods for each class. If one class has more views than another class, you can use Class Weights to assign different weights to each class during the training. For example, if the ratio of Class 1 to Class 2 is 2:1, the number of training images for Class 1 is twice as much as Class 2. To set the Class Weights parameter, click Edit. In the dialog that opens, double-click the Weight field and type the desired weight using natural numbers only. |
| Accelerated Training | Yes |
Enables or disables accelerated training. Accelerated training optimizes GPU resources and can contribute to speed improvements, but performance degradation can occur depending on the data. Note: In Robust mode, this parameter is not available.
|
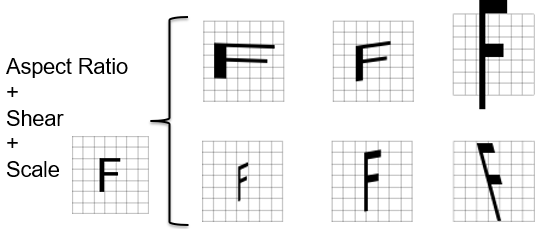
Perturbation Parameters
With the Perturbation parameters, you can allow the tools to generate images that simulate the variations expected during runtime.
For example, if your part rotates by +/-45 degrees, you can set the Rotation parameter, and the software rotates the images during training by that amount. However, image perturbation Perturbation is the process of improving the trained tool tolerance of part and image variation by simulating the effect of specific types of variation. is not a substitute for collecting and training actual images. The image perturbations can only approximate the variations of real parts or scenes.
The Perturbation parameters are common across all of the tools, and you can use these parameters in combination. This way, you can generate more complex images by using the parameters separately, as well as in conjunction.
| Parameter | Expert Mode | Description |
|
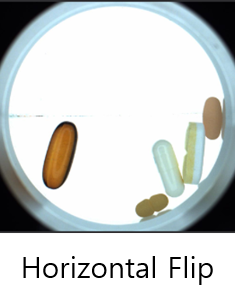
Horizontal Flip 
|
No |
Performs flipping in horizontal direction. Useful in cases where the location and the angles of the object are not strictly fixed. |
|
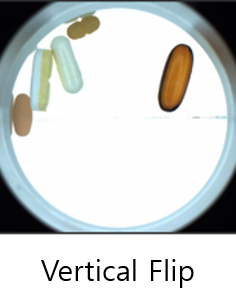
Vertical Flip
|
No |
Performs flipping in vertical direction. Useful in cases where the location and the angles of the object are not strictly fixed. |
|
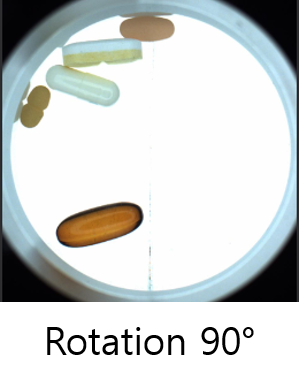
Rotation 90°
|
No |
Performs 90° rotation in clockwise direction. If you check Horizontal Flip, Vertical Flip, and Rotation 90°, performs 0°, 90°, 180°, and 270° rotations probabilistically. |
|
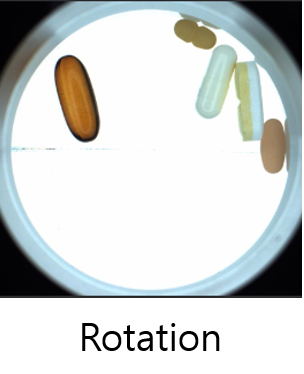
Rotation
|
No |
Performs rotation between 0° to 45°. If you check Rotation 90°, Rotation, Horizontal Flip, and Vertical Flip, performs random rotation between 0° to 360°. |
|
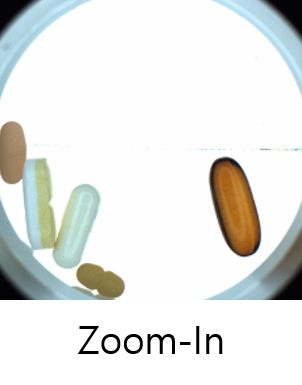
Zoom-In
|
No |
Randomly zooms in from the center. The maximum zooming is 5/6 of the original size. The random variable follows uniform distribution. Useful when the defect to be detected has an irregular size. |
|
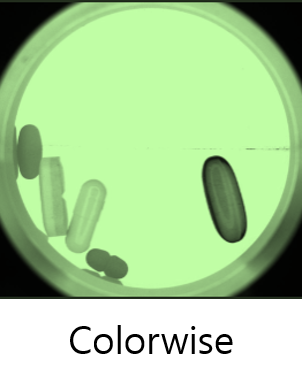
Colorwise
|
No |
Adjusts color by multiplying and/or adding different random values per channels. Use this parameter together with the Contrast and/or the Luminance parameter. The Colorwise parameter changes the way the Contrast and Luminance parameters are applied from applying the same value for all channels to different random values for each channel. Useful when the images have inconsistent color tone because of the irregular lighting environment. |
|
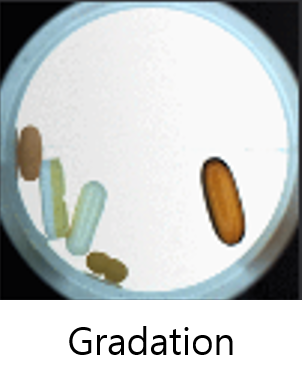
Gradation
|
No |
Randomly adjusts the gradation. Useful when the images have inconsistent gradation because of the irregular lighting environment. |
|
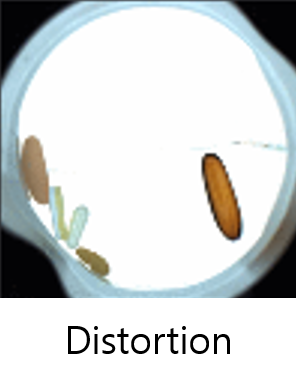
Distortion
|
No |
Applies a distortion by picking the points in the views and moving them. The number of points is the same or less than six. Useful when the images are distorted due to the deterioration of the optical equipment. |
|
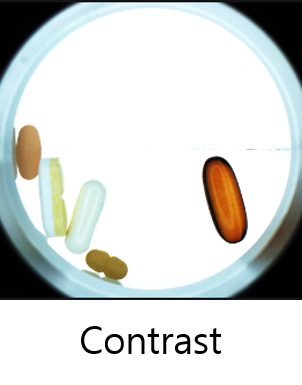
Contrast
|
No |
Adjusts contrast by multiplying a random value for all channels. The random value follows uniform distribution within a range of 0 to 2. Useful when the images have inconsistent contrast because of the irregular lighting environment |
|
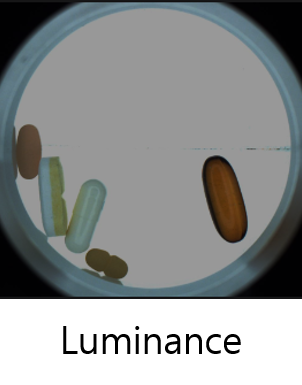
Luminance
|
No |
Adjusts luminance by adding a random value for all channels. The random value follows uniform distribution within a range of - 255 to 255. Useful when the images have inconsistent luminance because of the irregular lighting environment. |
|
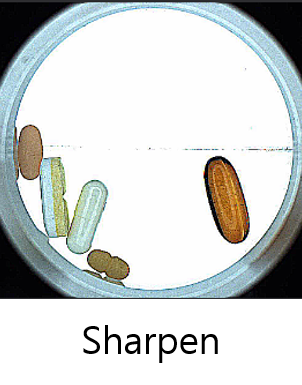
Sharpen
|
No |
Randomly sharpens the views by image filtering within a range of 0 to 2. Useful when the image are too blurry. |
|
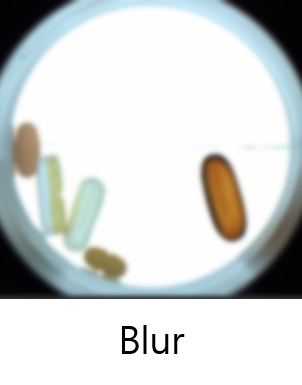
Blur
|
No |
Randomly applies Gaussian Blur to the views. The random variable follows to the Gaussian Sigma Distribution within a range of 0 to 2. Useful when the images are too sharp. |
|
Noise

|
No |
Applies noise by multiplying a random value per pixel for all channels. The random value follows uniform distribution within a range of 0 to 2. Useful when the images are distorted or contaminated by dust due to the deterioration of the optical equipment. |
Resizing Parameters
Using images larger than the capacity of the GPU can result in reduced performance. If you use other software that consumes a lot of GPU VRAM, the maximum image size you can use for training can be reduced. In these cases, resizing images can improve both training and processing speed.
Resizing is applied to all views while they are processed and used for training. The images of the original sizes are preserved in the View Browser and Image Display Area.
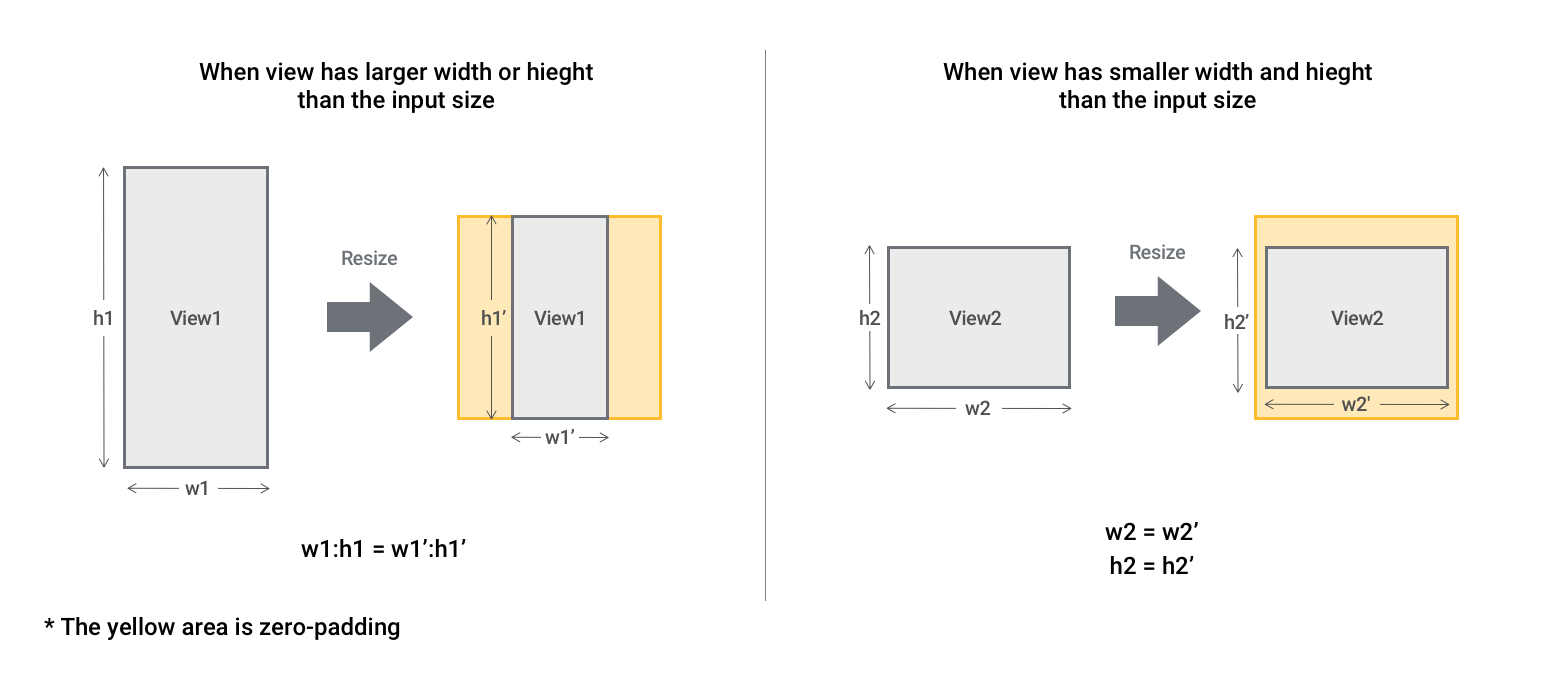
When a view A view of an image is a region of pixels in an image. Tool processing is limited to the pixels within the view. You can manually specify a view, or you can use the results of an upstream tool to generate a view. has larger width or height than the input size, the view keeps the original aspect-ratio. The resized view is placed in the center of the resize area surrounded by zero-padding.
When a view has smaller width or height than the input size, the view is placed in the center of the resize area surrounded by zero-padding.
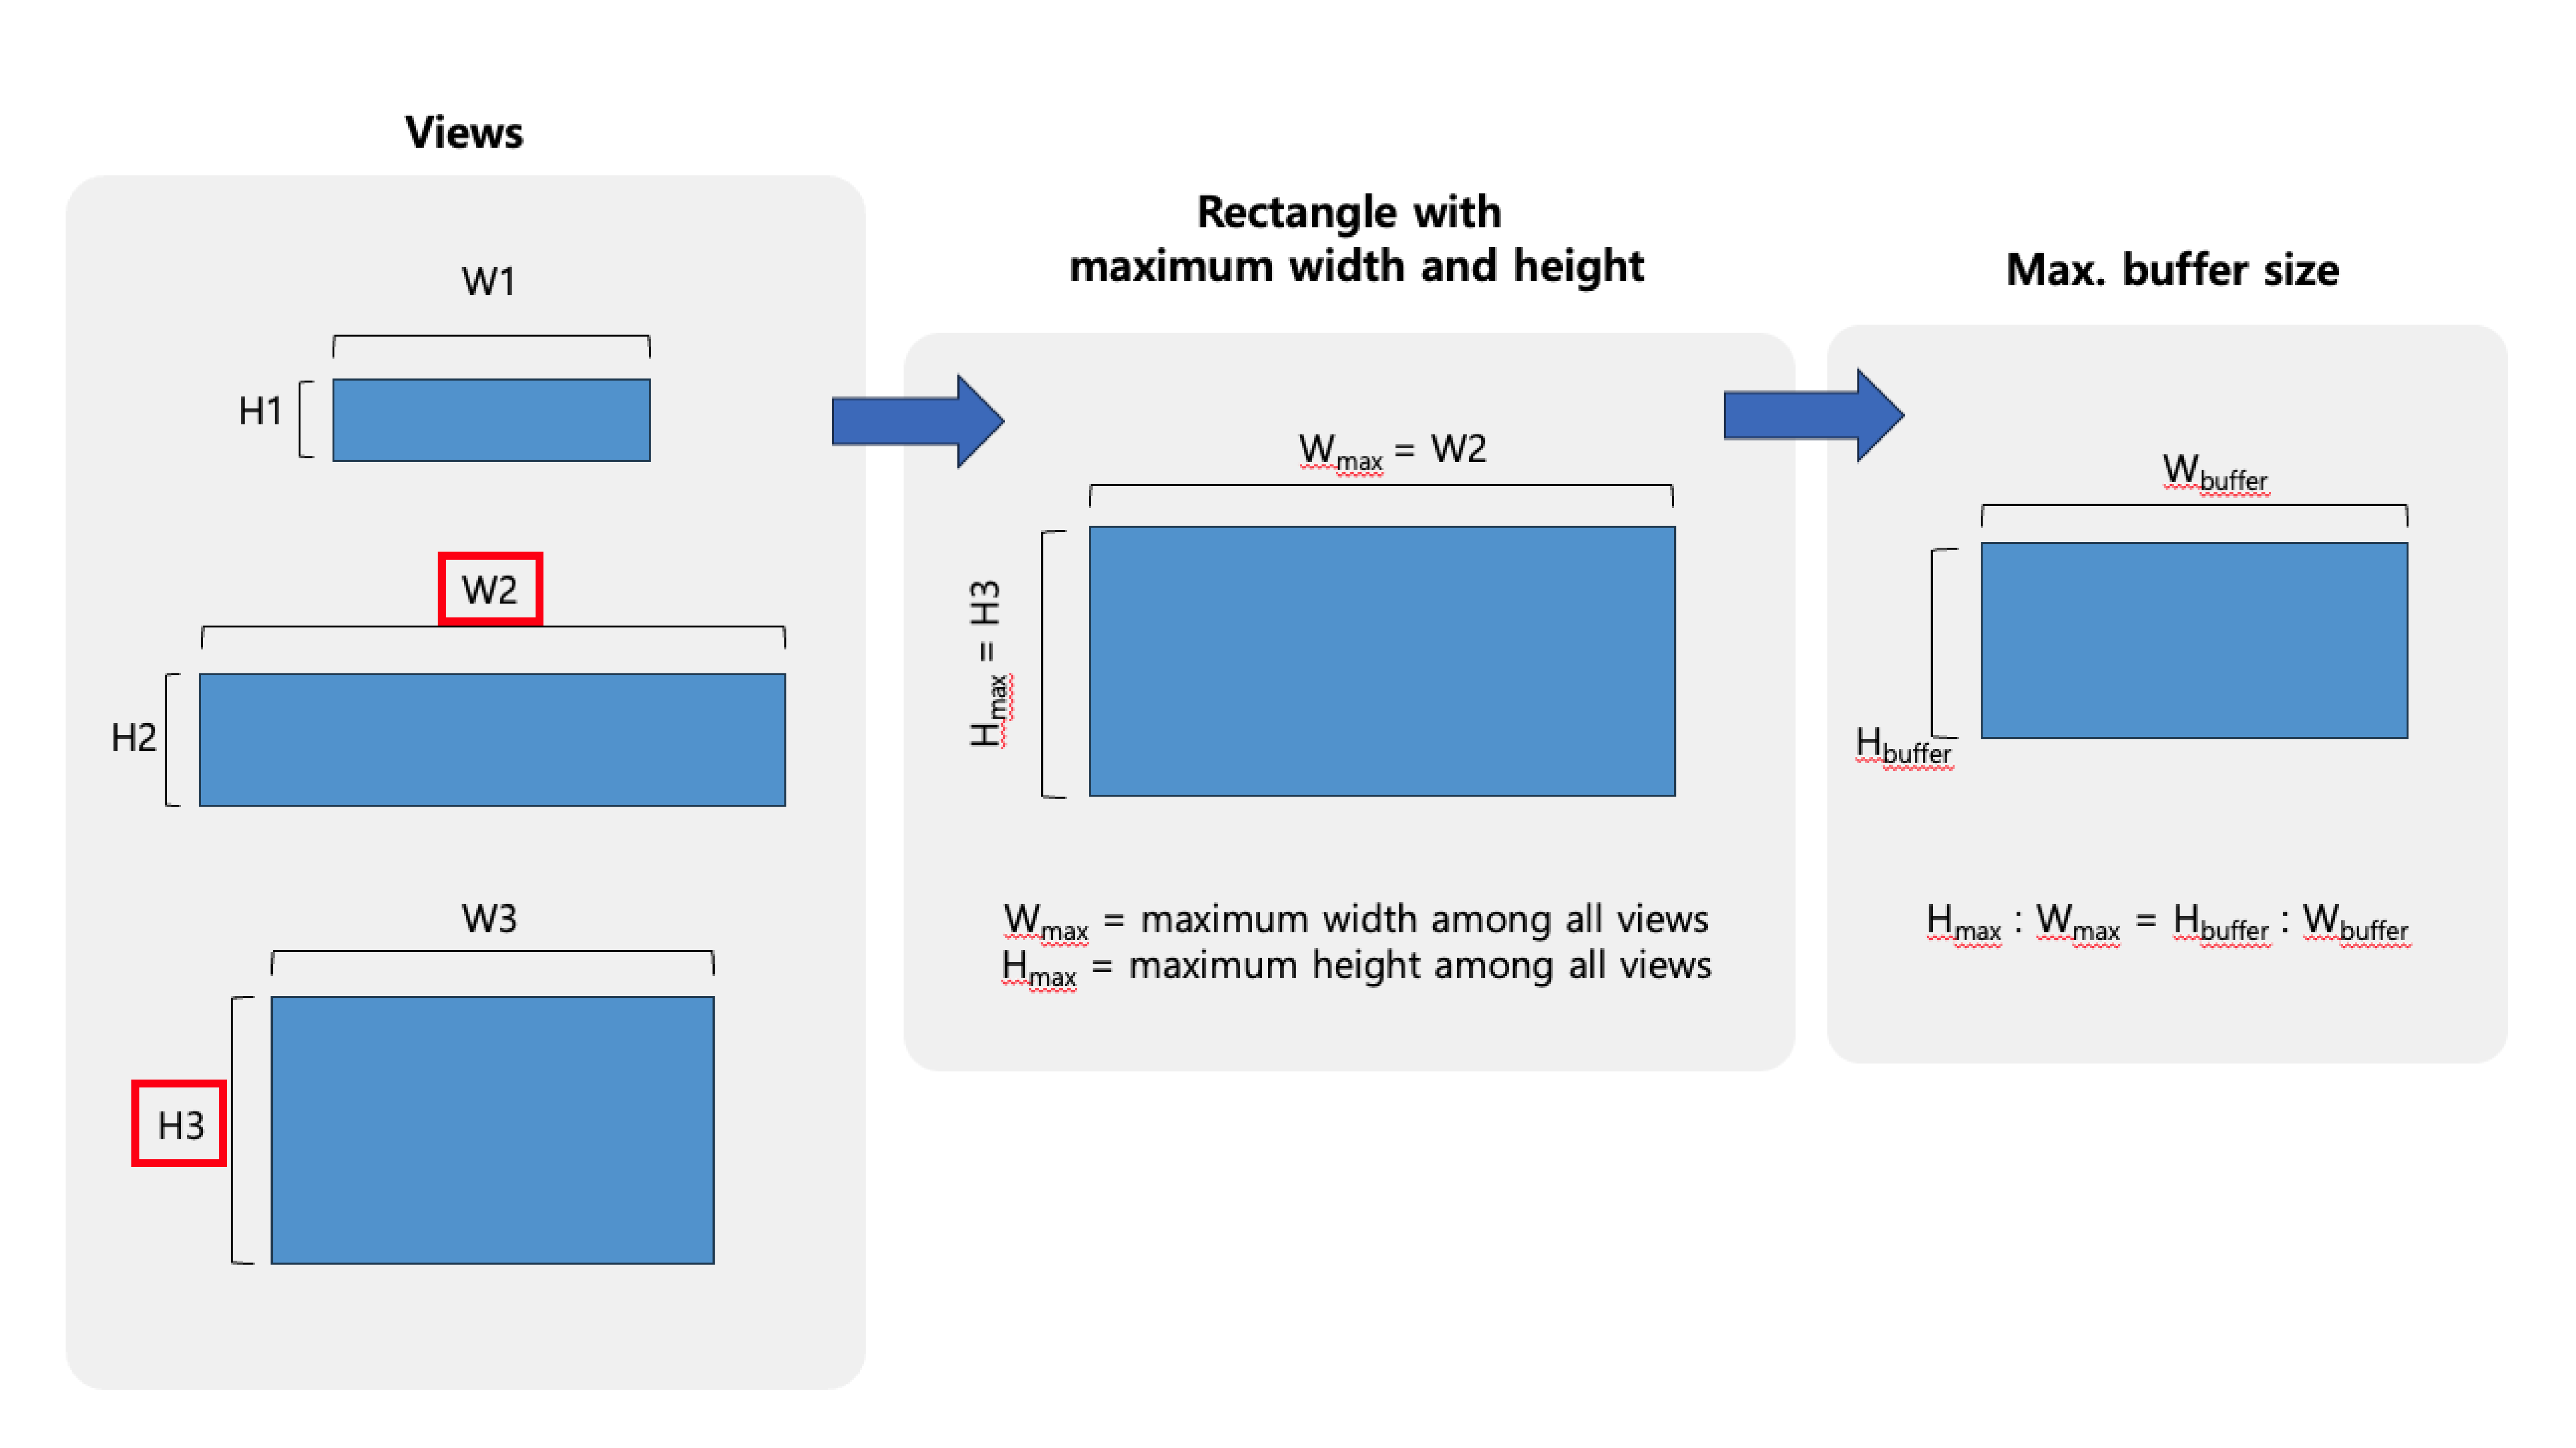
If the original aspect ratio is not identical for all views, the tool creates the new aspect ratio and calculates the maximum buffer size based on the maximum height and maximum width of the images.
| Parameter | Expert Mode | Description |
| Resize Mode | Yes |
Specifies the mode for resizing views. Select Auto to allow the application to automatically resize views or select Manual to specify the views for resizing yourself. |
| Resize to | Yes |
Specifies the width and the height of the views to be resized. Only available if you select the Manual Resize Mode. To check how the resized views look before training, click See Preview.
|
| Max Buffer Size | Yes |
Returns the maximum width and the maximum height a view can have given the available GPU memory and the value of the Network Model parameter. Click Update to get the value. |
Processing Parameters
The Processing parameters control the way the tool processes images. Processing with the same models always gives the same results. You do not need to retrain the tool after changing the Processing parameters. You can see the effect after reprocessing the database.
| Parameter | Expert Mode | Description |
| Threshold | No |
Specifies the minimum score that a view must have to be classified. Among the classes that have higher score than threshold value, the tool picks the class with the largest score. If all the classes have a score that is equal to or less than 0, the tool returns n/c (not-classified). Note: The default threshold is 0% because it calculates the score for each tag in a different way from Legacy mode.
It is not recommended to adjust the threshold value.
|
| Heat Map | No |
Shows the area that the tool used as a clue when assigning a class. You can use Heat Map as a debugging tool after training. If the heat map shows a different area than the regions that you consider critical for the classification, it might be better to train the tool again. The heat maps appears directly in the image viewer if you enable both the Heat Map parameter and the Heat Map option in the overlay checkbox. Note: The size of workspace can increase if you enable the Heat Map parameter.
To make the workspace smaller, process the tool again without the heat map again and save the workspace.
Note:
You cannot use the outlier score and the heat map features at the same time as Tensor RT speed optimization. Enabling speed optimization disables the outlier score and the heat map. When exporting the runtime workspace A runtime workspace is a configuration file that does not contain images or databases, containing only streams and tools, which makes it a smaller version of a full Workspace. This configuration file can be loaded in the library in order to perform some analysis., you must choose which feature A feature is a visually distinguishable area in an image. Features typically represent something of interest for the application (a defect, an object, a particular component of an object). to include in the export dialog.
|
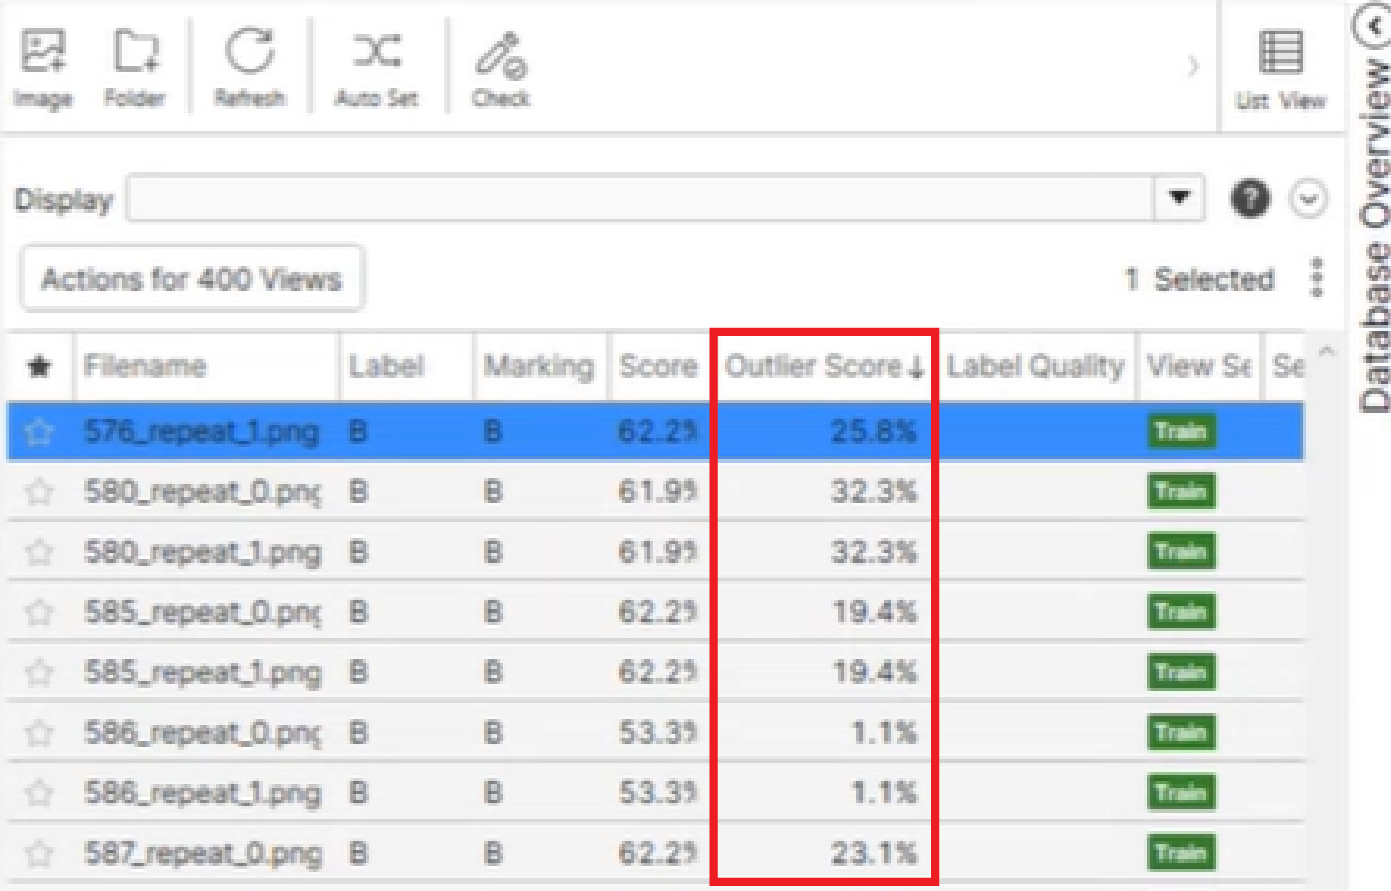
| Outlier Score | No |
The outlier score shows how much a view deviates from the other views in the training set. A high outlier score can indicate that an anomaly happened on the production like, for example, the lighting conditions changed. If you enable this parameter, the outlier score is included in the view browser list.
Note:
You cannot use the outlier score and the heat map features at the same time as Tensor RT speed optimization. Enabling speed optimization disables the outlier score and the heat map. When exporting the runtime workspace, you must choose which feature to include in the export dialog.
|
| Speed Optimization | No |
Provides options to boost the processing speed of the tool using NVIDIA TensorRT:
The performance degradation depends on the data. There is no specific pattern of data to be used for each option. Note: You must optimize the Speed Optimization parameter with the API for the runtime environment. For more information, see NVIDIA TensorRT Support for Runtime API.
Note:
You cannot use the outlier score and the heat map features at the same time as Tensor RT speed optimization. Enabling speed optimization disables the outlier score and the heat map. When exporting the runtime workspace, you must choose which feature to include in the export dialog.
|