Configure Edge Settings
-
Click
 to set the Edge region over the area that contains an edge; ideally the region only contains the edge to be located.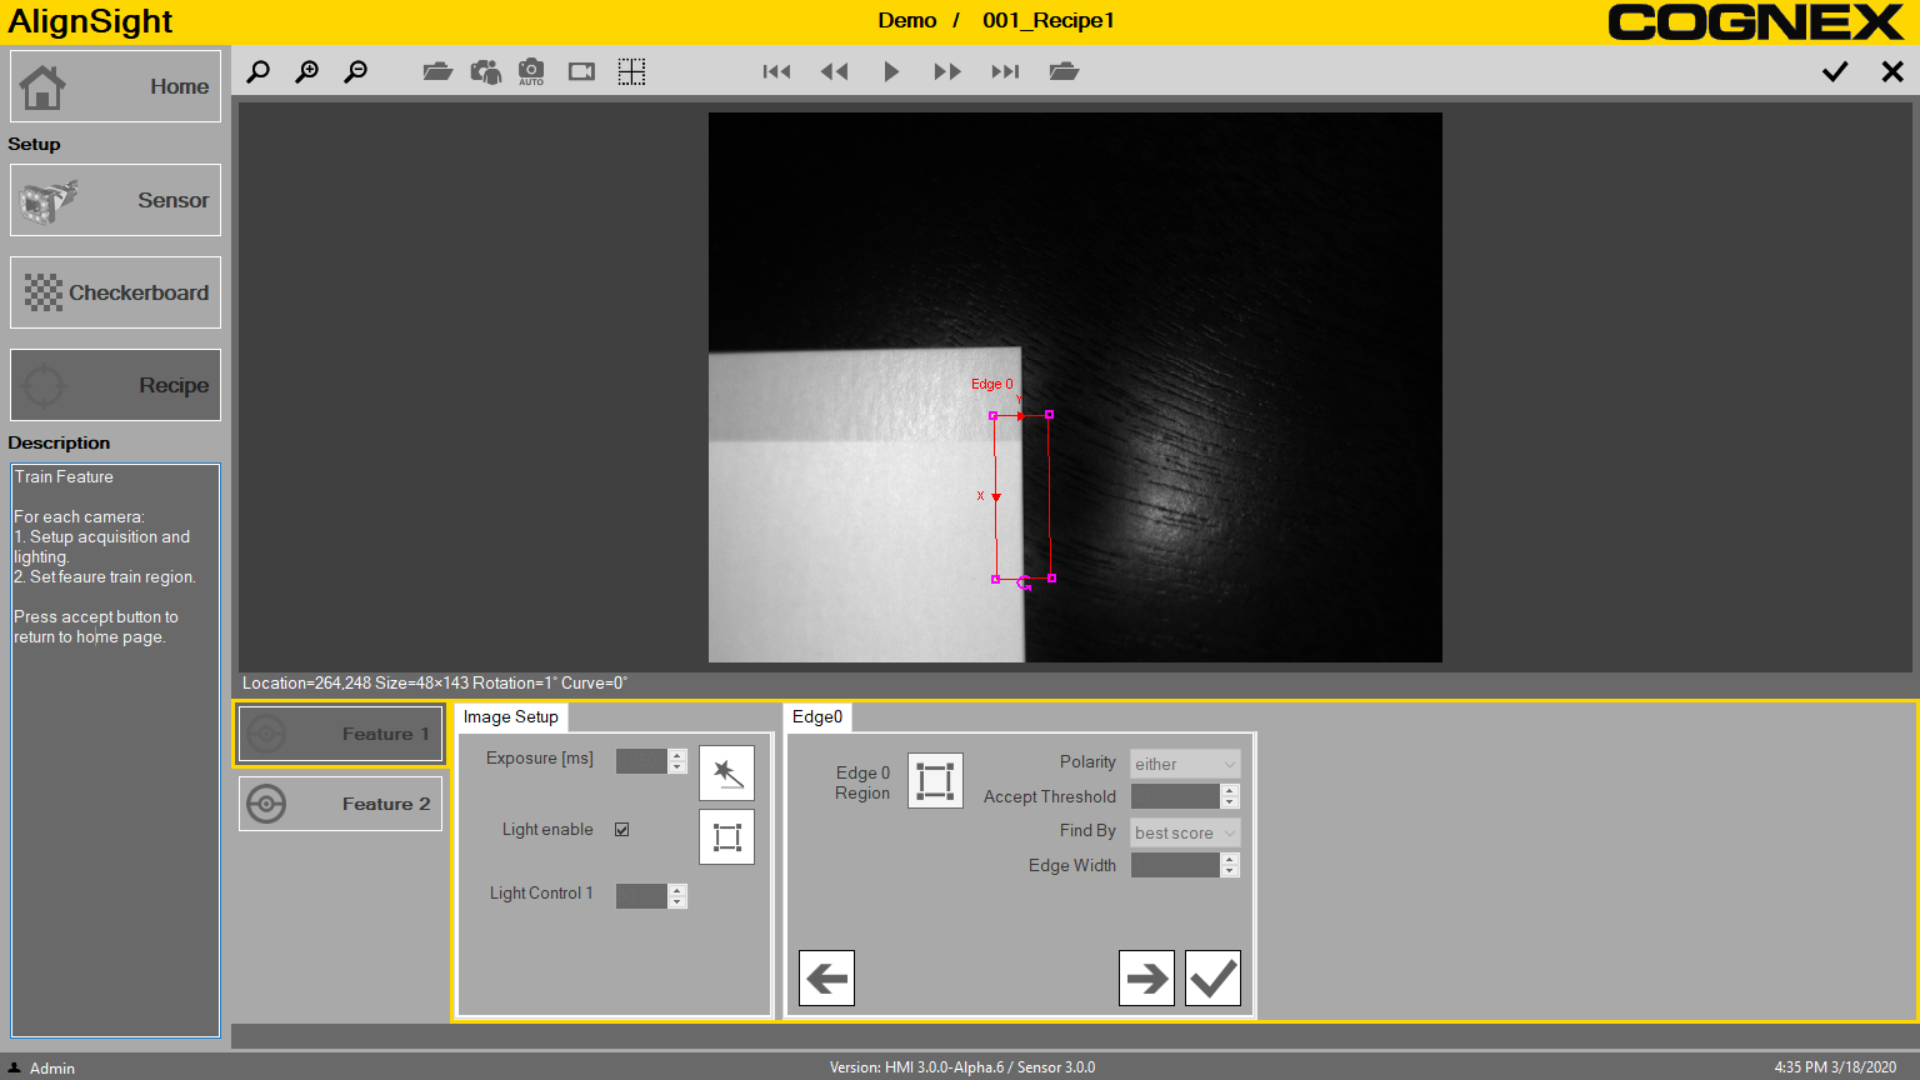
-
Click
 on the right top corner of the display to confirm the edge region.
 -
Configure Edge Settings
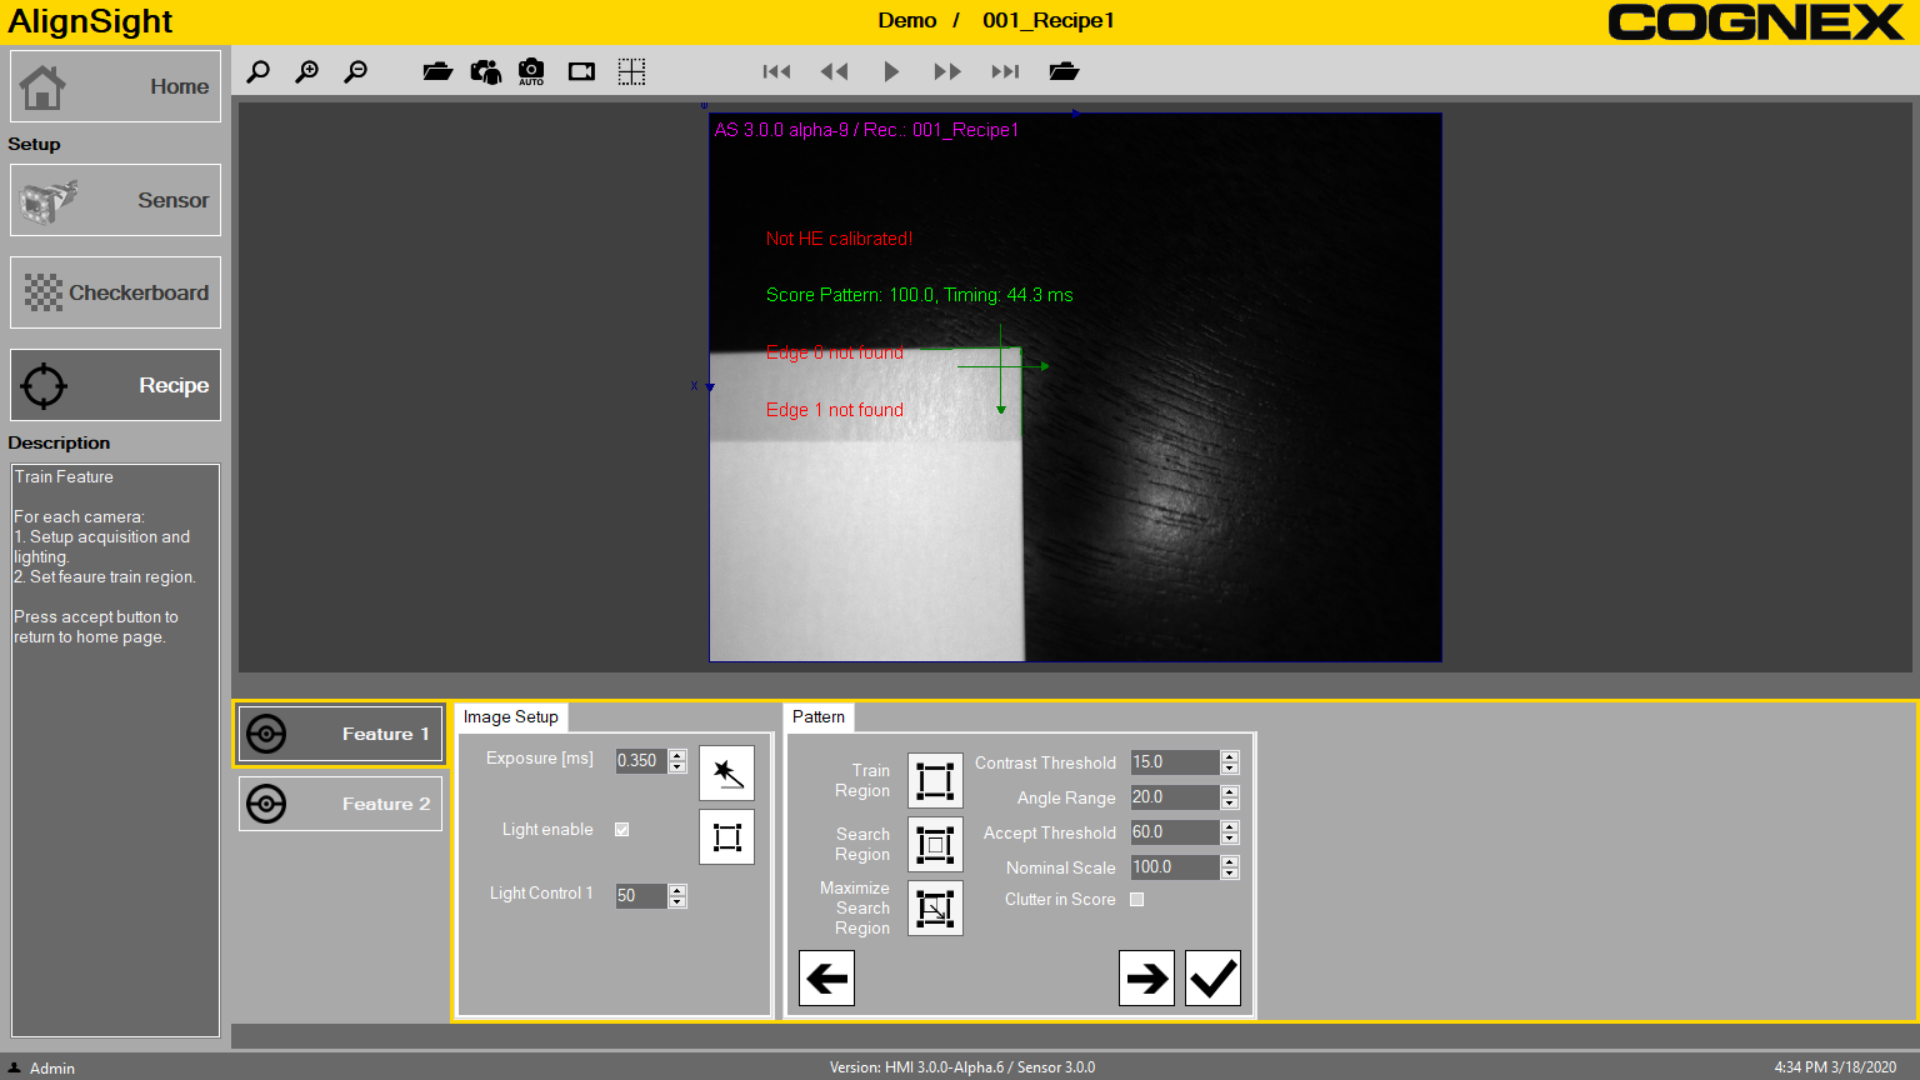
Parameters Description Polarity Specifies the polarity of the edge you search for. The scan direction for the brightness transition is along the Edge Region's Y direction.
black-to-white Specifies that the edge polarity is black-to-white. white-to-black Specifies that the edge polarity is white-to-black. either (default) Specifies that the edge polarity could be either black-to-white or white-to-black. Accept Threshold Specifies the minimum contrast score (0 to 100; default = 25) for edge candidates; the tool returns only the edge with match scores that exceed this value. Find By Specifies the edge selection criteria amongst multiple edge candidates.
best score (default) Specifies that the edge with the highest score receives the highest consideration. first edge Specifies that the first edge detected along the scan direction receives the highest consideration. last edge Specifies that the last edge detected along the scan direction receives the highest consideration. Edge Width Specifies the pixel distance (0 to 255; default = 3) over which an edge transition takes place. You can increase or decreaes this value to find the setting that gives the highest score.
-
After you configure the edge settings, load images and adjust the parameters, as necessary, to compensate for your expected ranges of variations.
-
When you finish configuring the Edge0 settings, click
 to open the Edge1 tab.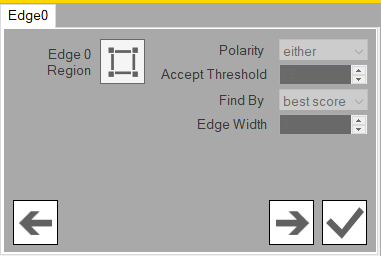
-
Click
to set the Edge region over the area that contains an edge; ideally the region only contains the edge to be located.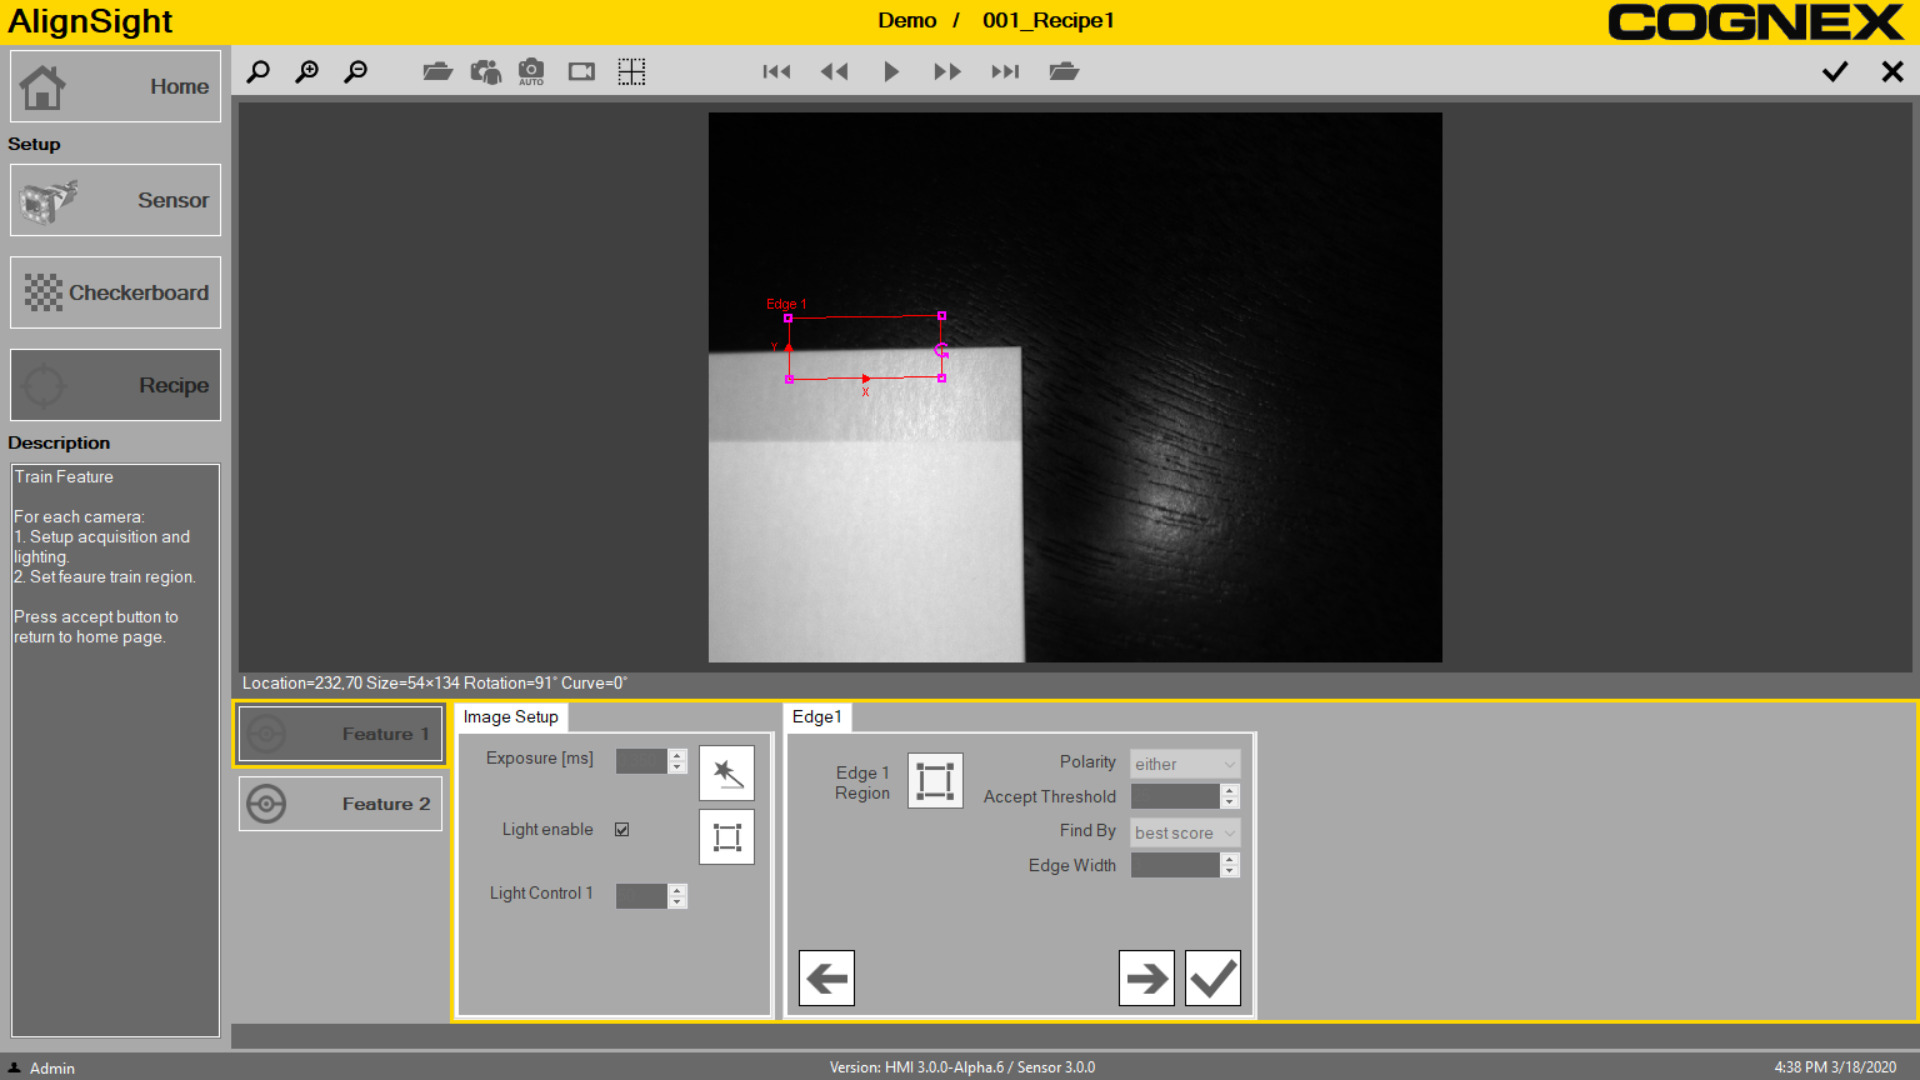
-
Click
on the right top corner of the display to confirm the edge region. -
The
 icon indicates the location of the intersection of the two edge lines.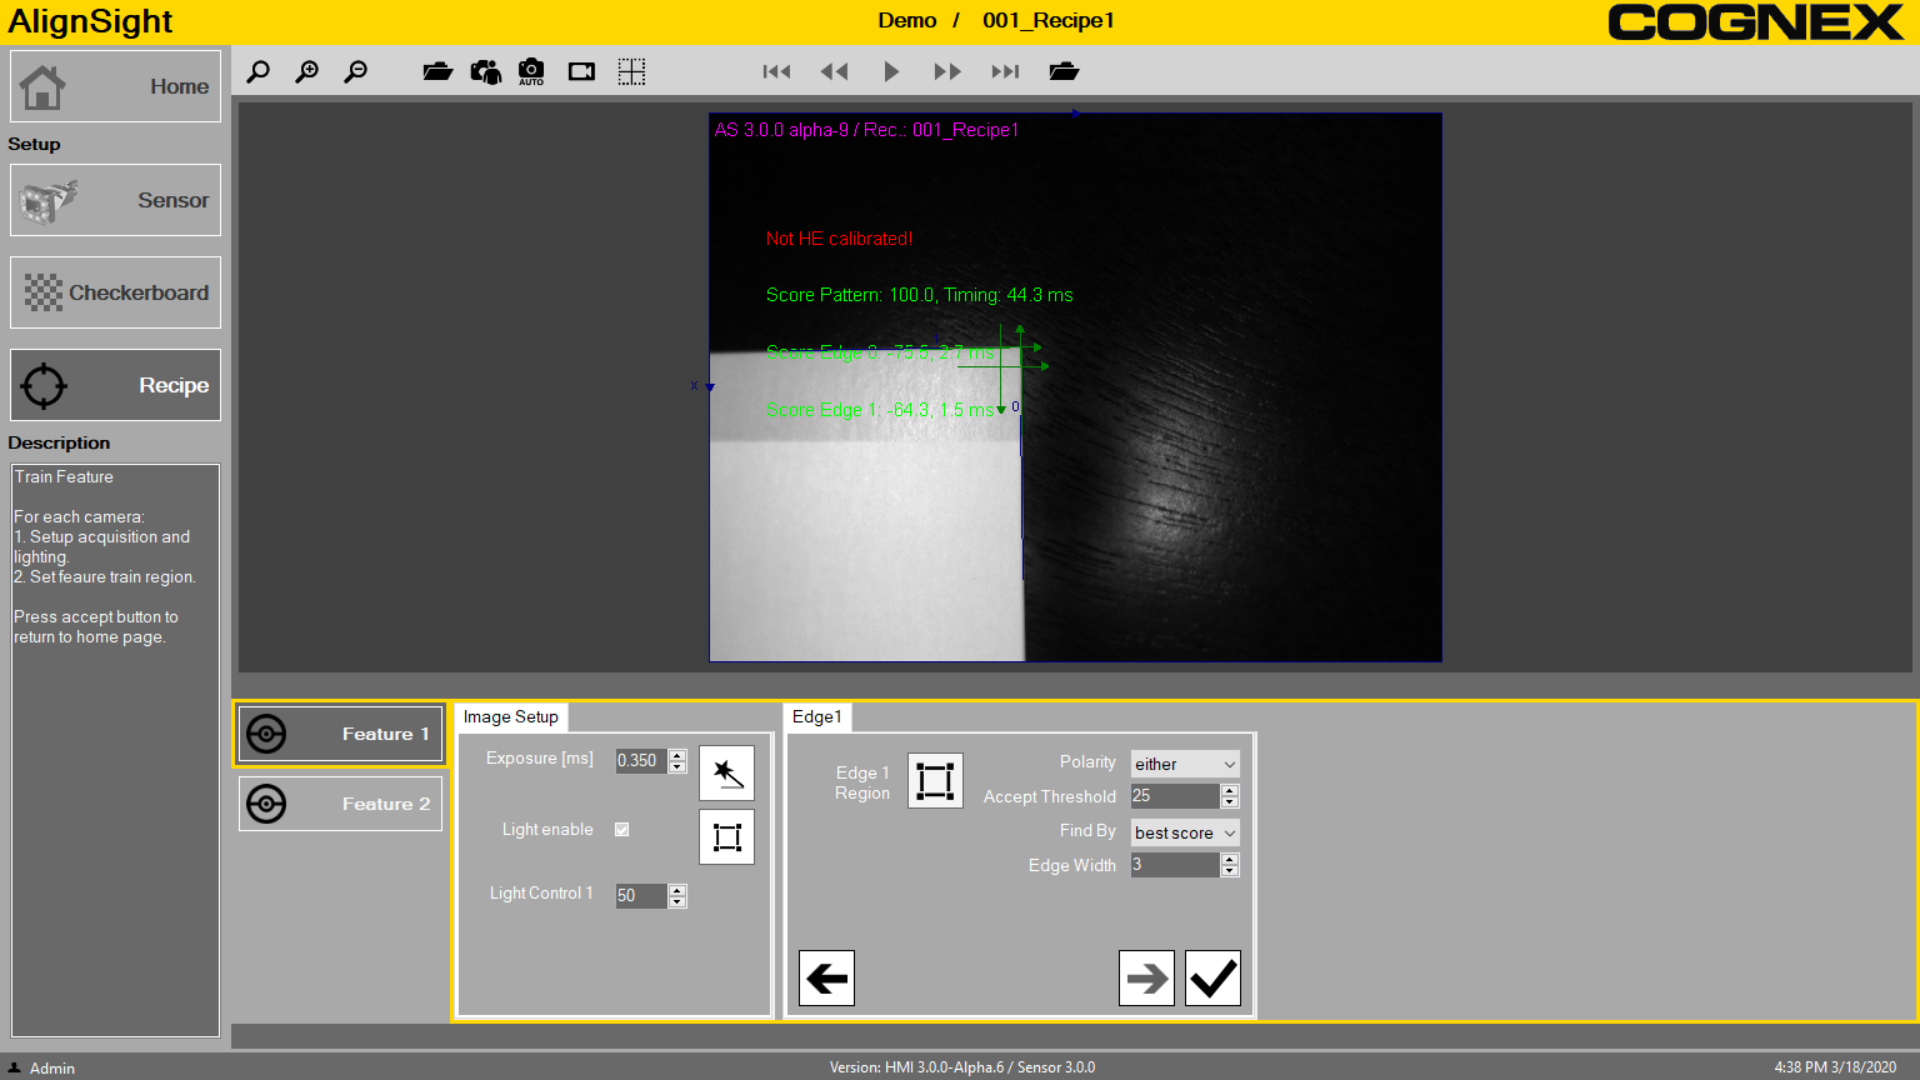
-
After you configure the edge settings, load images and adjust the parameters, as necessary, to compensate for your expected ranges of variations.
-
Click
to exit the Recipe step. The sensor is now set up and ready for the sensor calibration.
After finishing this initial setup with the AlignSight software, you need to complete the sensor calibration and golden pose training. To perform these tasks, you need to use the command interface of AlignSight with external controllers, such as PLC or Robot.